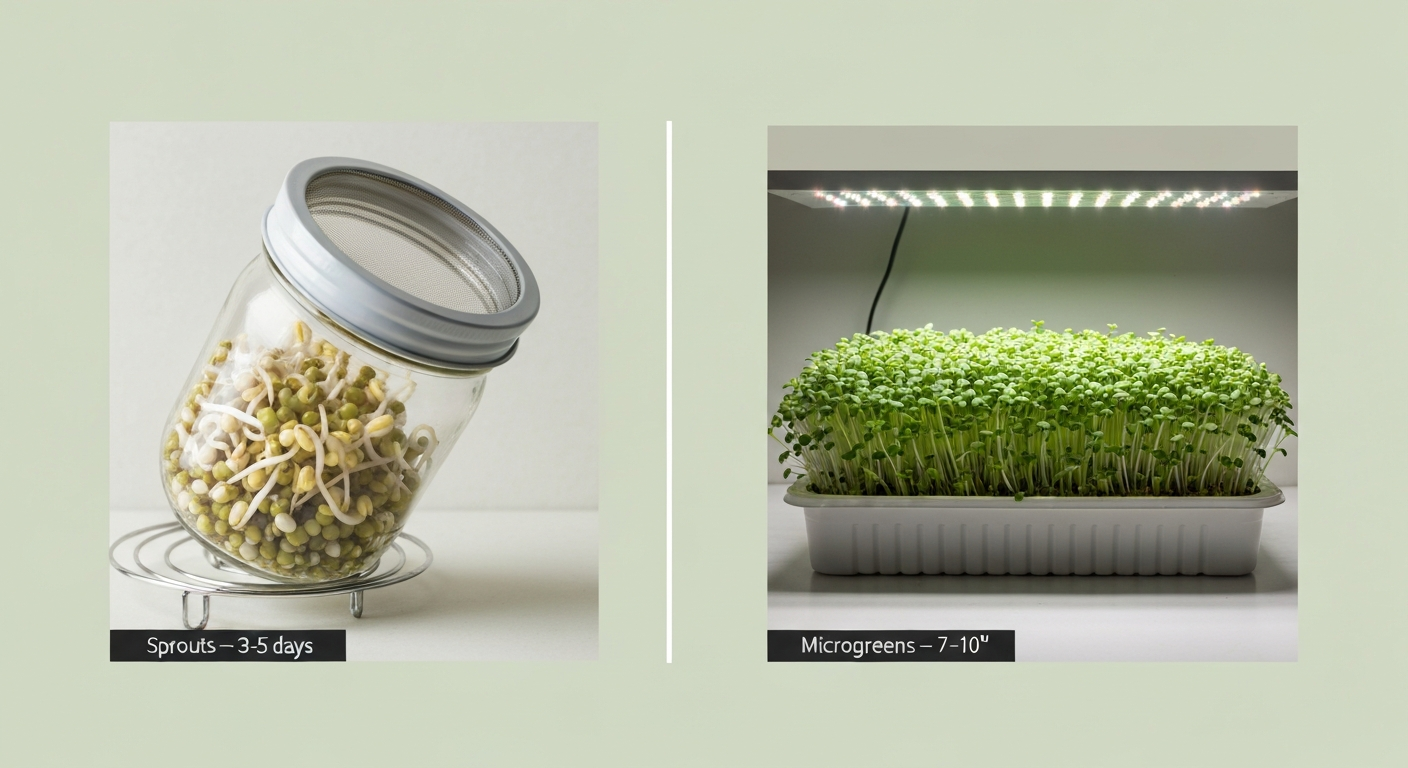
You can grow monggo (mung bean) seeds in water using nothing more than a jar, a mesh lid, and tap water, and have crunchy, edible sprouts in 3 to 5 days. If you want to go a step further and grow water-based microgreens or greens under lights with a dilute nutrient solution, you can harvest those in 7 to 10 days. Both methods work without soil, both are beginner-friendly, and this guide walks you through each one with the exact supplies, water conditions, day-by-day steps, and food-safety rules you need to get repeatable results.
How to Grow Monggo Seeds in Water: Sprouts to Hydroponics
Marcus Holloway
25 Jul 2026
What this guide covers and who it's for
Growing monggo in water covers two genuinely different goals, and it helps to be clear about which one you're chasing before you buy anything. The first is countertop sprouting: seeds germinated in plain water, kept in the dark or indirect light, and eaten at the tiny seedling stage before true leaves form. The second is water-grown microgreens or hydroponic greens: seedlings grown under light on a soilless tray or in a simple hydroponic system, fed a dilute nutrient solution, and harvested at the cotyledon or first true-leaf stage. This guide is written for home hobbyists, small food producers, and anyone exploring water-based growing methods. If you've already grown kangkong in water or experimented with hydroponic setups, a lot of the core principles here will feel familiar, but monggo has its own quirks, especially around food safety, that are worth knowing.
Sprouts vs. microgreens: two goals, two setups
Sprouts are harvested before true leaves develop, the EU defines them as products obtained from seed germination harvested at that pre-leaf stage. They're grown in water alone, need no light (or just ambient), and the seed's own nutrient reserves fuel all the growth. Mung bean sprouts are exactly what you find in pho, stir-fries, and spring rolls. They're fast (3–5 days), cheap to produce, and require almost no equipment.
Microgreens are a different category. They're grown to the cotyledon stage or first true leaf, typically 7 to 10 days for mung beans in controlled conditions, and they require light, a growing medium or tray, and usually a dilute nutrient solution once germination is complete. See the review Sprouts and Microgreens, Novel Food Sources for Healthy Diets (review) for evidence that mung bean microgreens are typically harvested 7–10 days after sowing in controlled trials and commercial practice Sprouts and Microgreens—Novel Food Sources for Healthy Diets (review). They're more nutritionally dense per gram than sprouts in some studies, and they have a different texture and flavor profile. Commercially, they command a higher price per tray. The tradeoff is more equipment, more attention to water chemistry, and a longer timeline.
| Feature | Sprouts | Water-grown microgreens/greens |
|---|---|---|
| Harvest time | 3–5 days | 7–10 days |
| Light required | None (or indirect) | 12–16 hours daily |
| Nutrients needed | Plain potable water only | Dilute solution, ~0.8–1.2 mS/cm EC |
| Primary equipment | Jar + mesh lid or sprouting tray | Tray, grow lights, nutrient mix |
| Typical pH range | 6.5–7.0 (tap water fine) | 5.5–6.5 (buffered solution) |
| Primary food-safety risk | High (bacteria on seeds) | Moderate (good hygiene still critical) |
| Best use case | Quick, daily kitchen greens | Higher-value yield, indoor farm trays |
Picking the right seeds
This is where most beginners skip a step they'll regret. Not every bag of dried monggo from the grocery store is suitable for sprouting or water-based growing. For food-safe sprouts especially, you want seeds labeled 'for sprouting' or 'microgreen-grade', these have been handled and tested to limit contamination risks that matter a lot more when you're eating raw germinated seeds than when you're cooking them in soup. Reputable suppliers include True Leaf Market, Johnny's Selected Seeds, and Sprouting.com. If you're using bulk seeds from a market, at minimum do a quick float test and visually check for damaged, cracked, or discolored seeds.
For a quick viability check before scaling up, use the standard paper germination test: place 100 seeds between damp paper towels, keep them at room temperature, and count germination at day 4–5. Anything above 85% germination is good for sprouting. Below 70%, skip that batch, slow or patchy germination in water creates the wet, stagnant conditions that mold loves. For formal production following ISTA or AOSA methods, you'd test 300 seeds in replicates, but for home use, 100 seeds tells you everything you need.
Seed quantities: for a standard 1-liter sprouting jar, start with 2 to 3 tablespoons (about 30–45 g) of dry seed, they expand dramatically during soaking and sprouting. For a 10x20 inch microgreen tray, roughly 60 to 80 g of dry seed is typical. Store unused seeds in a sealed container in a cool, dry place; moisture and temperature fluctuation kill viability fast.
Everything you'll need: full supplies checklist
For countertop sprouting
- Wide-mouth glass jar (1-liter mason jar works perfectly)
- Mesh sprouting lid or cheesecloth secured with a rubber band
- Bowl or dish rack to hold the jar tilted at ~45 degrees for drainage
- Potable water (tap is fine if dechlorinated — more on that below)
- Food-safe sanitizer for surfaces (dilute bleach or vinegar solution)
- Optional: dedicated sprouting tower or multi-tray sprouting kit
For water-grown microgreens and hydroponic greens
- 10x20 inch seedling tray with drainage holes (one tray nested inside a solid tray to catch runoff)
- Grow medium: food-safe hydroponic pads (burlap, coco fiber mat, or jute microgreen pads) or fine-mesh growing medium
- Full-spectrum LED grow lights — at least 30–50 µmol/m²/s PPFD for microgreens
- Timer for lights (set to 16 hours on, 8 hours off)
- pH meter or pH test strips (digital meter preferred)
- EC/TDS meter for measuring nutrient solution strength
- pH-down solution (dilute phosphoric acid or citric acid) if your tap water runs alkaline
- Dilute hydroponic nutrient solution: a quarter- to half-strength complete formula (target EC 0.8–1.2 mS/cm, pH 5.5–6.5)
- Small spray bottle or watering can with a fine rose
- Thermometer for air and water temperature
- Optional: small clip fan for airflow, humidity gauge, blackout dome for germination phase
Water quality and basic chemistry
For sprouting, your main concern with water is chlorine and temperature, not nutrient chemistry. Most municipal tap water contains 0.5–1.0 ppm chlorine, which is harmless to humans but can slightly inhibit germination and kill beneficial surface microbes. The simplest fix is to let tap water sit uncovered in a jug for 30 minutes before use, which off-gases most free chlorine. Alternatively, a Brita-style carbon filter removes it instantly. Water temperature matters too: cold water (below 15°C/59°F) slows germination noticeably, and warm water (above 28°C/82°F) dramatically raises mold and bacterial risk. Aim for 18 to 24°C (65–75°F) for soaking and rinsing.
For microgreens and hydroponic setups, pH is the critical number. Mung bean seedlings absorb nutrients most efficiently at pH 5.5 to 6.5. Outside that range, especially above 7.0, mineral lockout becomes a real issue even if your nutrient solution is perfectly formulated. Use a digital pH meter (calibrate it monthly) and adjust with a dilute citric acid or phosphoric acid solution if your water runs above 6.5. EC (electrical conductivity) is your measure of nutrient concentration: during germination keep it near zero or very low (0–0.5 mS/cm), then step up to 0.8–1.2 mS/cm (roughly 400–600 ppm on the 500 scale) as the seedlings hit the cotyledon stage.
Food safety: the step most guides gloss over
I want to put this before the how-to steps because it genuinely matters. Sprouts have been linked to foodborne illness outbreaks repeatedly, the FDA identifies seeds as the primary contamination source, meaning pathogens like Salmonella and E. coli can be inside or on the seed coat before you ever touch them. The reference treatment used in food-safety research is a 20,000 ppm calcium hypochlorite (Ca(OCl)2) soak for 10 to 15 minutes, which reduces bacterial loads by about 3 log CFU/g on average. That's not a sterilization guarantee, but it significantly lowers risk.
For home growers, the practical translation of FDA guidance looks like this: use only seeds labeled for sprouting or food production, treat seeds before soaking (the calcium hypochlorite solution is the most validated option; hydrogen peroxide at 6–10% for 10 minutes is an alternative used in some protocols), use potable water throughout, sanitize all jars and trays before each batch, rinse seeds at least twice daily (and three times daily when temperatures exceed 24°C/75°F), refrigerate harvested sprouts at or below 5°C (41°F), and eat them within 3 to 5 days of harvest. A 2014 study, 'Comparison of sanitizers and hot water for mung bean sprouts (2014)', reports effective H2O2 concentrations in the 6–10% range with ~10-minute exposures and notes that PAA formulations and controlled hot-water treatments also reduce pathogen load but none universally eliminate internalized pathogens without harming germination if over‑applied. If you see slime, off smells, or discoloration, discard the batch. Don't taste-test your way through a problem.
Countertop sprouting: day-by-day method
Before you start: the seed treatment soak
If you're treating seeds for food safety (recommended), do this before the germination soak. Mix your sanitizing solution, either the calcium hypochlorite solution (20,000 ppm) or 6–10% hydrogen peroxide, and soak seeds for 10 to 15 minutes, then rinse thoroughly three times under potable water before proceeding. This step is optional for ornamental or strictly personal use where you accept the risk, but it's the right call for anyone serving sprouts to others.
Day 0 (evening): the pre-soak
Measure 2 to 3 tablespoons of dry mung beans into your clean jar. Cover with 3 to 4 times their volume of dechlorinated water at room temperature (18–24°C). Cover with your mesh lid or cheesecloth and leave to soak for 8 to 12 hours. I usually start this in the evening so the soak is done by morning. The seeds will roughly double in size as they absorb water, this imbibition phase is what kicks off germination.
Day 1: first drain and rinse
After 8 to 12 hours, drain completely through the mesh lid. Rinse with fresh room-temperature water, swirl, and drain again until the water runs clear. Tilt the jar upside down at roughly 45 degrees in a bowl or on a dish rack so air can circulate and any residual water drains away from the seeds. No standing water in contact with the seeds, this is the single most important rule for preventing mold. Keep the jar out of direct sunlight but in a ventilated spot. Rinse and drain again 8 to 12 hours later. By the end of Day 1 you should see tiny white tails (radicles) emerging.
Days 2–3: active growth and twice-daily rinsing
Continue rinsing and draining twice daily (morning and evening), always returning the jar to its tilted position between rinses. The sprouts will grow visibly between each rinse. By Day 2 the radicles should be 1 to 2 cm long. By Day 3, most will be 2 to 3 cm. The hulls (seed coats) will start to loosen, you can rinse most of them off or leave them; they're edible. If your space is warmer than 24°C, increase rinses to three times daily.
Days 3–5: harvest window
Sprouts are ready when the tails (hypocotyls) reach 2 to 5 cm, which typically happens between Day 3 and Day 5 depending on temperature. At this stage the cotyledons (seed leaves) may be starting to separate and turn slightly yellow-green in indirect light, that's normal for the sprout stage. Give them one final rinse, drain thoroughly, and move to a sealed container in the refrigerator. They keep well at or below 5°C for 3 to 5 days. Don't refrigerate them wet; excess moisture speeds up spoilage.
Water-grown microgreens and greens: step-by-step
Setting up your tray
Line your drainage tray with a damp growing pad (coco fiber mat, burlap, or jute microgreen pad) cut to fit. The pad should be moist but not dripping, if you squeeze it and water streams out, it's too wet. Nest this tray inside a solid tray to catch any runoff. Pre-wet the medium with plain dechlorinated water or a very dilute nutrient solution (EC no higher than 0.3 mS/cm at this stage).
Seeding and the blackout phase (Days 0–2)
After seed treatment and pre-soak (8–12 hours, same as the sprouting method), spread seeds evenly across the medium in a single dense layer, roughly 60 to 80 g of pre-soaked seed per 10x20 inch tray. Mist the surface gently with a spray bottle. Cover with an inverted tray (a blackout dome) to keep seeds in the dark and create a humid environment that encourages germination. Check daily: mist if the surface looks dry, but don't let water pool. Radicles should emerge within 24 to 48 hours.
Transferring to light (Days 2–4)
Once most seeds have germinated and radicles are lifting seeds off the pad surface (usually Day 2–3), remove the blackout cover and move the tray under your grow lights. Set lights to 16 hours on, 8 hours off. Start with lights 20 to 30 cm above the tray, too close and you'll bleach the seedlings, too far and they'll stretch and etiolate. Bottom-water from the solid tray below rather than overhead spray at this point: pour a small amount of dilute nutrient solution (EC 0.8–1.2 mS/cm, pH 5.5–6.5) into the solid tray and let the growing pad wick it up. This keeps the leaf surface dry and reduces damping-off risk.
Growth and harvest (Days 7–10)
Mung bean microgreens typically reach cotyledon expansion (the classic microgreen stage) around Day 7 to 8 under controlled conditions. First true leaves may appear by Day 9 to 10, harvest before they get large if you want classic microgreen texture and flavor. Use clean scissors and cut just above the growing pad. Rinse lightly, spin or shake dry, and store loosely in a sealed container in the refrigerator. Like sprouts, they're best eaten within 3 to 5 days of harvest.
Scaling to a simple hydroponic system
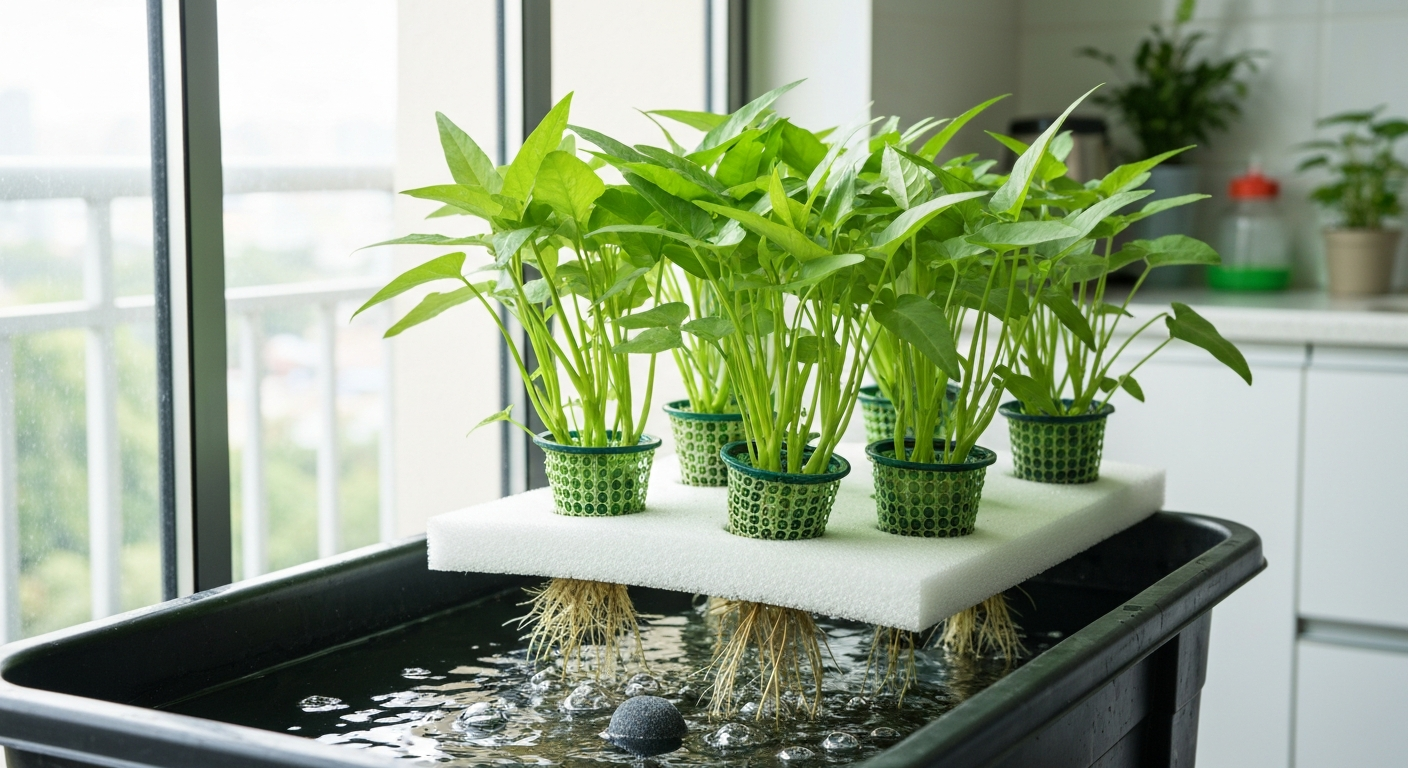
Once you're comfortable with tray microgreens, the next step for continuous production is a simple NFT (Nutrient Film Technique) or raft/DWC (Deep Water Culture) system. For mung beans grown as greens beyond the microgreen stage, a shallow reservoir with an air pump and airstone (for DWC) keeps the root zone oxygenated and prevents anaerobic rot. For a simple related technique, see a practical guide on how to grow lucky bamboo in pebbles to learn pebble-based support and low-water rooting methods. Target the same EC and pH ranges. Stagger your trays by planting a new batch every 2 to 3 days so you have a rolling harvest rather than feast-or-famine production cycles.
Light, temperature, and airflow indoors
For sprouts, light is optional, ambient room light is fine and darkness actually produces the pale, crunchy texture most people associate with bean sprouts. For microgreens, you need real light. A full-spectrum LED panel delivering at least 30 to 50 µmol/m²/s PPFD at canopy level is the minimum. Most affordable LED grow lights work fine at this intensity for microgreens; you don't need the high-PPFD fixtures used for fruiting plants. Run a 16-hour photoperiod (16 on, 8 off), published microgreen trials consistently use this as a standard.
Temperature affects both germination speed and food safety. The sweet spot for mung bean sprouts and microgreens is 20 to 24°C (68–75°F). Below 18°C germination slows and you may see uneven sprouting. Above 28°C you're in mold and bacterial territory fast, especially for sprouts. If your space runs warm in summer, increase rinse frequency, ensure good drainage, and consider a small clip fan to move air across the surface of tray microgreens, stagnant warm air above a wet surface is a mold invitation. Airflow also strengthens stems in microgreens, which is a secondary benefit.
| Parameter | Sprouts | Microgreens/Greens |
|---|---|---|
| Air temperature | 18–24°C (65–75°F) | 20–24°C (68–75°F) |
| Water temperature | 18–24°C | 18–24°C |
| Light hours | None required | 16 h on / 8 h off |
| Light intensity (PPFD) | N/A | 30–50 µmol/m²/s minimum |
| Airflow | Good ventilation, tilted jar | Clip fan recommended |
| Rinse/water frequency | 2–3x daily | Bottom-water as needed (daily check) |
Nutrients: what to use and when
Sprouts need nothing but water. The seed itself contains all the energy and nutrients required to push a radicle and hypocotyl out in 3 to 5 days, adding fertilizer to a sprouting jar doesn't help and may make things worse by feeding unwanted microbes. Keep it simple: potable water, clean equipment, consistent rinsing.
For microgreens and hydroponic greens, a dilute complete nutrient solution is needed once seedlings are under light. A quarter- to half-strength standard hydroponic formula works well. One published study on bean/pea microgreens used a solution delivering approximately N 200 mg/L, P 50 mg/L, K 300 mg/L, Ca 200 mg/L, Mg 65 mg/L, plus trace elements, at about 20 to 23°C with a 16-hour photoperiod. In practice for home growers, mixing a commercial hydroponic two-part or three-part nutrient formula at one-quarter the label rate and confirming EC (0.8–1.2 mS/cm) and pH (5.5–6.5) covers this without needing to calculate individual minerals. Adjust pH after mixing nutrients, not before.
Harvest timing and storage
Harvesting at the right moment makes a real difference in flavor and texture. For sprouts, the window is Day 3 to Day 5, when tails are 2 to 5 cm. Leave them too long and they become stringy and bitter; harvest too early and they're dense and starchy. For microgreens, aim for full cotyledon expansion before the first true leaves get more than a few millimeters, this is roughly Day 7 to 8 for mung beans under good light. Let them go to Day 10 or beyond and the texture gets tougher and the flavor more assertive, which isn't necessarily bad, just different.
After harvest, rinse gently, drain thoroughly, and refrigerate in a loosely sealed container lined with a dry paper towel to absorb condensation. Sprouts and microgreens keep 3 to 5 days at or below 5°C (41°F). Do not freeze, the texture becomes mushy. For continuous supply, stagger new batches every 2 to 3 days.
Troubleshooting common problems
Mold on sprouts
White fuzzy growth on sprouts is almost always caused by one of three things: not enough drainage (water pooling on seeds), not enough airflow, or temperatures above 25°C. Fix the drainage first, make sure the jar is properly tilted and fully drains after every rinse. Add an extra rinse cycle. If you're in a warm room, move to a cooler spot or add a fan. Start a new batch with freshly sanitized equipment; never try to 'rescue' a moldy batch.
Slimy or smelly seeds
A sulfur or fermentation smell means bacterial overgrowth, usually from insufficient rinsing, standing water, or seeds that were already compromised. Discard the batch. Sanitize the jar with dilute bleach (1 tablespoon per liter of water, 2-minute contact time, rinse thoroughly), start fresh, and increase rinse frequency.
Poor germination or uneven sprouting
If fewer than 70 to 80% of seeds are sprouting by Day 2, the seeds may be old, stored poorly, or simply low-viability. Do a paper germination test on your seed lot before committing to a full batch. Another common cause is water that's too cold (below 18°C), warm the soak and rinse water slightly. Over-soaking beyond 12 hours can also cause seeds to become waterlogged and rot before they sprout, so don't leave them sitting in water past that initial soak.
Yellow or leggy microgreens
Yellowing after the blackout phase usually means insufficient light, increase intensity or move lights closer (to about 15–20 cm above the canopy). Leggy, stretched seedlings that flop over are reaching for light; again, lights are too far away or the photoperiod is too short. Pale yellowish seedlings that were previously green can also indicate nutrient deficiency, check EC and pH of your solution.
Root rot in hydroponic systems
Brown, slimy roots in a DWC or tray system usually mean the water is not oxygenated enough or the temperature has gone above 24°C (warm water holds less dissolved oxygen). Add an airstone and air pump, lower the ambient temperature, and clean the reservoir with dilute hydrogen peroxide (3%) between crops. Pythium and similar water molds thrive in warm, stagnant root zones, this is more common with mung beans grown on as greens beyond the microgreen stage.
How monggo compares to other water-based growing methods
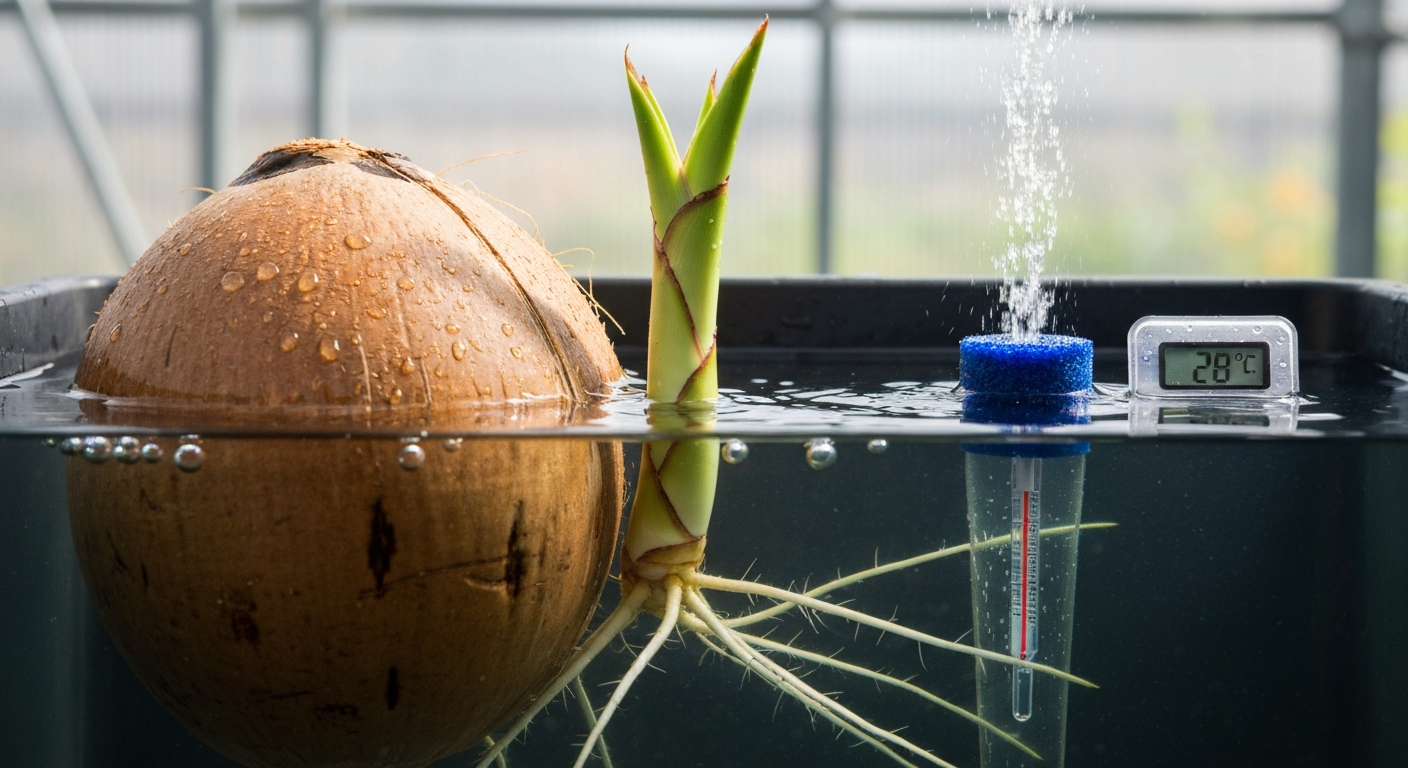
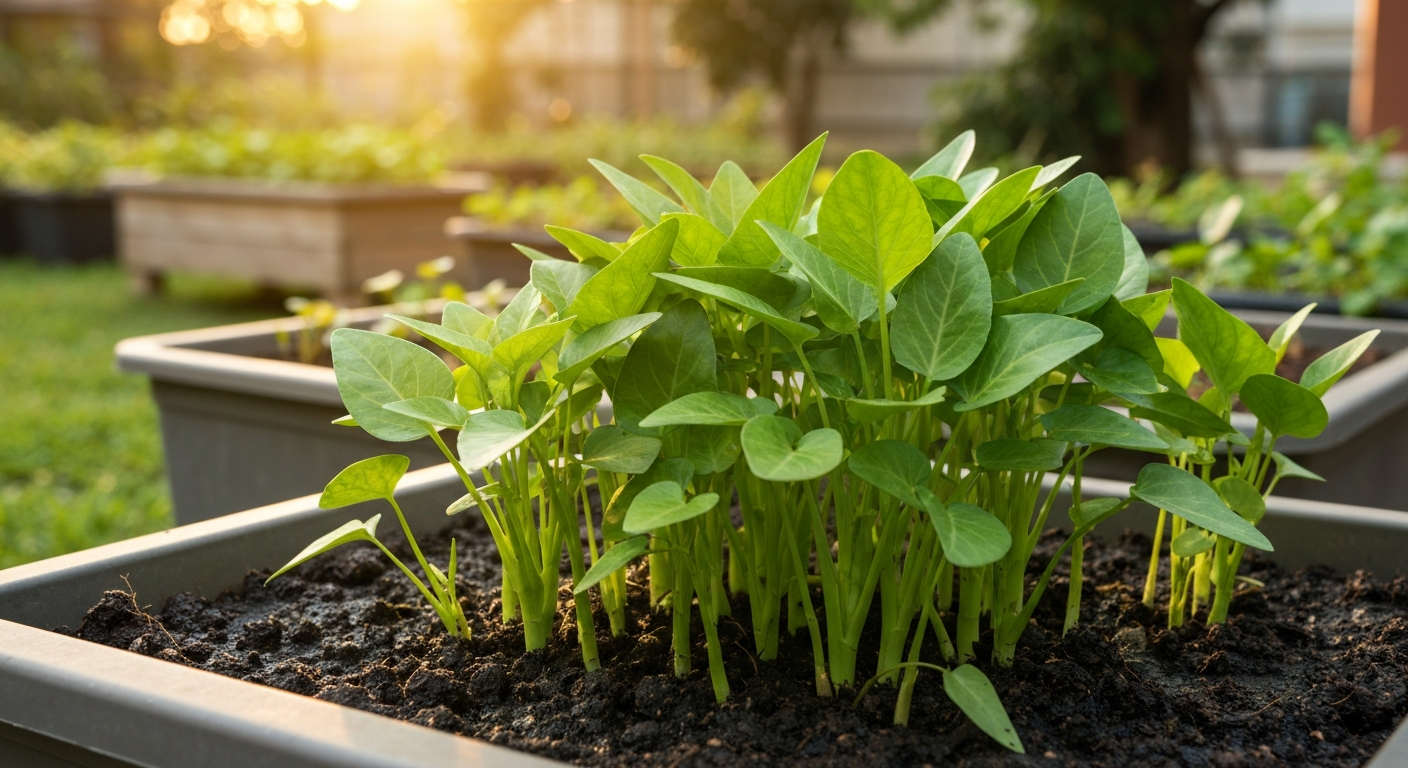
Mung bean sprouting is one of the fastest and most forgiving water-based growing methods out there, which makes it a great entry point. If you've already tried growing kangkong in water, which roots from cuttings rather than seeds and grows as a leafy vegetable over weeks to months, you'll notice that monggo demands a much shorter commitment but also much more frequent attention during that window. For a different water-based plant, see our guide on how to grow coconut in water for tips on rooting and care. For a step-by-step primer, see how to grow kangkong in water. Kangkong in water is more hands-off once established; monggo sprouts require daily rinsing without exception. If you're also exploring other water-grown greens, see a concise how-to on how to grow panikoorka in water for a comparable, step-by-step approach. If you're exploring other water-based crops, see a related guide on how to grow kumara in water for methods specific to sweet potato propagation and storage. For tips on the soil-based method, see our guide on how to grow kangkong in soil.
The comparison with lucky bamboo or coconut in water is even more distinct: those are propagation and ornamental methods where roots develop slowly in a static water container with little intervention. Monggo's water method is food production on a tight timeline, with active daily management and strict hygiene. They're related in the sense that all involve growing in water without soil, but the goals, timelines, and risks are completely different. Knowing which category your project falls into saves a lot of guesswork when you're setting up.
Scaling up: when to move beyond the jar
Once you're harvesting reliably from one or two jars or a single tray, scaling up is mostly a matter of staggering batches and adding more of the same equipment rather than changing your system. For consistent daily supply from sprouts, three to four jars started one day apart gives you a continuous harvest cycle. For microgreens, three to four 10x20 inch trays staggered by 2 to 3 days achieves the same. The jump to a dedicated hydroponic system (NFT channels, a DWC raft, or a commercial sprouting tank with continuous-flow rinsing) makes sense when you're producing for sale or want volumes beyond what tray-by-tray management can supply efficiently. At that scale, spent irrigation water testing and more formal food-safety documentation become relevant, the FDA recommends testing for pathogens in irrigation runoff when producing sprouts commercially.
FAQ
What are the key differences between 'sprouts' and 'microgreens' when growing monggo (mung bean) seeds in water?
Sprouts: grown in water or moist dark conditions, harvested before true leaves develop (typically 3–5 days for mung beans). They rely solely on seed reserves—no nutrients are added. Microgreens/greens: grown with light and often with a substrate or hydroponic nutrient solution, harvested at cotyledon/first true‑leaf stage (typically 7–10 days for mung bean microgreens). Microgreens need light and usually a diluted nutrient solution; sprouts do not.
What supplies do I need for countertop mung bean sprouting versus water‑grown microgreens/hydroponics?
Countertop sprouts: food‑grade mung bean seeds labeled for sprouting, glass jar or sprouting tray with mesh lid, potable water, clean towel or rack for drainage, kitchen thermometer, sanitizing supplies (bleach, food‑safe sanitizer), scale. Microgreens/hydroponics: sprouting/microgreen seeds (microgreen grade), shallow trays or NFT/ebb‑flow tanks, grow lights (LEDs) with timer, water reservoir, air pump/air stones (for larger hydro systems), nutrient solution and EC/pH meters, pH adjusters, mesh or substrate (coco mats or hydro pads) if not purely water culture, pumps/filters for recirculating systems, PPE and cleaning equipment.
What seed quality and storage steps are essential before starting?
Use seeds labeled or tested for sprouting/microgreens. If scaling, perform germination/viability testing per ISTA methods (sample 100–300 seeds). Store seeds cool and dry in sealed containers; maintain low moisture and stable temperatures to preserve viability. Prefer reputable suppliers and check lot germination data when available.
What seed‑disinfection steps are recommended to reduce pathogen risk?
FDA guidance recommends considering seed disinfection because seeds are primary pathogen source. A commonly cited benchmark is 20,000 ppm calcium hypochlorite (Ca(OCl)2) soak for ~10–15 minutes, which studies show reduces bacterial loads (≈2–3 log CFU/g) but doesn’t guarantee sterilization. Alternatives include validated hydrogen peroxide or peracetic acid treatments and controlled hot‑water treatments. All treatments trade off efficacy vs germination—follow validated protocols, rinse well after treatment, and use potable water.
What are safe, practical food‑safety practices for home and small‑scale production?
Use sprout‑grade seeds, disinfect seed per validated method, use potable water only, sanitize contact surfaces and equipment, avoid cross‑contamination, rinse/drain sprouts at least twice daily (increase to 3×/day if ambient >24°C/75°F), maintain good airflow and full drainage after rinses, hold finished product under refrigeration ≤5°C/41°F, and if selling, follow local testing and regulatory guidance including spent irrigation water testing where required.
Step‑by‑step timeline for countertop mung bean sprouts (day‑by‑day).
Day 0: inspect seeds, optionally disinfect per protocol, then soak 8–12 hours at ~18–24°C. Day 1: drain thoroughly, place in tilted jar/tray for airflow; rinse & drain 2× daily. Day 2–3: continue rinses; radicle/hypocotyl elongation visible. Day 3–5: harvest when tails ~2–5 cm and cotyledons still undeveloped; if desired, expose to brief light to green cotyledons. Refrigerate immediately after a final rinse/drain and dry surface moisture.