Kangkong (Ipomoea aquatica, also called water spinach) grows fast in soil when you give it warm temperatures, consistently moist ground, and rich organic matter. You can expect your first harvest in as little as 30 days from sowing, and with regular cutting you can keep the same plants producing for months. Soil growing is the most accessible method for most home growers and urban producers, and it gives you more control over nutrition and spacing than floating it in a tub of water.
How to Grow Kangkong in Soil: Complete Step-by-Step Guide
Marcus Holloway
13 Jul 2026
What kangkong is and why grow it in soil
Kangkong is a fast-growing leafy vegetable native to tropical and subtropical Asia. It belongs to the morning glory family and thrives in warm, wet conditions, which is why it is so closely associated with water and boggy ground. There are two broad types you will encounter: aquatic (lowland) kangkong, which is traditionally grown partially submerged, and upland kangkong, which is better adapted to moist but well-drained soil. For soil growing, the upland type tends to perform more consistently, though most varieties sold at markets or seed shops will do fine in a decent container mix or raised bed.
Soil growing makes sense if you do not have a pond, hydroponic system, or a large container of standing water to hand. You can grow it in a pot on a balcony, a raised bed in a backyard, or a direct-sown row in a warm garden. The results are real: I have harvested cutting after cutting from a single 40-litre pot starting just five weeks after planting stem cuttings. If you are looking at water-based propagation or full hydroponic production instead, there are separate guides covering those approaches, but for most people starting out, soil is the fastest path from nothing to a bowl of stir-fried kangkong. For step-by-step instructions on water-based propagation and soilless production, see our guide on how to grow kangkong hydroponics. For step-by-step instructions on how to grow kangkong in water, consult the water-based propagation guide.
Soil, water, or hydroponics: which system is right for you
Before you build a bed or fill a pot, it is worth spending two minutes deciding whether soil is actually the right approach for your situation. Each method has clear strengths and real trade-offs.
| Method | Best for | Main pros | Main cons | When to avoid |
|---|---|---|---|---|
| Soil (this guide) | Beginners, balcony growers, garden beds, small-scale food production | Low cost, easy setup, no specialist equipment, scales from one pot to a full bed | Needs regular watering, soil prep takes effort, drainage must be managed | If you have very limited water access or extremely poor native soil with no budget for amendments |
| Water propagation / water culture | Propagating cuttings before transplanting, countertop growing, very small harvests | No soil needed, roots form quickly (1–7 days), minimal input cost | Limited yield, water quality degrades, not suited to large-scale harvest | If you want sustained production rather than a small countertop experiment |
| Hydroponics (NFT, DWC, ebb and flow) | Controlled-environment growers, maximising yield per square metre, year-round production | Fastest growth, precise nutrition, no soil-borne disease, scalable | Higher upfront cost, requires pumps and pH management, steeper learning curve | If you have no budget for equipment or want the simplest possible setup |
The honest summary: start with soil if you are new to kangkong or do not have hydroponic equipment. Use water propagation to root your cuttings before transplanting (explained later in this guide), and consider hydroponics only when you want to scale up or grow indoors year-round. Both water-based growing and hydroponic production of kangkong are well-documented approaches worth exploring once you have the basics down.
Light, temperature, and space: picking the right spot
Kangkong is a full-sun crop. Aim for at least six hours of direct sunlight daily, and more is better. In my experience, plants in partial shade produce longer, thinner stems and pale leaves, and they are slower to bounce back after cutting. If you are growing indoors or on a covered balcony, supplement with grow lights for 14–16 hours per day.
Temperature is the factor most beginners underestimate. Kangkong wants average temperatures between 25 and 30°C. Growth slows noticeably below 20°C and the plant can sustain damage at 10°C or below. If your climate dips below that, grow kangkong as an annual and pull it before cold weather arrives, or keep it in a container you can move indoors. In frost-prone areas, a greenhouse or a sunny south-facing windowsill is the only reliable option in winter.
For space, a single plant spread in good soil will cover roughly 20–25 cm of ground and push lateral shoots outward as you harvest. In a cut-and-come-again bed, you can plant as densely as 100 plants per square metre for quick, short-cycle cuts, or space at 20–30 cm between rows and 15–20 cm between plants for a longer-running system that keeps producing over many weeks. Even a single 30-litre pot on a balcony is enough space to get 3–4 cuttings every week if you manage it well.
Container or garden bed: making the right call
Both containers and in-ground beds work well for kangkong. The choice comes down to your space, soil quality, and how often you can water.
Containers
Use a pot that is at least 25–30 cm deep and 30 cm wide per two to three plants. A 40-litre rectangular planter comfortably holds eight to ten plants at 15–20 cm spacing and is my go-to for balcony growing. Drainage holes are non-negotiable: kangkong loves moisture but will rot in waterlogged, airless soil. Terracotta and fabric pots dry out faster than plastic, so in hot weather you may need to water twice a day. I prefer dark plastic containers for kangkong because they hold heat, which the plant loves, and they stay moist longer between waterings.
Garden beds and raised beds
In-ground beds suit larger plantings. Raised beds at least 20–25 cm deep are ideal because they warm up faster than native soil and you control the soil mix completely. If your native soil is heavy clay, a raised bed is practically essential: clay waterlogged soils without drainage cause root rot even for a moisture-loving plant like kangkong. For direct-ground planting, loosen the soil to at least 20 cm, incorporate compost thoroughly, and make sure the bed is not in a low-lying spot where water pools after rain.
| Factor | Container | Garden / Raised Bed |
|---|---|---|
| Minimum depth | 25–30 cm | 20–25 cm |
| Drainage control | Excellent (you choose the mix) | Moderate to good (depends on native soil) |
| Watering frequency | Higher (dries faster) | Lower (more thermal mass) |
| Setup cost | Low to moderate | Low to moderate |
| Scalability | Limited by pot count | Easily expanded |
| Mobility | Can be moved indoors | Fixed location |
Building the right soil mix for kangkong
Kangkong wants soil that holds moisture well but does not become waterlogged, is rich in organic matter, and sits at a pH of 5.5–7.0 (ideally 6.0–7.0 for most vegetable growing situations). The wrong mix is probably the most common reason home-grown kangkong underperforms: either it is too sandy and dries out too fast, or it is too heavy and suffocates the roots.
Premium mix (best for containers and raised beds)
By volume: one third coco coir or peat moss, one third well-blended mature compost, and one third coarse vermiculite (or swap the vermiculite for 20–25% perlite plus 10–15% pumice if vermiculite is hard to source locally). This is a variation of the classic 'Mel's Mix' used in square-foot gardening, and it gives you a light, moisture-retentive base with enough aeration to prevent compaction. I use this recipe for all my balcony containers and it has not let me down.
Budget mix (good for raised beds and garden plots)
By volume: 50% screened topsoil or loam, 30% mature compost, and 20% coarse sand or coarse perlite. This is lower cost and works well for larger beds where you cannot afford to fill the whole volume with premium amendments. Avoid fine beach sand, which compacts badly. Coarse river sand or horticultural grit is what you want.
pH adjustment
Test your mix before planting with a basic pH meter or test kit. If pH is below 5.5, add agricultural lime (follow product rates, typically around 100–200 g per 40-litre container). If pH is above 7.5, work in sulfur or acidic compost. Most good-quality compost-based mixes land naturally between 6.0 and 7.0, so if you have used a compost-heavy recipe you may not need to adjust at all.
Seedling tray mix
For starting seeds or rooting cuttings in trays before transplanting, use 66% peat moss (or coco coir) and 34% coarse vermiculite by volume. This AVRDC-tested combination gives excellent moisture retention and drainage for young roots. Avoid straight garden soil in trays because it compacts and can carry pathogens that kill seedlings.
Preparing the bed or pot before planting
Good preparation takes 30–60 minutes and pays back every time you harvest. Here is the process I follow consistently.
- If using an in-ground bed, loosen the soil to at least 20 cm depth with a fork or spade. Remove stones, roots, and compacted clumps.
- Incorporate your compost (at least a 5–10 cm layer worked into the top 15 cm of soil). If starting with poor or depleted soil, use more. Compost is both a nutrient source and a moisture manager for kangkong.
- Mix in a balanced starter fertiliser. A slow-release granular fertiliser at the manufacturer's recommended rate, or about 100–150 g per square metre of a 5-5-5 type general vegetable fertiliser, gives the plants something to feed on while they establish. I prefer organic pellets over synthetic at this stage because they release more gently.
- For containers, fill to within 5 cm of the rim. Leave a watering gap so water does not run straight off the surface.
- If drainage is a concern in containers, add a 3–5 cm layer of gravel or broken pottery at the base of the pot before adding the growing mix. Do not block the drainage holes.
- Level the surface and water thoroughly until it drains freely from the bottom. Let the mix settle for 24 hours before planting if you have time.
Propagation options: seeds, cuttings, or water-start cuttings
Kangkong can be grown from seed or from stem cuttings, and both work well. The right choice depends on what you have available and how quickly you want a harvest.
Seeds
Seeds are easy to buy, inexpensive, and give you a clean start free from any pests or diseases carried by cuttings. Under good conditions (25–30°C, moist soil), kangkong seeds germinate in as little as 2–5 days, though harder-seeded lots can take longer without pre-treatment. Seeds are the better choice when you are starting from scratch or want to grow a specific variety.
Stem cuttings planted directly into soil
If you already have a kangkong plant (or can get stem cuttings from a market, garden, or a neighbour), cuttings are faster than seeds and skip the germination stage entirely. Rooting percentage is high under warm conditions, with research reporting success rates around 87% in controlled settings. Direct-to-soil cuttings work, but starting them in water first improves reliability.
Water-started cuttings, then transplanted to soil
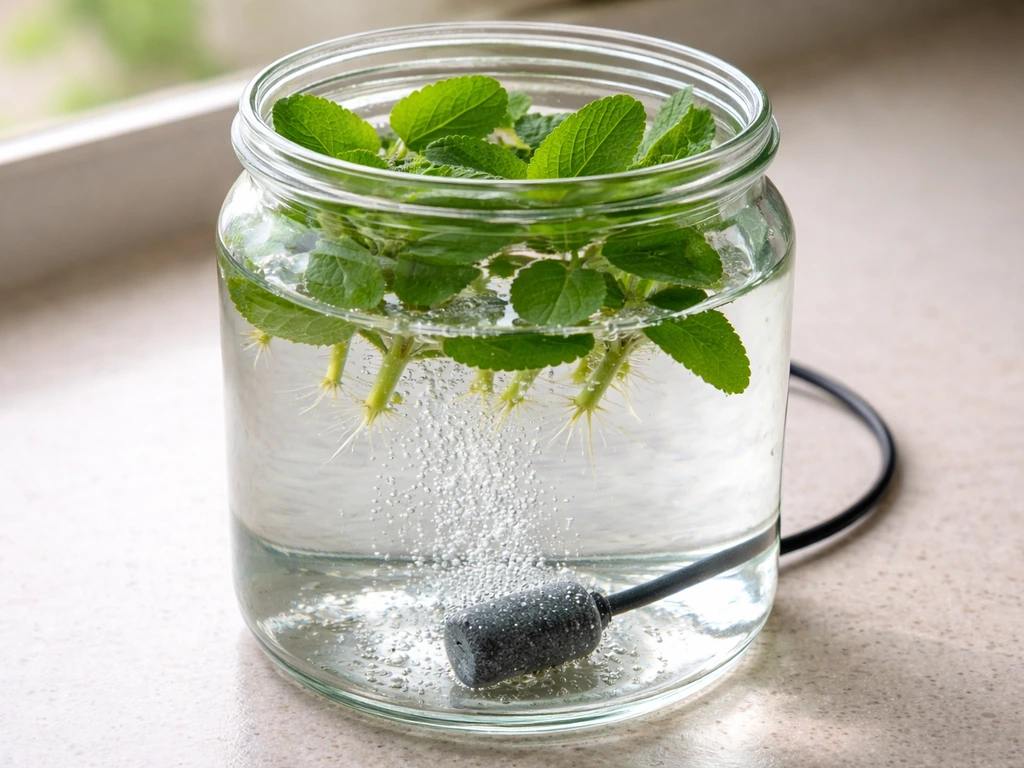
This is the method I recommend most often to beginners because it lets you confirm root development before committing the cutting to a pot. Take your cuttings, stand them in a jar of water on a warm windowsill, and wait for roots to appear (typically 1–7 days in warm conditions). Once roots are a few millimetres long, the cuttings are ready to transplant. AVRDC advises transplanting cuttings after a short water-soak/root initiation (1–3 days) into 5–10 cm holes in the field, and general propagation guidance recommends waiting for visible root development and hardening-off for 3–7 days to reduce transplant shock blank" rel="noopener noreferrer">Suggested Cultural Practices for Kangkong — AVRDC (World Vegetable Center) recommends transplanting cuttings after short water-soak/root initiation and hardening to reduce shock.. This is essentially the same idea as starting other plants in water before moving them to soil, a technique used with many species. For a focused walkthrough on water-based methods, see our guide on how to grow panikoorka in water. The key is not to let the roots get too long before transplanting, because very long water-grown roots can struggle to adapt to soil medium. For a related water-based ornamental technique, see our guide on how to grow lucky bamboo in pebbles, which explains rooting and maintaining plants in a decorative pebble setup.
Planting from seed: the step-by-step timeline
Follow this sequence for reliable seed germination and establishment in soil.
Step 1: Seed pre-treatment (Day 0)
Some kangkong seeds have a hard seed coat that slows germination. Soak seeds in room-temperature water for 8–12 hours before planting. Practical seed‑handling and genebank notes recommend short soaking or scarification for hard‑seeded lots (Ipomoea aquatica, PROTA / Plant Resources of South‑East Asia, seed physiology and germination notes) Ipomoea aquatica — PROTA / Plant Resources of South-East Asia (seed physiology and germination notes). If you notice very hard seeds that sink and still feel firm after soaking, lightly nick the seed coat with fine sandpaper (scarification) to help water penetrate. Drain and plant the same day.
Step 2: Sowing (Day 0)
- Make furrows in your prepared bed or container at 1.0–1.5 cm depth.
- Space seeds about 5 cm apart along the furrow, or sow at roughly 300 seeds per square metre if broadcasting for a dense, short-cycle crop.
- Cover seeds with a thin layer of fine compost (not heavy soil) and firm gently.
- For seed trays: use 50–100 cell trays with cells at least 4 cm wide. Sow 2–3 seeds per cell at 1.0–1.5 cm depth, then thin to one seedling per cell once they sprout.
- Water gently with a fine rose to avoid dislodging seeds. Keep the surface evenly moist but not puddled.
Step 3: Germination (Days 2–7)
At 25–30°C, expect the first seedlings to emerge within 2–5 days. Cooler conditions will push this to 7 days or more. Keep the surface moist throughout this period. If the surface dries out between waterings, germination rates drop sharply. A light cover of cling film or a humidity dome over seed trays helps maintain moisture without waterlogging.
Step 4: Thinning (Days 10–18)
Once seedlings have 2–3 true leaves (distinct from the first seed leaves), thin them to your target spacing. For a multi-harvest cut-and-come-again bed, thin to 15–20 cm between plants in rows 20–30 cm apart. For a dense quick-cycle crop, thin to leave around 100 plants per square metre. Snip unwanted seedlings at the base rather than pulling them to avoid disturbing roots of neighbouring plants.
Step 5: Transplanting tray seedlings (Week 3)
Seedlings started in trays are ready to transplant when they are about three weeks old or have 5–6 true leaves. Water the tray well an hour before transplanting. Set them into the prepared bed at your chosen spacing, firm soil around the roots, and water in immediately. Transplant in the late afternoon or on a cloudy day to reduce wilting stress.
Sowing-to-harvest timeline at a glance
| Milestone | Timeframe from sowing |
|---|---|
| Germination (first sprouts visible) | 2–7 days |
| 2–3 true leaves (thinning stage) | 10–18 days |
| 5–6 leaves (transplant-ready if tray grown) | ~21 days |
| First harvest (cut shoots 15–25 cm long) | 30–45 days |
| Ongoing weekly harvests | Every 7 days after first cut |
Planting from stem cuttings
Stem cuttings skip the germination stage entirely and, when conditions are right, will root and start putting out new growth within a week of planting. I prefer this method when I already have a plant or have access to fresh stems from a market.
- Select healthy stems 15–25 cm long with 3–4 internodes (the nodes are where leaves attach and roots will form). Avoid flowering stems.
- Strip the lower leaves from the bottom third of the cutting to expose the nodes that will go into the soil.
- Optional but helpful: dip the base in rooting hormone powder or gel. Even without hormone, kangkong cuttings root readily.
- To water-start before soil planting: stand cuttings in a jar with 3–5 cm of clean water on a warm, bright windowsill. Change the water every 1–2 days. Roots typically appear within 1–7 days at 25–30°C. Once roots are 5–15 mm long, transplant to soil.
- To plant directly into soil: make holes 5–10 cm deep with a finger or dibber. Insert two to three cuttings per hole (this increases the chance that at least one roots well per planting point). Firm soil gently around each cutting.
- Use row spacing of 20–30 cm and in-row spacing of 15–20 cm for a multi-harvest system.
- Water immediately and keep soil consistently moist for the first week while roots establish. Shade cuttings from intense midday sun for the first 3–5 days to reduce wilting.
Watering and feeding your kangkong
Kangkong needs consistently moist soil. Let it dry out and it stalls; waterlog it with no drainage and it rots. The practical test is simple: if plants are wilting noticeably at midday, water immediately. In a hot, dry season, that often means watering every 3–4 days in containers, or weekly in larger beds. During cooler periods, every 10–14 days may be enough for in-ground beds. Containers always need more frequent attention than beds.
For feeding, kangkong is a fast-growing leafy vegetable that consumes nitrogen quickly. After the starter fertiliser is in the soil (applied at bed preparation), top-dress every two to three weeks with a nitrogen-rich fertiliser. Liquid fish emulsion or diluted seaweed solution applied at the manufacturer's recommended rate works well and is gentler on the soil biology than synthetic options. Alternatively, a light handful of balanced granular fertiliser scratched into the surface around each plant every three weeks keeps production strong. If leaves are yellowing and growth has stalled, nitrogen deficiency is the first thing to check.
Harvesting for continuous production
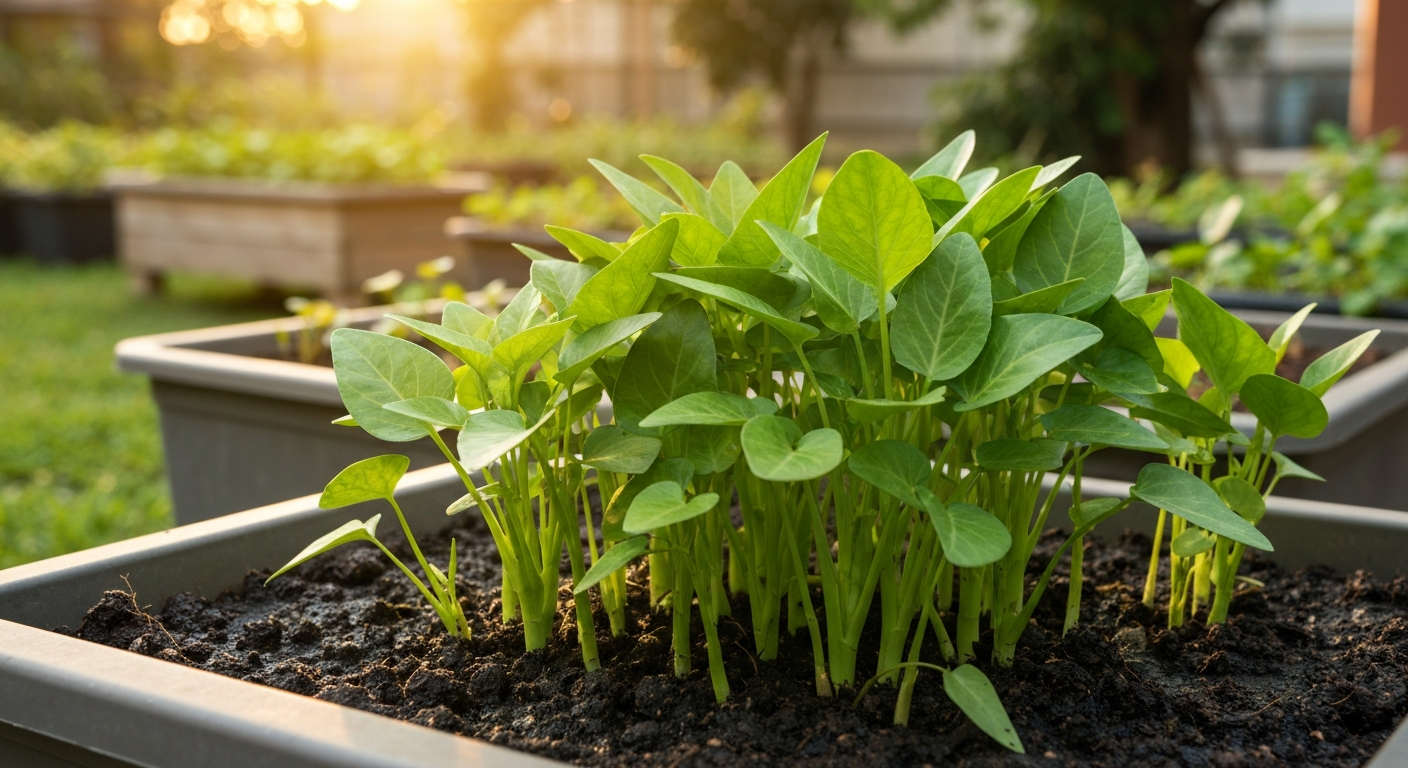
The first harvest typically comes 30–45 days after sowing or transplanting, depending on the cultivar and growing conditions. Do not wait for plants to look fully mature before cutting: the best-tasting kangkong is young, tender, and harvested before flowering begins.
For ongoing production, cut shoots 15–25 cm long close to the ground on a weekly basis. This regular cutting does two important things: it delays flowering (once kangkong flowers, the leaves get tougher and less palatable), and it stimulates lateral branching so each plant produces more shoots over time. Within two to three harvests you will see the plant bush out noticeably. A single well-managed plant in a 40-litre pot can realistically yield 100–150 g of fresh shoots per week.
For succession planting and a continuous supply, sow or plant a new batch every 3–4 weeks. This way, when one batch starts to slow down, the next is ready to ramp up. In warm climates, this cycle runs year-round. In temperate climates, you typically have a growing window from late spring through early autumn.
Common problems and how to fix them
Most kangkong problems have straightforward causes and fixes once you know what to look for.
| Problem | Likely cause | Fix |
|---|---|---|
| Yellow leaves, slow growth | Nitrogen deficiency or pH too high/low | Top-dress with nitrogen fertiliser; test and correct soil pH to 6.0–7.0 |
| Wilting despite watering | Root rot from poor drainage or waterlogging | Check drainage holes; reduce watering; repot with better-draining mix if severe |
| Leggy, pale stems | Insufficient light | Move to a sunnier spot or add grow lights (14–16 hours) |
| Cuttings not rooting | Too cold, or cuttings dried out before planting | Keep temperature above 20°C; water-start cuttings before planting in soil |
| Seedlings collapsing at soil level (damping off) | Fungal pathogen in non-sterile tray mix | Use sterilised or commercial seedling mix; improve airflow; avoid overwatering trays |
| Aphids or whitefly on leaves | Insect pressure, especially in humid conditions | Blast with water; use insecticidal soap spray; introduce beneficial insects if possible |
| Plants flowering too early, leaves hardening | Under-harvesting or high temperatures | Harvest more frequently; cut back hard; consider shade cloth in extreme heat |
| Poor germination from seed | Hard seed coat or old seed stock | Pre-soak 8–12 hours; scarify hard seeds; use fresh seed from the current season |
Soil kangkong versus other growing systems: a quick comparison
If you have been reading about water-based propagation methods or full hydroponic setups, it is worth a brief side-by-side look at what soil growing actually delivers compared to those alternatives. Growing kangkong in water (either as a permanent culture or as a propagation method) requires very little equipment and produces rapid root development, but it limits how much you can harvest from a given space. For gardeners interested in similar water-based techniques for other plants, see our guide on how to grow coconut in water. For a related water-based houseplant technique, see my short guide on growing bamboo in a water vase. Full hydroponic systems give the fastest vegetative growth because nutrients are delivered directly to the roots in solution, but the setup cost and management overhead are higher. For most hobbyists and small-scale food producers, soil is the practical middle ground: low cost, forgiving, and capable of sustained multi-month production with minimal inputs beyond water, compost, and occasional feeding.
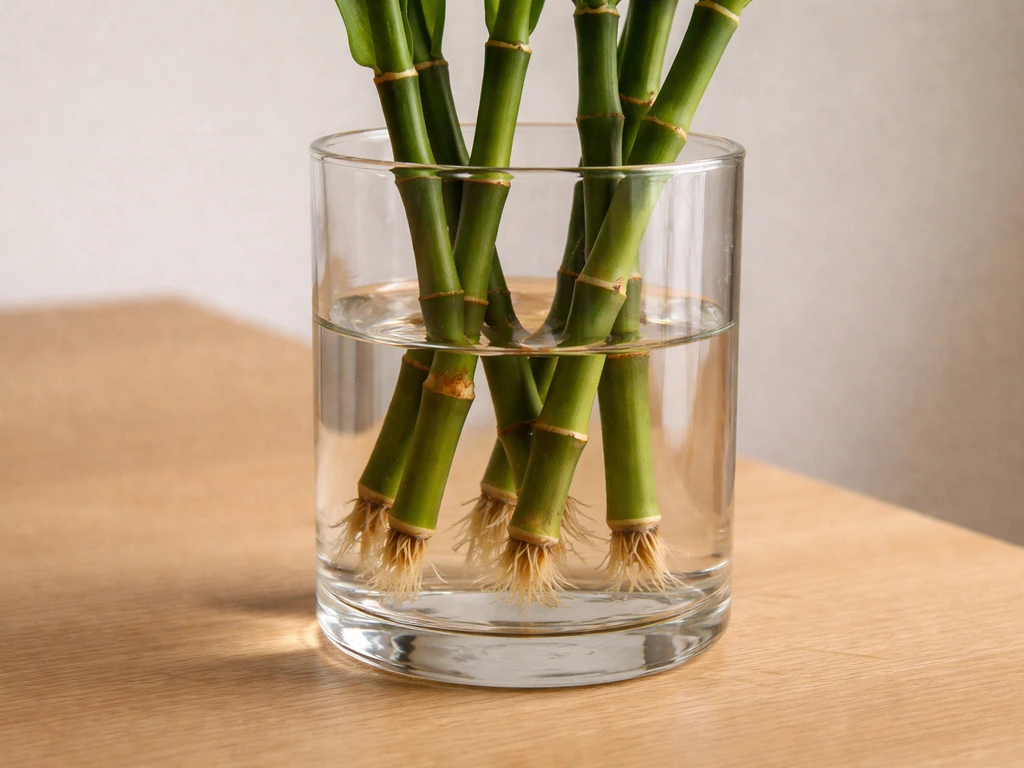
The water-start propagation technique described in this guide is a direct bridge between pure water culture and soil growing. For similar water-based techniques with other crops, see a short guide on how to grow kumara in water. Starting cuttings in a jar of water to initiate rooting, then transplanting to soil, gives you the best of both methods: the speed and reliability of water rooting combined with the productivity and nutrient availability of soil. For related water-based propagation methods, see a short guide on how to grow monggo seeds in water for seed-starting and sprout production. It is the approach I now default to for any cutting-based kangkong planting, especially at the start of a growing season when I want to know every cutting will take before I commit it to a pot.
FAQ
What site and climate conditions are best for growing kangkong (Ipomoea aquatica) in soil?
Choose a warm, sheltered site with full sun to partial shade; ideal average temperatures are about 25–30°C (plants are damaged near or below ~10°C). Select a level area with good water access because kangkong likes consistently high soil moisture; soils high in organic matter with good water-holding capacity are preferred. For soil pH aim for slightly acidic to neutral (roughly pH 5.5–7.0). (Sources: AVRDC WorldVeg suggested practices; general vegetable-crop references) URLs: https://worldveg.tind.io/nanna/record/39509/files/e03423.pdf
Should I grow kangkong in containers or in beds/ground? How do I decide?
Choose based on space, water control and harvest goals: - Containers/pots: best for balconies, small urban spaces, or where soil is poor or contaminated; use at least 20–30 cm deep containers and ensure frequent irrigation. - Raised beds/ground: best for continuous, higher‑density cut‑and‑come‑again harvests and easier irrigation management. - Consider access to water: if you can maintain high, regular moisture beds are simpler; if not, containers with daily watering or drip irrigation are practical. For intensive market-scale density, beds are more efficient; for hobby/small-scale, containers simplify pests and mobility. (AVRDC notes high moisture and organic matter preference.) URL: https://worldveg.tind.io/nanna/record/39509/files/e03423.pdf
What potting or garden soil mix should I use for kangkong (exact recipes and volumes)?
Two practical mixes: 1) Premium (Mel’s-style) by volume: 1/3 well‑aged compost + 1/3 coco coir or peat moss + 1/3 coarse vermiculite (or substitute perlite/pumice for improved drainage). This gives good water-holding capacity and aeration. 2) Budget raised-bed mix by volume: 50% screened loam/topsoil + 30% mature compost + 20% coarse sand or grit (or coarse perlite). For seed trays or small cells AVRDC recommends 66% peat moss + 34% coarse vermiculite by volume. Sterilize or use clean components if reusing media. Maintain pH ~5.5–7.0. (Sources: AVRDC seedling media; Mel’s Mix.) URLs: https://worldveg.tind.io/nanna/record/39509/files/e03423.pdf https://squarefootgardening.org/mels-mix-resources/
How do I sow kangkong seeds in soil (depths, spacing, timelines, and thinning)?
Line-sowing: make furrows 1.0–1.5 cm deep; sow seeds about 5 cm apart in the row; cover lightly with compost or fine soil. Broadcast: aim ~300 seeds/m² (~10 g/m²) then thin. Germination is fast under warm, moist conditions (mean days‑to‑emergence often ~2–5 days depending on seed lot). When seedlings have 2–3 true leaves thin to final spacing of 10–15 cm between plants for cut‑and‑come‑again systems or to 15–20 cm for slightly wider spacing; AVRDC suggests thinning to 10–15 cm after 2–3 true leaves and seedlings are typically ready to transplant ~3 weeks after sowing (or when 5–6 leaves in trays). First harvest commonly 30–45 days after sowing/transplant. (Source: AVRDC) URL: https://worldveg.tind.io/nanna/record/39509/files/e03423.pdf
How do I propagate kangkong from stem cuttings (step‑by‑step, sizes, rooting and transplant timing)?
Cuttings: take 15–25 cm long stem cuttings with 3–4 internodes; remove lower leaves and any damaged tissue. Optional: dip the cut base in a rooting hormone (IBA) for quicker rooting. Rooting methods: 1) Water: stand bases in clean water; roots typically appear in 1–3 days under warm conditions (initial rooting) and more robust roots within 3–7 days. 2) Coarse medium (perlite/vermiculite/coir): insert the base into moist medium and keep humid; roots form in a few days. Transplant: AVRDC field practice is to soak or initiate roots 1–3 days and then plant into 5–10 cm deep holes; many extension guides recommend transplanting after visible root development (few mm–cm) and a short hardening-off (3–7 days) to reduce shock. For field holes plant two–three cuttings per hole when using this method; row spacing 20–30 cm, in-row spacing 15–20 cm for multiple-harvest systems. (Sources: AVRDC and propagation studies) URLs: https://worldveg.tind.io/nanna/record/39509/files/e03423.pdf https://www.researchgate.net/publication/287729496_Asian_leafy_vegetables_and_herbs_cultivated_in_substrate_culture_and_aeroponics_in_greenhouse
How and when should I transplant seedlings or rooted cuttings into soil?
Transplant seedlings when they have 5–6 true leaves or ~3 weeks old from sowing. For rooted cuttings, wait for visible roots (few mm–cm) or follow AVRDC practice of short soak/root initiation (1–3 days) just prior to planting. Dig holes 5–10 cm deep, plant at the same depth as in the tray or slightly deeper for stable stems, firm soil around roots and water in. If moving from water to soil harden off for 3–7 days by withholding some humidity and reducing watering to acclimate roots and reduce shock. Maintain high soil moisture after transplant; monitor for wilting midday as irrigation trigger. (Source: AVRDC) URL: https://worldveg.tind.io/nanna/record/39509/files/e03423.pdf},{