You can sprout a coconut in water by partially submerging a mature, unhusked nut in a container so the base stays wet while the top third stays dry, keeping it at 27–32°C with bright indirect light. Under good conditions, a shoot emerges in 30–90 days. The water method works well for sprouting, but a coconut cannot live long-term in water alone. Once the sprout has a 10–15 cm shoot and visible roots, you need to move it to soil, a large container, or a permanent hydroponic medium. Think of water-based germination as a controlled nursery stage, not a permanent home.
How to Grow Coconut in Water: Step-by-Step Sprouting Guide
Marcus Holloway
24 Jul 2026
What to realistically expect from water-based coconut sprouting
I want to be straight with you before you set up a container: germination timelines for coconuts are genuinely wide. Published research records successful germination anywhere from 30 to 220 days depending on the cultivar, husk thickness, water temperature, and whether the nut has been pre-treated. In my own experience, a healthy, room-temperature nut in warm water typically shows a sprout tip in 6–10 weeks. Cooler setups stretch that significantly. At 25°C the process takes roughly 90 days; drop the temperature to 15°C and you're looking at 120 days or more. Keep it below 20°C and you may wait so long the nut starts to rot before it ever sprouts.
The good news is that coconuts are built for this. They evolved to float in saltwater for months and still germinate on a beach. Experimental records show successful sprouting after around 110 days of floating in salt water. That resilience works in your favor when you control the variables properly. Expect one healthy sprout per nut, a viable seedling ready for transplant in roughly 4–6 months from the start of germination, and a plant that will need real soil or a large-format hydroponic system within about a year.
Who should try this method and when it makes sense
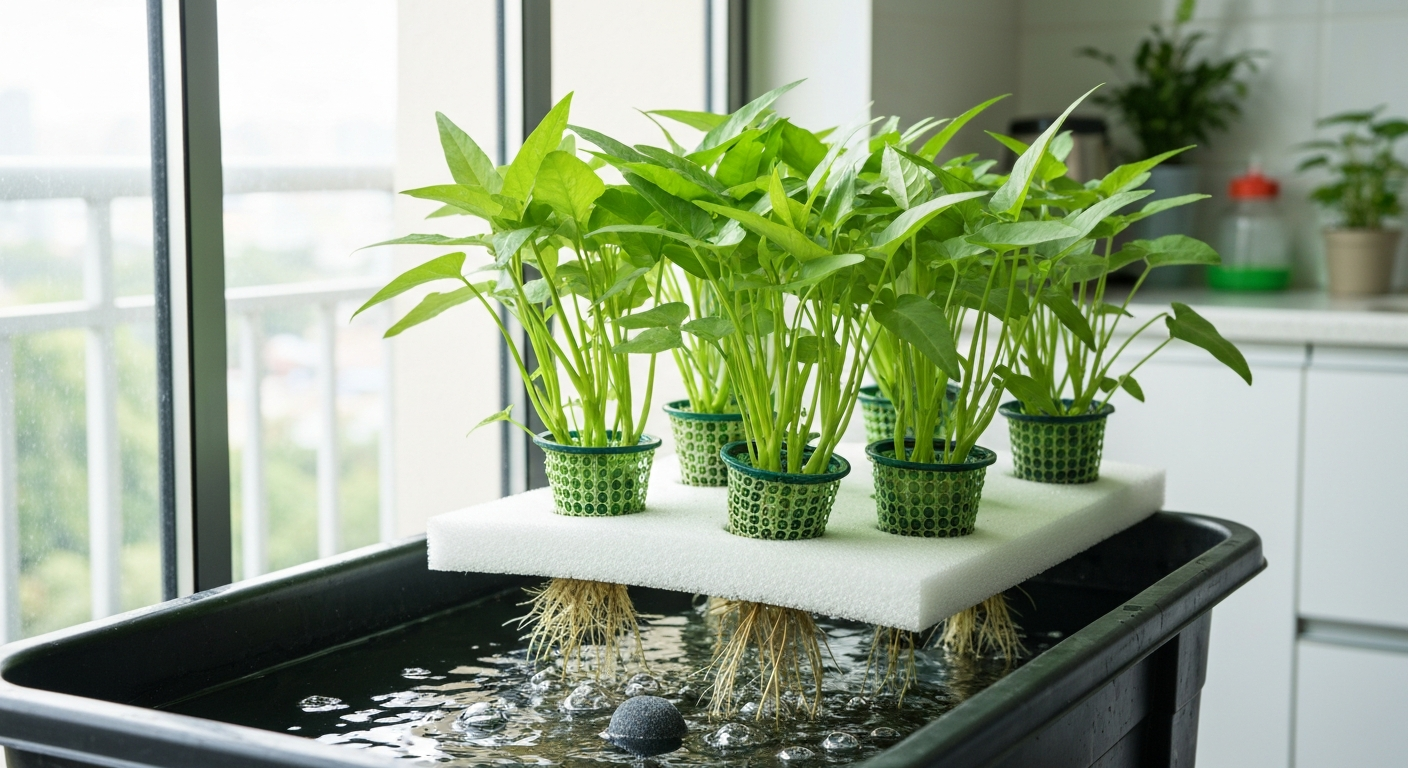
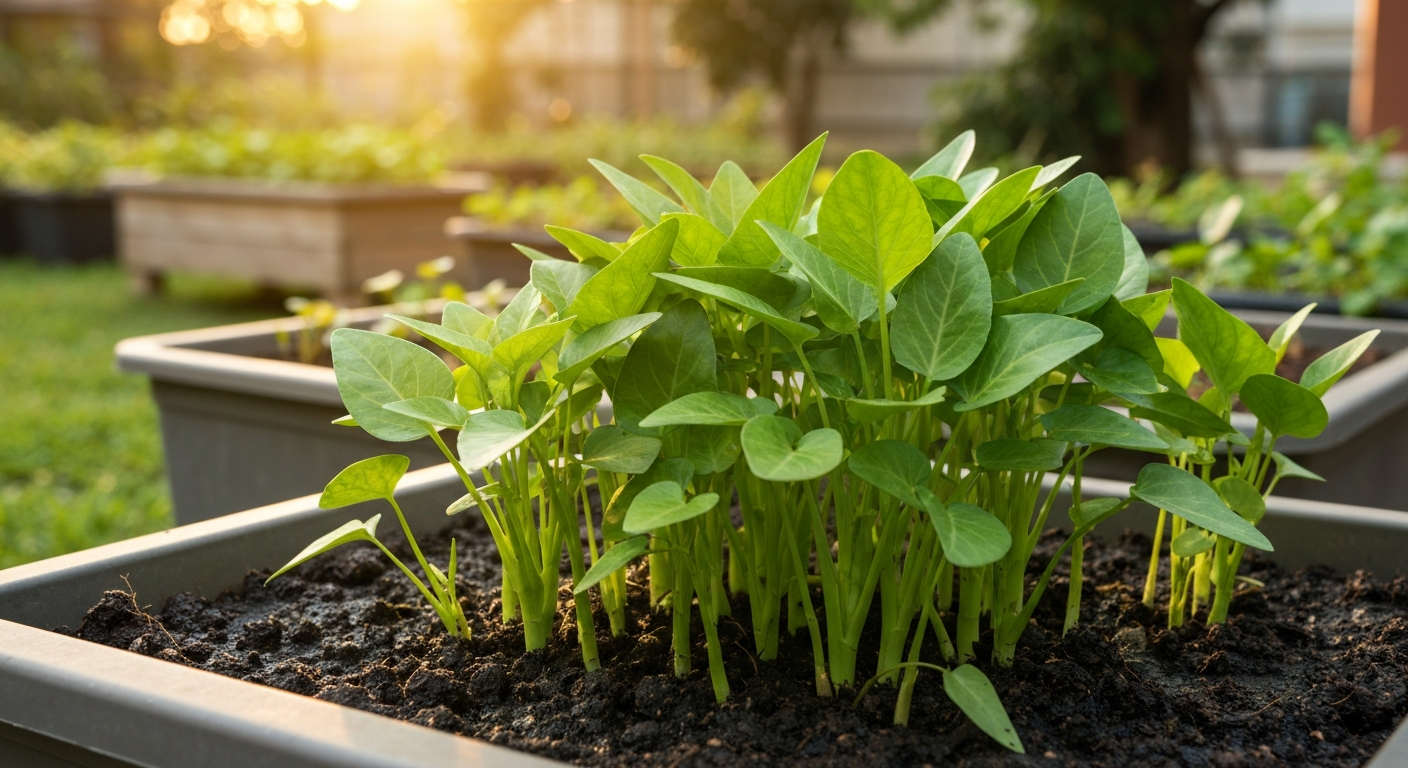
Water-based coconut sprouting is a great fit for hydroponic hobbyists, aquatic gardeners, and anyone who wants to watch germination happen without burying a nut in soil and guessing. For a quick, directly related guide on water-based seed sprouting techniques, see how to grow monggo seeds in water. If you're already running a DWC or NFT system for other crops, you have most of the equipment you need. It's also ideal if you live in a warm climate (or can provide supplemental heat) and are curious whether coconut can be worked into a soilless system long-term. I first tried this after getting comfortable with water-rooting simpler tropical plants like kangkong, and it felt like a natural next step. For a quick, successful water-rooting example, see how to grow kangkong hydroponics. For step-by-step instructions on a comparable water-rooting crop, see a short guide on how to grow kumara in water. For step-by-step guidance on planting kangkong in soil, see how to grow kangkong in soil. For step-by-step guidance on water-rooting kangkong, see how to grow kangkong in water.
Where it doesn't make sense: if you're in a temperate climate without a heated space, if you can't commit to monitoring water levels and quality every few days, or if you want a fruiting tree quickly (coconuts typically take 6–10 years to fruit under optimal tropical conditions). This method is about germination and early establishment, not a shortcut to a mature plant. If you're after a fast edible crop, a water-sprouted kangkong setup will deliver results in weeks rather than months.
Materials and setup checklist
For water-only sprouting
- One mature, whole coconut (with husk) — see selection notes below
- Large container: bucket, tub, or wide bowl with at least 20–25 cm depth and 30+ cm width
- Enough clean, room-temperature water to submerge the bottom third of the nut
- Support structure: wire rack, mesh shelf, or rubber bands and wooden dowels to hold the nut at the right depth
- Waterproof thermometer to track water and air temperature
- pH test kit or digital pH meter (target: 6.0–6.5 for clean tap or filtered water)
- Opaque wrapping or a dark-colored container to limit algae growth
- Small aquarium air pump and air stone (strongly recommended for oxygenation)
- Clean water source for weekly water changes
For temporary hydroponic sprouting (DWC-style)
- Opaque reservoir (5–10 gallon minimum, dark-colored or wrapped)
- Net pot or custom foam collar large enough to cradle the coconut
- Aquarium air pump with air stone and tubing (keep dissolved oxygen high)
- Hydroponic nutrients: low-strength A/B or all-in-one seedling formula
- Digital EC/TDS meter (target: 300–500 ppm or 0.5–1.0 mS/cm for early stages)
- pH meter and pH Up/Down solution (target: 5.5–6.5)
- Thermometer for reservoir (aim for 18–22°C reservoir temp to prevent root rot)
- Timer for optional supplemental lighting
How to choose and prepare your coconut
Start with the right nut and you solve half the problems before they start. You want a mature, whole coconut with the husk fully intact. Maturity matters: the nut should feel heavy for its size, and when you shake it you should hear liquid sloshing inside. No liquid means it's dried out and unlikely to germinate. Avoid coconuts with cracked husks, visible mold, a sour or fermented smell, or any soft, mushy patches. A greenish-brown husk is fine; fully dried brown is also workable as long as the shell underneath is solid.
Before placing the nut in water, locate the germ pore. On a coconut, one end has three dark circular 'eyes' grouped together. The germ pore is the one eye that is slightly softer than the other two. This is the exact point where the sprout will emerge. A traditional nursery technique that genuinely speeds things up is to thin the husk slightly around the germ pore end or create a small cavity exposing the shell there. Research on coconut germination confirms this increases water absorption into the nut and evens out germination times across a batch. I use a stiff serrated knife to carefully shave 1–2 cm of fibrous husk away from that end, just enough to expose the dark shell surface. Don't crack the shell itself.
If you're unsure about viability, submerge the whole nut in water for 30 minutes. A nut that floats entirely upright (vertical) is often past its best; one that floats on its side with the germ-pore end slightly elevated is typically healthy. This isn't foolproof, but it's a quick filter before you invest six weeks of effort.
Container choice, water depth, anchoring and support
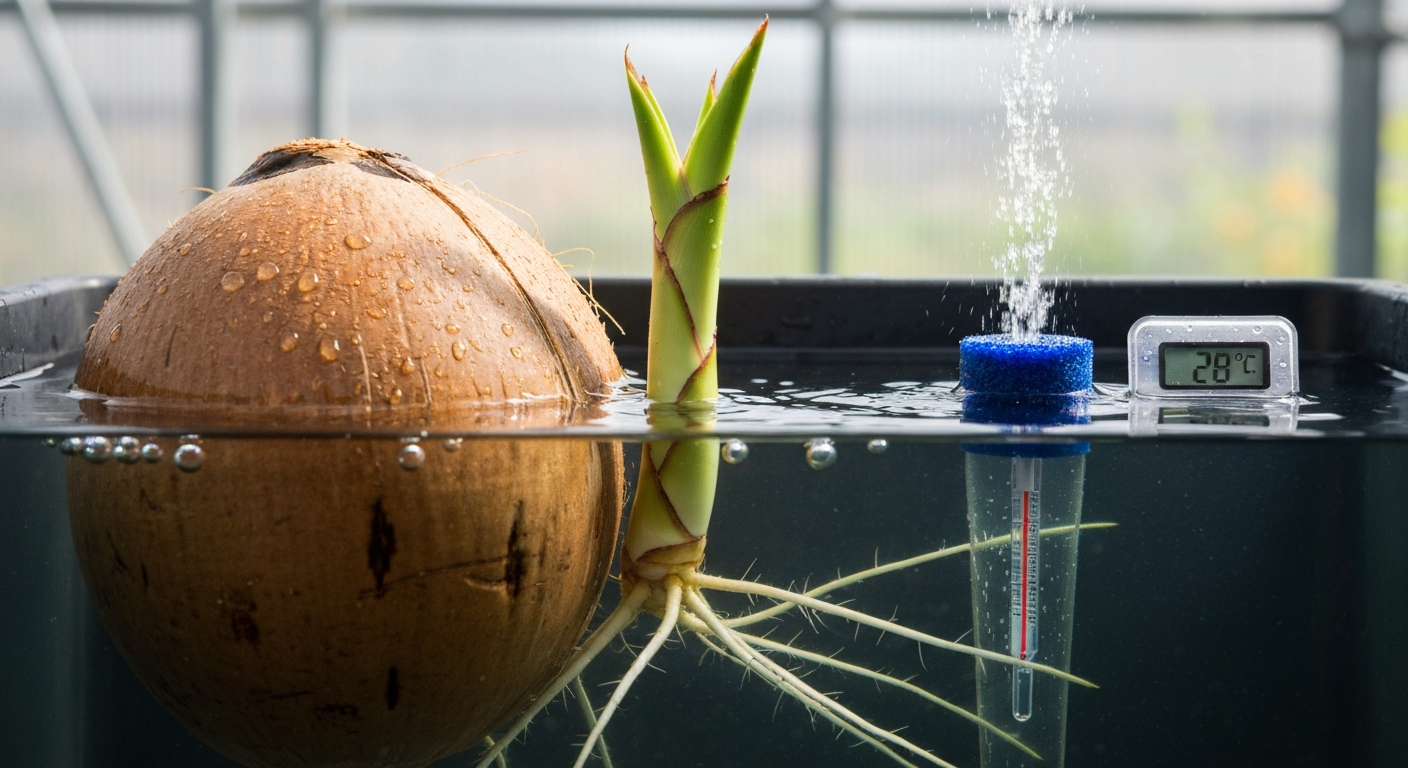
The container needs to be wide enough to hold the coconut without it rolling, and deep enough to hold at least 8–10 cm of water. A 5-gallon bucket is on the small side but workable; a wide plastic storage tub is better because it gives you room to secure the nut in position. The goal is to keep the bottom third of the coconut (the end opposite the germ pore) submerged, with the germ pore end above the water line. If the nut is fully submerged, the developing sprout can drown. If it barely touches the water, germination stalls.
Anchoring a coconut in a bucket is more awkward than it sounds. The husk is buoyant and the nut wants to roll. A few methods that actually work: wedge the nut between two wooden dowels zip-tied or rubber-banded across the rim of the bucket; cut a circle of mesh or wire rack and rest the nut on it so the base dips into the water below; or use a net pot sized to the nut's diameter with the bottom third of the pot submerged. The mesh or net-pot approach slots naturally into a DWC-style lid and is my preferred setup because it keeps the orientation stable for months.
Use an opaque or dark-colored container, or wrap a clear one with black plastic. Light penetrating the water encourages algae, which competes for oxygen and fouls the roots. Add an air stone connected to a small aquarium pump and run it continuously. This is not optional if you care about preventing rot. Root zones without oxygen are an open invitation for Pythium and Phytophthora, the two most common coconut seedling pathogens, and they can destroy a healthy sprout in days.
Light, temperature and location
Coconuts are tropical plants and they don't negotiate on temperature. The air around the sprouting nut should stay between 27°C and 32°C as consistently as possible. Below 20°C, germination slows dramatically and rot risk increases. Below 15°C, you're essentially putting the nut in suspended animation. A warm, humid greenhouse shelf, a heat mat under the container, or a heated indoor room in a tropical or subtropical climate are all practical options. I've had the best results on a south-facing windowsill in summer where ambient daytime temperature stays above 28°C.
During germination, the nut doesn't actually need direct sunlight yet. The energy driving initial sprout emergence comes from the endosperm (the coconut meat and water inside the nut) rather than photosynthesis. Bright indirect light or 12–14 hours of moderate artificial light is sufficient for the first few weeks. Once a green shoot emerges and begins to leaf out, start providing 6–8 hours of direct sun or equivalent high-output grow light. At that point the seedling is switching from heterotrophic to photosynthetic growth and needs the light to continue developing.
| Condition | Ideal range | What happens outside the range |
|---|---|---|
| Air temperature | 27–32°C | Below 20°C: germination slows or stalls; above 38°C: heat stress |
| Water/reservoir temp | 25–30°C (sprouting); 18–22°C (hydroponic roots) | Too warm: low dissolved oxygen, root rot; too cold: slow germination |
| Light (germination phase) | Bright indirect or 12–14 hrs artificial | Darkness is fine early; lack of light after shoot emergence stunts growth |
| Light (seedling phase) | 6–8 hrs direct sun or high-output grow light | Insufficient light produces weak, leggy fronds |
| Water pH | 6.0–6.5 (water-only); 5.5–6.5 (hydroponic) | Outside range: nutrient lockout in hydroponic; algae/pathogen risk in plain water |
| Humidity | 70–80% preferred | Low humidity dries the husk and can desiccate the developing sprout tip |
Step-by-step water-based germination process
- Day 1 — Setup: Fill your container with clean, room-temperature water adjusted to pH 6.0–6.5. Position the coconut in your support system so the bottom third is submerged and the germ pore end faces up and stays dry. Start the air pump.
- Days 1–3 — Soaking phase: The husk absorbs water rapidly. Check the water level daily and top up as needed. The nut may shift; correct the orientation each time. This initial soak is critical for triggering germination.
- Days 4–14 — No visible activity (normal): Resist the urge to poke the nut or change anything drastic. Change 50–75% of the water every 5–7 days, rinsing the container lightly with clean water before refilling. Maintain temperature.
- Days 14–30 — Internal activity: If you tap the nut near the germ pore, the sound may change subtly as the internal cotyledon (haustorium) begins expanding. You won't see anything externally yet. Keep conditions stable.
- Days 30–90 — Sprout emergence: At some point in this window you will see a pale green or white pointed tip pushing through the husk at the germ pore end. This is the shoot. Do not increase water depth when you see this. Keep the shoot above the waterline.
- Days 30–90 — Root emergence: Roots typically emerge from the base of the nut through the husk, into the water, around the same time as or slightly before the shoot. Healthy roots are white to cream-colored and slightly fuzzy.
- Ongoing — Water changes: Once the sprout is visible, increase water changes to every 3–4 days. The growing seedling is metabolically active and will deplete dissolved oxygen and alter pH faster now.
- Day 90 and beyond — Shoot development: The shoot will lengthen and the first strap-like juvenile leaf will unfurl. This is the signal to begin thinking about transplant. Track shoot height and root length weekly.
Caring for the sprout as it develops
Water changes and aeration
Change 50–75% of the water every 3–5 days once the sprout is active. Use water that is dechlorinated or has been left to sit for 24 hours, since chlorine can inhibit the developing root system. Each time you do a water change, check the container for any slime, discoloration, or smell. A clean, slightly earthy smell is normal. A sour or sulfurous smell means you have anaerobic bacteria developing and need to clean the container more thoroughly. The air stone should run 24 hours a day. If I have to choose between skipping a water change and turning off the air pump, I keep the pump running every time.
Fertilization and nutrients in a water system
For the first 2 months after germination, the seedling draws almost all its energy from the endosperm inside the nut. You don't need to add nutrients to the water during this phase, and adding them too early can actually encourage algae and pathogen growth without benefiting the plant. Around 2 months after the sprout first appears (roughly matching published nursery guidance to begin fertilization about 2 months post-germination), you can introduce a very dilute nutrient solution: target 300–500 ppm (0.5–1.0 mS/cm EC) using a balanced hydroponic seedling formula. Maintain pH between 5.5 and 6.5 in a nutrient-supplemented system.
As the plant approaches transplant size, you can gradually increase EC to 600–800 ppm during active vegetative growth, following your specific nutrient manufacturer's stage chart. Always check and adjust pH after mixing nutrients, since pH drifts quickly in small reservoirs. I check mine every 2 days during the nutrient phase.
Preventing rot and disease
Pythium, Phytophthora, and Fusarium are the main threats to a water-sprouted coconut seedling. All three thrive in warm, low-oxygen, light-exposed water. Your defenses are: opaque container, continuous aeration, regular water changes, and clean equipment. If you notice brown, slimy, or mushy roots rather than firm white ones, act fast. Remove the nut from the water, rinse the roots gently with pH-adjusted water, trim any clearly dead root tissue with sterilized scissors, and clean the container thoroughly before returning the nut. Some hydroponic growers use dilute hydrogen peroxide in their reservoir as a sanitizer, but published hydroponic texts warn that concentrations high enough to control algae (around 50 ppm) can damage young plant tissue. If you use it at all, do so at very low rates and rinse thoroughly. I prefer UV sterilizers on recirculating lines and simply changing water more frequently over chemical intervention for a seedling this young.
Watching for common problems
| Problem | Likely cause | Fix |
|---|---|---|
| No sprout after 90+ days | Temperature too low or nut not viable | Confirm temp is above 25°C; float-test a second nut; check for internal mold by sniffing the germ pore area |
| Sprout tip yellows or goes brown quickly | Overwatering (shoot touching water) or low light after emergence | Lower water level; move to brighter location |
| Roots are brown and slimy | Low dissolved oxygen, Pythium/Phytophthora infection | Clean container, increase aeration, trim dead roots, change water more frequently |
| White fuzzy growth on husk | Surface mold from excess moisture on the husk above waterline | Wipe with a damp cloth, improve air circulation around the container, reduce ambient humidity slightly |
| Nut starts to smell sour or fermented | Anaerobic conditions in water or rotting endosperm | Perform full water change, scrub container; if smell is internal to nut, germination has likely failed |
| Sprout grows slowly after first leaf | Nutrient depletion (endosperm exhausted) or insufficient light | Begin low-dose nutrient supplementation; increase light to 6–8 hrs direct or high-output grow light |
| Algae covering water surface and roots | Light penetration into container | Cover container, use opaque wrapping, check all gaps around the nut's support |
Why coconuts can't stay in water forever
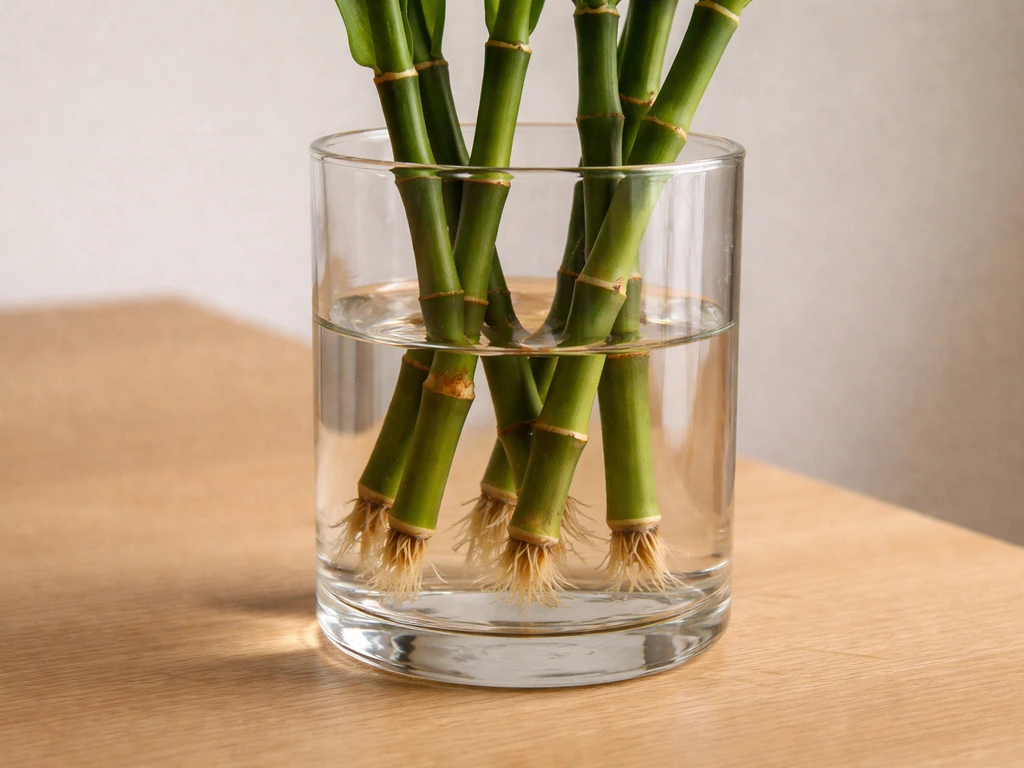
This is important to understand before you invest months of effort: a coconut palm is not an aquatic plant. It can germinate and establish early roots in water, but its mature root system needs oxygen exchange through soil or a well-aerated hydroponic medium. A palm grown with its roots permanently and fully submerged in still or poorly oxygenated water will suffocate. The practical ceiling for a water-only setup is roughly when the seedling reaches 20–30 cm in height with a root system that has outgrown the container. At that point, you have two realistic directions. For a step-by-step guide on water-based germination techniques specific to panikoorka (coconut), see how to grow panikoorka in water. If you prefer plants that can remain long-term in water, see our guide on how to grow bamboo in water vase.
When and how to transplant
Signs the seedling is ready to move
- Shoot is 10–25 cm tall with at least one fully opened juvenile leaf
- Root system shows 20–25 cm of healthy white roots emerging from the base of the nut
- The seedling has been actively growing for at least 4–6 months from initial germination
- The endosperm inside the nut is becoming visibly drier or the nut feels lighter (energy reserves consumed)
- Growth rate noticeably slowing despite good water quality and nutrition, suggesting the plant has outgrown the water setup
Option 1: Transfer to soil or a large container
This is the standard path for most growers. Plant the coconut in a well-draining sandy loam or a mix of coarse sand, perlite, and compost in a container at least 30–40 cm wide. Bury the nut about one-third deep so it sits naturally and the shoot points upward. Water well, place in full sun, and maintain ambient temperatures above 25°C. Nursery programs typically raise coconut seedlings for about one year before field planting, with transplant-ready stumps having approximately 25 cm of root and 10 cm of established shoot. Begin fertilizing at the 5-month mark post-germination, as recommended in published coconut nursery guidelines.
Option 2: Move to a permanent hydroponic or soilless medium
If you want to continue growing soillessly, transfer the seedling into a large-format DWC system or a media-based hydroponic setup using expanded clay, coco coir, or coarse perlite in a container of at least 20–30 litres. For a practical, step‑by‑step guide on using pebbles as a soilless medium, see how to grow lucky bamboo in pebbles. Coco coir is particularly well-suited here because it holds moisture while providing the oxygen exchange coconut roots need, mimicking the drainage properties of a beach substrate. Maintain EC between 600–800 ppm as the plant enters active vegetative growth, keep reservoir temperature at 18–22°C to preserve dissolved oxygen, and run aeration continuously. Be aware that a coconut palm will eventually outgrow any indoor hydroponic system given its mature size (up to 30 metres tall outdoors), so plan for eventual outdoor transplant in a tropical or subtropical climate.
Growth rate expectations after germination
Don't expect rapid growth in the first year. A coconut seedling puts most of its early energy into root development and establishing its base rather than vertical shoot growth. Under ideal warm conditions with good nutrition, you can expect roughly 2–4 new leaves per year in the seedling stage, with the plant reaching about 30–60 cm in height by the end of the first year. Growth accelerates significantly once the root system is well established and the plant is in a large enough container or in-ground. Patience is the skill this plant teaches more than any other.
Space, climate and honest limitations
Before you start, be clear-eyed about where this plant is headed. A coconut palm planted outdoors in a tropical climate is a long-term commitment: it takes 6–10 years to fruit, and eventually becomes a very large tree. Indoors or in a container, growth is constrained but the plant still needs a warm, humid environment year-round. If you're in a temperate climate, you can grow a coconut as a houseplant or greenhouse specimen, but you'll likely never see fruit, and it will eventually outgrow any indoor space. The water germination method is genuinely useful and rewarding for hobbyists and aquatic gardeners, but go in knowing the endpoint before you invest the time.
FAQ
Quick answer: can you sprout a coconut in water and should you use a water-only method?
Yes — coconut seednuts can be sprouted in water or a temporary soilless/hydroponic setup. Water will hydrate the nut and many coconuts will germinate while floating or partially submerged. However, this is best as a short-term/starting method: young coconut seedlings need well‑aerated, larger root space and nutrients as they grow, so expect to move the seedling into soil or a permanent hydroponic medium within months for healthy long‑term growth.
Realistic expectations and timeline for water-based germination
Expect wide variation: some nuts sprout in 4–6 weeks, many take 2–6 months, and certain varieties or thick-husked nuts can take several months longer. Temperature matters: germination is faster in warm conditions (~25–30°C). Seedlings grow slowly at first; nursery and field programs often transplant seedlings between 4–12 months depending on root/shoot size and local practice.
Materials checklist for water-only and temporary hydroponic sprouting
Water-only: large plastic container or bucket, whole mature coconut (with husk intact), clean nonchlorinated water, weight or float cradle (mesh/netting), thermometer, location with warm light. Temporary hydroponic (DWC-style): opaque reservoir, net-pot or cradle to hold the nut, air pump + air stone for aeration, aquarium tubing, low-strength nutrient solution or occasional liquid feed, pH test kit, thermometer, water change/overflow plan, optional small UV sterilizer or filtration.
How to select and prepare a coconut seednut
Choose a mature, fresh nut with heavy weight (not shriveled) and intact husk and visible germination pore area. If possible pick properly matured (brown) nuts rather than very green ones for higher viability. Optional: thin or remove a small portion of husk near the germ pore or make a shallow cavity to encourage water access — this can speed and even germination but must be done carefully to avoid damaging the nut.
Container and water depth recommendations
Use a container large enough to hold the nut with its basal end (germ pore) at or slightly submerged in water while the shoot end stays above. Many hobbyists float the nut so just the base contacts water, or support it in a cradle with water level reaching the nut base 2–5 cm. For DWC-style systems ensure roots will have space to extend below the water surface (reservoir depth 25–40 cm or more as seedling roots form).
Anchoring and support for the nut
Use coarse mesh, netting, a snug net-pot, or foam cradle to hold the nut so the shoot is free above water while the base contacts water. Avoid full burial; allow some husk exposure to air to reduce rot risk. Ensure the nut cannot capsize and the emerging shoot is not forced underwater.