You can grow camote tops in water, and it works surprisingly well, as long as you set your expectations correctly. A vine cutting 20 to 30 cm long, dropped into a jar with a few nodes submerged, will sprout visible roots within 7 to 14 days in a warm, bright spot. Those roots are real and harvestable as leafy greens within a few weeks. What plain water cannot do, however, is sustain vigorous, continuous production for months. For that you need a proper nutrient solution, aeration, and a system designed to keep those roots oxygenated. This guide walks you through every stage, from a single kitchen jar to a recirculating hydroponic setup, so you can decide exactly how far you want to take it.
How to Grow Camote Tops in Water: Guide for Aquariums & Hydroponics
Marcus Holloway
17 Jul 2026
What this guide covers and who it's for
This is a practical, hands-on guide for anyone who wants to grow the leafy tops of sweet potato (camote) in water, whether you are regrowing kitchen scraps in a jar, adding semi-aquatic greens to an aquaponic tank, or building out a proper deep-water culture bed. It is written for beginners who have never propagated a cutting before, as well as experienced aquatic and hydroponic growers who want specific numbers for pH, EC, dissolved oxygen, and nutrient dosing. Every section is focused on one thing: getting you to a working system and a harvestable leaf.
What camote tops actually are
Camote tops come from Ipomoea batatas, the sweet potato. The plant is a tropical perennial vine in the Convolvulaceae family, and while most people grow it for the starchy underground tuber, the above-ground vines and leaves are just as valuable. In the Philippines (where the name camote or kamote comes from), in Southeast Asia, and across parts of Africa and the Caribbean, the tender growing tips are a staple leafy vegetable eaten raw in salads, sautéed with garlic, or added to soups. They have a mild, slightly sweet flavour and are nutritionally dense, carrying good levels of vitamins A, C, and B-complex along with iron and calcium. You are not growing an ornamental here; this is a productive food crop.
Will camote tops actually thrive in water? Realistic expectations
Here is the honest answer: Ipomoea batatas is not an aquatic or even truly semi-aquatic plant. It is a terrestrial tropical vine that tolerates wet conditions and roots easily in water, but plain water will not feed it indefinitely. I learned this the hard way by leaving rooted cuttings in a glass of water for six weeks without nutrients. The roots stayed alive, the leaves turned pale yellow-green, and new growth slowed to almost nothing. The plant was surviving, not thriving. For short-term propagation, a vase of clean water is perfect. For continuous leafy harvests over weeks and months, you need a dilute nutrient solution, adequate light, and a way to keep dissolved oxygen levels high enough to prevent root rot. Manage those three variables and camote tops will outperform almost any other leafy green you try in a water-based system.
Choosing the right plant material
The quality of your starting material determines how quickly you succeed. You have two options: vine cuttings taken directly from a growing plant, or slips sprouted from a tuber. Vine cuttings are faster and more reliable for water propagation. Look for stems that are firm and green with at least two or three visible nodes, and avoid anything yellowing, soft, or already showing signs of fungal spotting. The ideal cutting is 20 to 30 cm (8 to 12 inches) long, taken from the actively growing tip of a healthy vine. Supermarket camote bundles work well if the stems are fresh, not wilted. For tuber-started slips, choose an organic or untreated tuber because commercial ones are sometimes treated with sprout inhibitors that will stall or prevent sprouting entirely. If you are buying from a regular grocery store and your tuber refuses to sprout after two weeks in warm water, that is almost certainly why.
- Use firm, green vine tips 20 to 30 cm long with at least 2 to 3 nodes
- Strip the lower leaves, leaving only 2 to 3 terminal leaves at the tip
- Avoid cuttings with yellowed, spotted, or soft stems
- For tubers, use organic, untreated sweet potatoes to avoid sprout-inhibitor treatments
- Check that the tuber has visible eyes or small bud points before committing to a jar setup
- Avoid cuttings that have been stored dry for more than a day or two — wilted stems root slowly and rot more easily
Materials and tools checklist
You do not need expensive equipment to start. A clean glass jar and a bright windowsill are enough for propagation. For sustained productive growth you will need a few more items. Here is what to gather before you begin.
- Container: glass jar or opaque plastic container, 500 mL minimum per cutting for vase method; 5 to 20 L tote or bucket for a small DWC setup
- Support: toothpicks, bamboo skewers, or a net pot fitted into a lid to hold cuttings at the correct depth
- Water: dechlorinated tap water, reverse osmosis water, or rainwater
- pH test kit or digital pH meter
- EC/TDS meter (optional for vase propagation, essential for hydroponic runs)
- Liquid hydroponic nutrient solution: a balanced complete formula (Hoagland-type or commercial all-in-one leafy green formula)
- Air pump and air stone + tubing (strongly recommended for anything larger than a single jar)
- LED grow light or access to a very bright south-facing window
- Thermometer for both air and water temperature
- Clean scissors or pruning snips for cuttings and harvest
Containers, water quality, and the numbers that matter
Clear vs. opaque containers
Clear glass jars let you watch root development, which is satisfying and genuinely useful for catching problems early. The downside is that light hitting the water promotes algae growth on the roots and container walls. Algae is not immediately fatal to your cuttings, but it competes for nutrients, can coat roots and limit oxygen exchange, and makes maintenance messier. My preferred approach for single jars is to wrap the outside with dark paper or foil once roots appear, or to use an opaque container from the start. For larger DWC setups, always use opaque lids and dark-coloured reservoirs.
Water source and dechlorination
Tap water is fine as long as you let it sit uncovered for 24 hours to off-gas chlorine, or use a small dose of sodium thiosulfate dechlorinator (the kind sold for aquariums works perfectly). Chloraminated municipal water will not off-gas on its own and needs a dechlorinator specifically listed for chloramine. Rainwater and RO water are naturally chlorine-free but are essentially mineral-free, so they require a complete nutrient solution to support growth beyond the initial rooting stage.
pH, temperature, and EC targets
| Parameter | Target Range | Notes |
|---|---|---|
| pH | 5.5 to 6.5 | Optimises micronutrient availability; check and adjust every 2 to 3 days in active systems |
| Water temperature | 18°C to 24°C (64°F to 75°F) | Warmer promotes faster rooting and shoot growth; above 26°C reduces dissolved oxygen and raises rot risk |
| EC (vase/propagation) | 0 to 0.4 dS/m (plain or very dilute) | Plain water for the first 1 to 2 weeks; add a dilute nutrient solution once roots appear |
| EC (sustained hydroponic) | 1.0 to 2.0 dS/m | Matches vegetative/leafy band; adjust based on plant response and visual leaf colour |
| Dissolved oxygen (DO) | Above 5 mg/L, ideally 6 to 8 mg/L | Keep reservoir cool and aerated; below 5 mg/L risks hypoxia and Pythium root rot |
Light and temperature: what vigorous growth actually needs
Camote tops are a tropical vine from a full-sun environment. They want a lot of light. On a windowsill with moderate indirect light, you will get slow, etiolated growth with long gaps between nodes and pale leaves. For strong, compact, harvestable growth you need a minimum of 4 to 6 hours of direct sun or the equivalent in artificial light. Under LED grow lights, aim for 14 to 16 hours of light per day at a light intensity of at least 200 to 300 micromoles per square metre per second (µmol/m²/s) at canopy level. Most affordable full-spectrum LED panels marketed for leafy greens will deliver this at 20 to 30 cm distance. Air temperature of 22°C to 28°C (72°F to 82°F) keeps the vine in active vegetative growth. Below 15°C (59°F) growth stalls noticeably and the vine becomes susceptible to cold stress even if water conditions are otherwise perfect.
Step-by-step: rooting vine cuttings in water (the vase method)
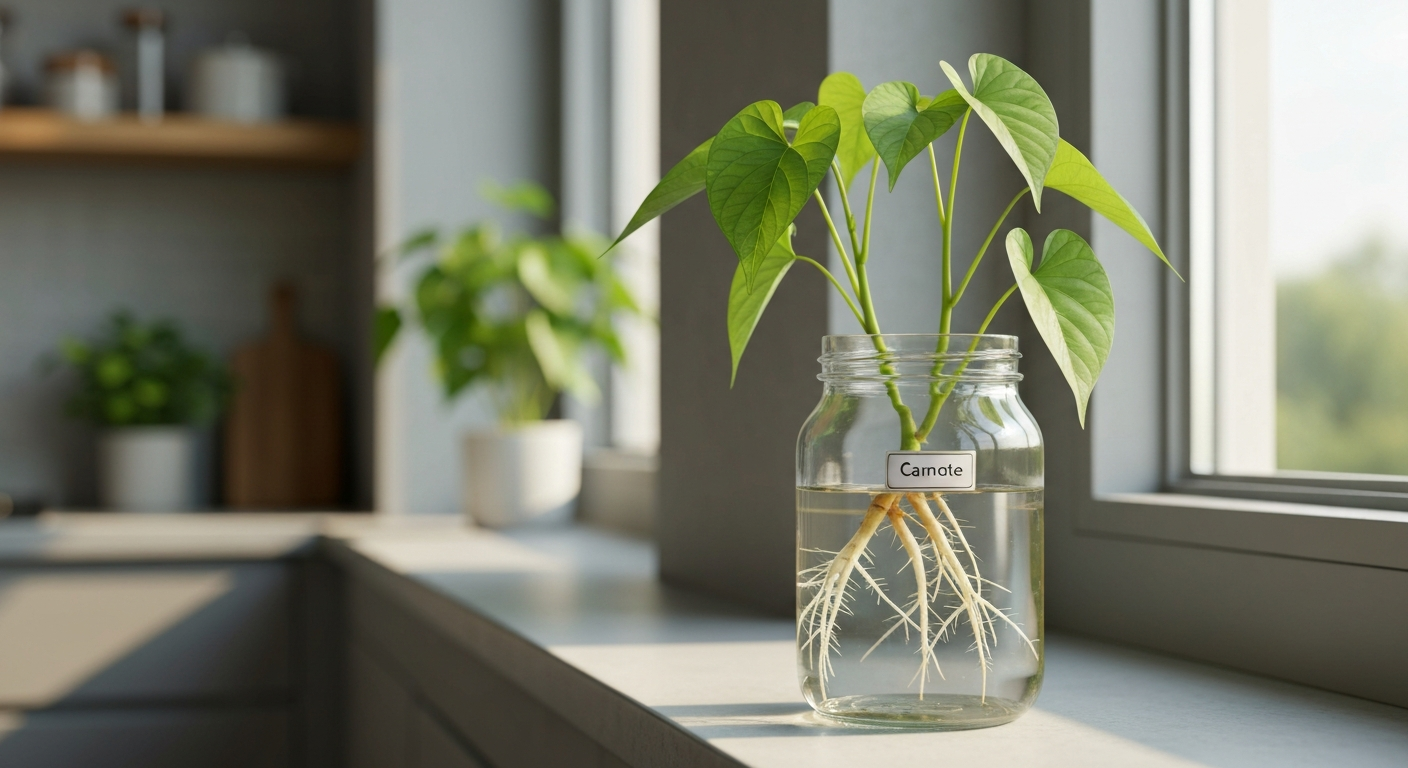
- Cut a healthy vine tip 20 to 30 cm long, just below a node, using clean scissors. Do this in the morning when stems are most hydrated.
- Strip all leaves from the bottom two-thirds of the cutting, leaving 2 to 3 leaves at the tip. Submerged leaves rot quickly and foul the water.
- Let the cut end rest in open air for 15 to 30 minutes to allow the wound to begin callusing slightly — this is optional but reduces the chance of bacterial entry.
- Fill your container with dechlorinated water at 20°C to 24°C. Place the cutting so at least 2 nodes are fully submerged but no leaves touch the water surface.
- Position the container in your brightest spot or directly under a grow light set to a 16-hour photoperiod.
- Check water level every 2 days and top up with fresh dechlorinated water as needed. Change the entire water volume every 5 to 7 days for the first two weeks to prevent bacterial buildup.
- Expect to see the first root nubs emerging from the submerged nodes within 7 to 14 days. At this point, switch from plain water to a dilute nutrient solution (about 25 to 30% of full strength, targeting EC around 0.4 to 0.6 dS/m).
- Once roots are 3 to 5 cm long and branching, ramp the nutrient solution to your target EC of 1.0 to 2.0 dS/m and continue full-strength hydroponic maintenance from this point.
Step-by-step: starting slips from a tuber in water
Tuber-started slips are the classic method, and the toothpick jar setup really does work. Pierce an organic sweet potato at its equator with 3 to 4 toothpicks evenly spaced, then balance it over a jar of water so the bottom third is submerged and the top two-thirds are in the air. Keep it in a warm spot (24°C to 28°C) with good light. Within 2 to 3 weeks, green shoots will push up from the eyes on the upper portion of the tuber, and small roots may begin forming from the submerged base. Once a slip is 10 to 15 cm long and shows at least one visible node, twist or cut it from the tuber at the base and place it in its own container of water using the vine-cutting method above. Do not try to root the entire tuber in water for long; the tuber base will begin rotting after a few weeks regardless, and the slips are what you actually want.
One important note on tubers and water systems: if you want to actually produce sweet potato tubers (not just leafy tops), water alone will not do the job. Tuber formation requires the roots to grow through a solid medium that resists root expansion and signals tuberisation. Deep-water culture keeps roots buoyant and oxygenated but never provides that physical resistance. You can root slips in water and harvest the tops indefinitely, but to get tubers you will need to transplant into a hydroponic substrate or soil eventually.
Feeding your camote tops: nutrients from vase to aquaponics
Short-term vase propagation (no nutrients needed yet)
For the first 1 to 2 weeks while roots are forming, plain dechlorinated water is sufficient. The cutting has stored sugars and minerals in the stem tissue to fuel initial root development. Adding fertilizer at this stage can actually inhibit root initiation in some species by signalling that the plant does not need to forage for nutrients. Keep it simple: clean water, good light, warm temperature, and regular water changes.
Continuous hydroponic production (the nutrient numbers)
Once roots are established, you need a complete macro and micronutrient solution. A modified Hoagland solution is what sweetpotato hydroponic research consistently uses, and it is the benchmark I come back to. If you do not want to mix from individual salts, any commercial two-part or three-part hydroponic formula labelled for leafy greens will work well. Mix to an EC of 1. A hydroponic trial titled "Effect of Nutrient Solution Concentration on the Growth of Hydroponic Sweetpotato (Sakamoto & Suzuki, MDPI Agronomy 2020)" tested EC setpoints of ~0.8, 1.4 and 2.6 dS·m⁻¹ and reported shoot growth and tuber responses, showing sweetpotato requires full nutrient solutions rather than plain water for productive growth. 0 to 2.0 dS/m (start at the lower end and increase if you see pale leaves or slow growth). Keep pH between 5.5 and 6.5, checking every 2 to 3 days because plant uptake and evaporation will shift it. Top up the reservoir daily with plain water to compensate for evaporation, and replace the entire nutrient solution every 7 to 14 days to prevent salt accumulation and pathogen buildup.
Aquaponic systems: using fish waste as the nutrient source
If you are running an aquaponic setup, camote tops are an excellent candidate for the plant bed. Fish waste provides a continuous, biologically available nitrogen source, and the vine's appetite for nitrogen helps keep the fish tank cleaner. The main gap in fish-only aquaponic systems is potassium and sometimes iron, both of which tend to be low relative to what a rapidly growing vine needs for lush leaf production. If you notice leaf yellowing that starts between the veins on younger leaves (a classic iron deficiency sign), supplement with a chelated iron solution at around 2 to 4 mg/L. For potassium shortfalls, a small addition of potassium sulphate is safe for most fish species at low doses. Always dose supplements conservatively in aquaponic systems and monitor fish behaviour closely after any addition.
Aeration and dissolved oxygen: the variable most beginners skip
Dissolved oxygen is the single most overlooked factor in water-based growing, and it is almost always the root cause when roots turn brown and slimy. Your target is above 5 mg/L at all times, with 6 to 8 mg/L being the sweet spot for healthy root function. In a single vase on a cool windowsill with weekly water changes, passive gas exchange is usually enough for a few cuttings. As soon as you scale up to a bucket or tote with multiple plants, you need active aeration. An aquarium air pump with a medium-sized air stone running continuously is the cheapest, most reliable solution for small DWC setups. Standard aeration methods include continuous air‑pump with air stone, intermittent or continuous flow, venturi injectors, and periodic solution exchange (see Nutrient Solution for Hydroponics (IntechOpen review chapter) for details). For larger systems or during warm weather (water above 22°C), a second air stone or a stronger pump is worth adding because oxygen solubility drops significantly with rising temperature: water at 18°C holds roughly 9 to 10 mg/L of dissolved oxygen at saturation, while water at 25°C holds only around 8 mg/L, and that gap closes fast when roots are consuming oxygen actively.
Maintenance, pruning, and training
Camote tops grow fast under good conditions, and that is both the reward and the challenge. Left unpruned, the vine will put energy into extending a single long stem rather than producing the dense, bushy growth that gives you the most harvestable leaf. Pinch or cut the growing tip back by 5 to 10 cm every 10 to 14 days to encourage lateral branching. Each pinch point will push out 2 to 4 new side shoots, multiplying your harvest surface over time. For water-based systems, keep the vine trained upward or horizontally over the water surface rather than letting stems droop back into the reservoir, where submerged leaves will decompose and foul the water. A simple trellis made from bamboo sticks or a wire frame propped over the container works well indoors.
Do a full water and reservoir inspection once a week. Remove any fallen leaves, dead roots, or debris from the reservoir immediately. Rinse air stones monthly to prevent mineral and biofilm buildup that reduces their output. If you are running a recirculating system, check pump flow rate and clean the strainer every 2 to 4 weeks.
Harvesting edible leaves: timing, technique, and postharvest
The most flavourful and tender part of the camote top is the growing tip: the top 10 to 15 cm of each shoot, which includes the youngest 3 to 5 leaves and the soft stem. Harvest these tips once the vine has established a visible root system and is actively pushing new growth, usually 3 to 5 weeks after you placed the cutting in water. Snip just above a leaf node so the stem below continues branching. Avoid harvesting more than one-third of the total leaf area at any one time, as this stresses the plant and slows recovery. Under a 16-hour light cycle with adequate nutrients, you can realistically harvest every 10 to 14 days from a well-established cutting.
Postharvest, rinse the harvested tops in cool water and use them the same day for best texture and nutrition. If you need to store them, wrap lightly in a damp paper towel and refrigerate in a sealed bag for up to 2 to 3 days. They wilt quickly once harvested, so plan to cook or eat them fresh whenever possible.
Troubleshooting common problems
| Problem | Most Likely Cause | Fix |
|---|---|---|
| Roots turn brown, soft, and slimy | Low dissolved oxygen, warm water, or pathogen (Pythium) | Add or upgrade air pump, lower water temperature below 22°C, replace all water and rinse roots gently, consider hydrogen peroxide rinse at 1 to 3 mL/L of 3% solution |
| Leaves pale yellow overall | Nitrogen deficiency or insufficient light | Increase nutrient solution to target EC; extend photoperiod or move closer to light source |
| Yellowing between leaf veins on young leaves | Iron or manganese deficiency | Add chelated iron at 2 to 4 mg/L; check pH is not above 6.5, which locks out iron |
| Yellowing of older lower leaves only | Nitrogen or magnesium deficiency moving upward | Increase EC or add magnesium sulphate (Epsom salt) at 0.5 to 1 g/L |
| Green algae on roots and container walls | Light reaching the water | Wrap container in dark material or switch to opaque container; reduce light hitting the reservoir |
| Slow or no rooting after 14 days | Water too cold, cutting taken from stressed plant, or sprout inhibitors on tuber | Raise water temperature to 22°C to 26°C; retake cutting from healthier stem; use organic untreated tuber |
| Fungus gnats or whitefly on leaves | Soil contamination nearby, or humid stagnant air | Wipe leaves with neem oil solution (2 to 5 mL/L neem oil plus 1 to 2 drops dish soap); improve air circulation; isolate the affected plant |
| No new leaf growth despite healthy roots | Nutrients depleted or insufficient light | Switch from plain water to full nutrient solution; verify light intensity and photoperiod |
Transplanting and scaling up to hydroponic beds or soil
Water-rooted cuttings transplant well into hydroponic substrate or soil, but you need to acclimatise them carefully. Roots developed in water are smooth and adapted to drawing oxygen from a liquid medium. Soil or substrate roots have a different structure and the transition can cause a 5 to 10 day shock period where the plant wilts and slows growth. To reduce this: transplant when roots are at least 5 cm long but not yet heavily matted (long tangled root masses are harder to handle); place the cutting into moist but not saturated substrate; keep it shaded for the first 3 to 5 days; and water frequently at first before gradually reducing to normal schedule.
For scaling to a proper DWC or NFT hydroponic bed, the transition is smoother because the roots remain in a wet environment. In NFT channels, keep channel length short (under 3 to 4 metres per channel) and maintain adequate slope and flow rate to prevent dissolved oxygen depletion between the inlet and outlet. For large DWC rafts, confirm your air pump capacity can sustain the DO above 5 mg/L as the root mass grows and biological oxygen demand increases.
How camote water-propagation compares to related water-growing tasks
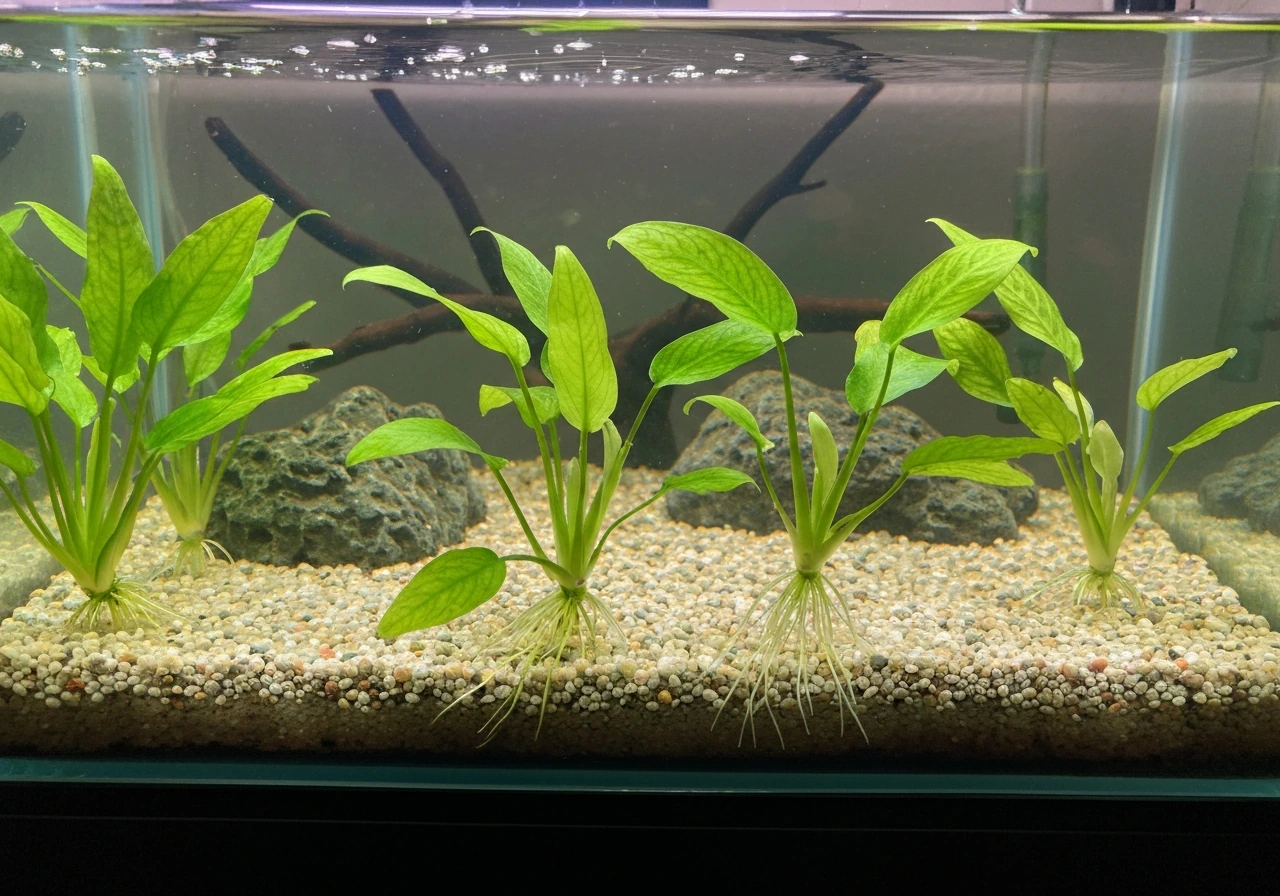
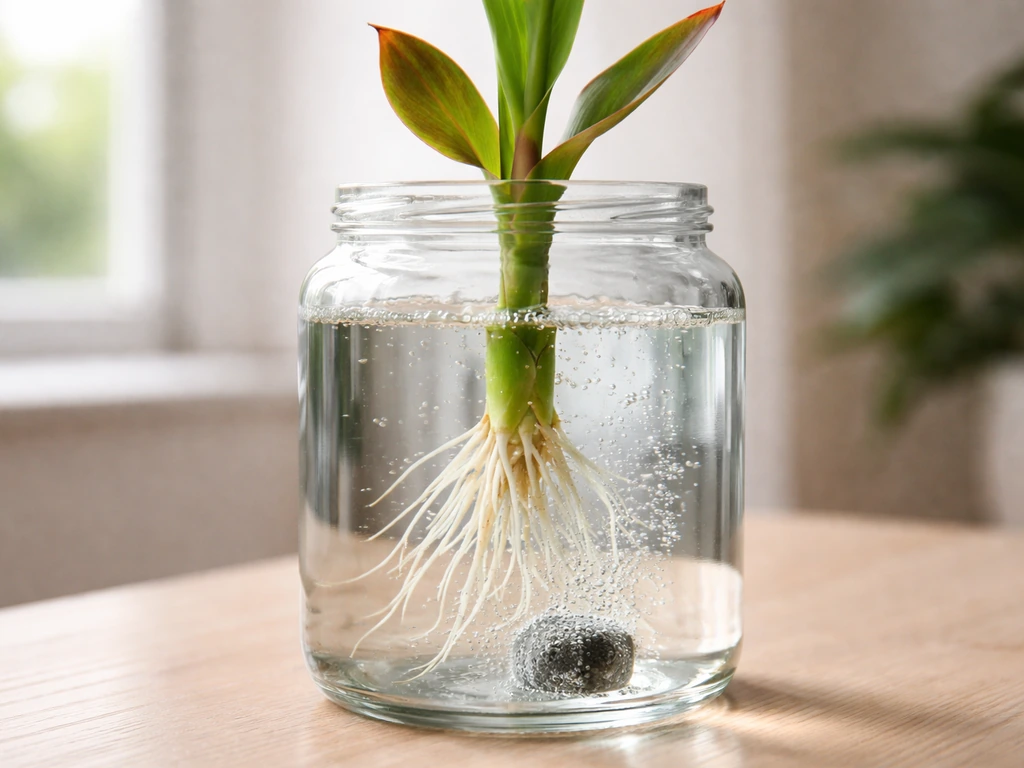
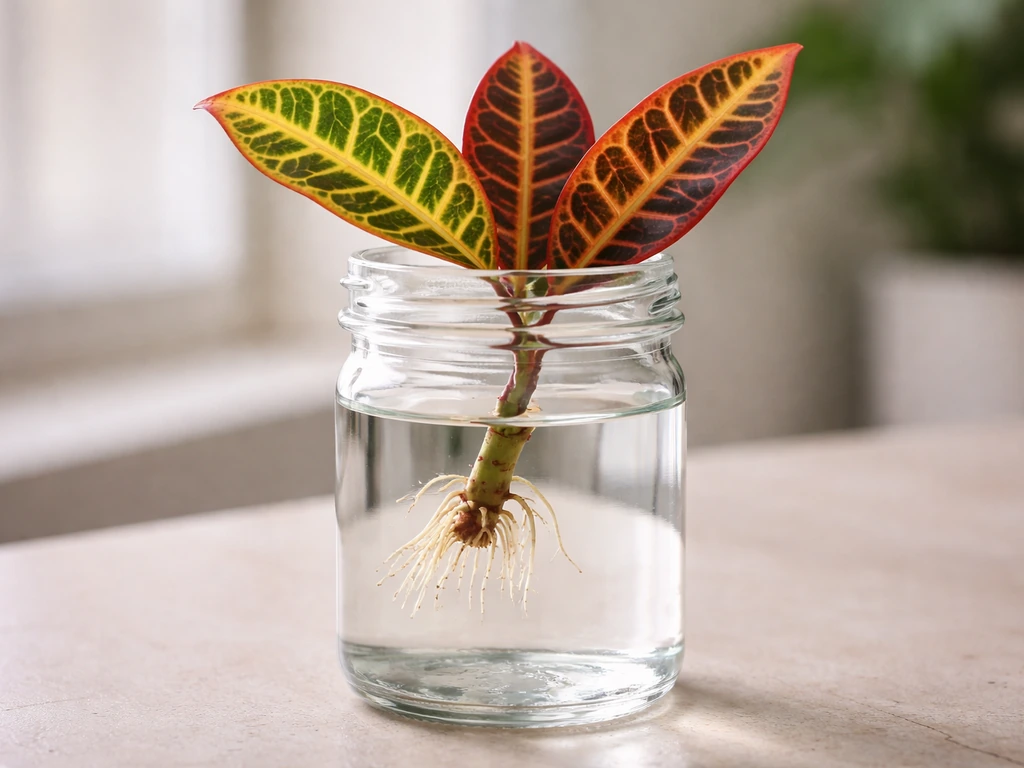
It is worth understanding where camote tops sit in the broader landscape of water-based cultivation, especially if you are already working with other plant types on this site. For instructions on cultivating true aquatic edibles, see our guide on how to grow water caltrop. For related guidance on rooting other houseplants, see our guide on how to grow dumb cane in water. For a related water-friendly species and step-by-step tips, see our guide on how to grow cryptocoryne. For a related example with ornamental houseplants, see our guide on how to grow croton plant in water. Camote is a terrestrial vine that tolerates wet propagation; it is not a true aquatic species. This means the techniques you use for it are closer to propagating other terrestrial cuttings in water (like croton or dumb cane) than to growing true aquatic plants like Cryptocoryne or Cabomba, which live entirely submerged and do not face the same oxygen management challenges at the root zone in the same way. True aquatics are far more forgiving in fully submerged conditions. For a comparison with a different rhizomatous ornamental, see a short guide on how to grow cannas in water to understand differences in rooting and maintenance.
Camote also differs from corm-based water propagation. If you have worked with plants that multiply through corms, you will know that corms are dense storage organs that need specific handling to sprout. If you want step-by-step methods for another corm-based plant, see how to grow alocasia corms in water for specific techniques and tips. Starting camote slips from a tuber in water shares some visual similarity with sprouting corms, but the underlying biology is different: the sweet potato tuber is a modified root, not a corm, and the slips emerge from adventitious buds on the skin rather than from a defined basal plate. The tuber-in-jar method is convenient for getting your first slips started, but for reliable, fast propagation, stem cuttings from a growing vine beat tuber-started slips every time. Once you have a vine growing in water, you can take continuous cuttings from it indefinitely, which makes it a self-sustaining propagation source in a way that corm-based systems generally are not.
Quick-start action plan
If you want to skip straight to getting something in water today, here is the shortest path from zero to rooted cutting.
- Source a fresh organic sweet potato from a grocery store or take a 20 to 30 cm vine cutting from an existing plant.
- Fill a clean 500 mL jar with dechlorinated water at room temperature (20°C to 24°C).
- Strip the lower leaves from the cutting so no foliage will be submerged, and place it so at least 2 nodes sit below the water line.
- If starting from a tuber, push 3 to 4 toothpicks into the tuber's equator and balance it over the jar so the bottom third is in contact with water.
- Place in your brightest spot or under a grow light for 14 to 16 hours per day.
- Change the water every 5 to 7 days for the first two weeks to keep it fresh.
- Once roots reach 3 to 5 cm, add a dilute complete hydroponic nutrient solution targeting EC 0.8 to 1.0 dS/m and pH 5.5 to 6.5.
- Add an air pump and air stone to the reservoir if using a container larger than a single jar.
- Begin harvesting the top 10 to 15 cm of shoot tips once the plant has been actively growing for 3 to 5 weeks.
- Pinch back growing tips every 10 to 14 days to encourage bushy, productive lateral growth.
FAQ
What are camote tops and are they suitable for growing in water?
Camote tops are the edible vines and leaves of the sweet potato (Ipomoea batatas). They can be rooted and grown short-term in plain water (vase/jar) from vine cuttings or slips made from tubers. However, plain water supports rooting and short-term leafy growth only. For continuous, productive leafy production you need a hydroponic nutrient solution, aeration, and temperature control. Use water propagation for propagation, kitchen‑scrap regrowth, or decorative vases; use hydroponics/aquaponics when you want sustained harvests.
How do I propagate camote tops from vine cuttings (step‑by‑step)?
Select healthy vine tips ~20–30 cm (8–12 in) long with several nodes. Remove most lower leaves, leaving 2–3 at the tip. Place the basal 2–4 nodes in a clear jar or vase of fresh room‑temperature water so nodes are submerged but leaves remain above water. Keep in bright, indirect light and 20–27°C (68–80°F). Change the water every 3–7 days or top up and sanitize the vessel if cloudy. Roots usually appear in 7–14 days; wait until roots are a few cm long before transplanting to a hydroponic system or keeping for short‑term leaf harvest.
How do I produce slips from a sweet potato tuber using water?
Use the jar/toothpick method: suspend a whole or halved tuber over a jar so the bottom rests in shallow water but most tuber tissue stays above water to reduce rot. Keep in warm (22–28°C / 72–82°F), bright conditions. Shoots (slips) will sprout from eyes; once slips reach 10–15 cm (4–6 in), twist or cut them from the tuber and root their bases in jars of water using the same node‑submerge method. Avoid fully submerging the tuber long‑term to prevent rot.
What containers and setups work best for water rooting vs sustained hydroponic growth?
For rooting and kitchen‑scrap regrowth: small clear jars, vases, or bottles are fine. For sustained leafy production: use true hydroponic setups—deep water culture (DWC)/raft with continuous aeration, nutrient film technique (NFT) for short channels, or recirculating troughs. DWC with air pump + air stone is easiest for small systems and keeps dissolved oxygen high. Choose opaque or covered reservoirs for hydroponics to limit algae.
What water quality and solution parameters should I use? (pH, EC, temperature, dissolved oxygen)
Rooting in plain water: use fresh tap or filtered water, room temperature (20–25°C). For hydroponic leafy production: target pH 5.5–6.5; EC in the leafy band ~0.8–1.6 dS·m⁻¹ (start ~1.0–1.4 and adjust by plant response); reservoir temperature 18–22°C (64–72°F) to help DO; keep dissolved oxygen above ~5 mg·L⁻¹ (aim 6–8 mg·L⁻¹) using aeration. Change or top up solution and check EC/pH regularly (weekly or more often in small reservoirs).
Do camote tops need nutrients in water, and what is the difference between short‑term and continuous feeding?
Yes. Short‑term rooting and a few small harvests can be done in plain water because stored tuber reserves support early growth. For continuous leafy production you need a complete hydroponic nutrient solution (Hoagland‑type or commercial formula) supplying macronutrients and micronutrients. Maintain EC ~0.8–1.6 dS·m⁻¹ and balanced NPK. Short‑term: no added fertilizer for the first 1–2 weeks; switch to dilute nutrient solution (¼–½ strength) as roots develop if extending vase growth. Continuous: maintain full nutrient regimen and monitor EC, pH, and plant response.