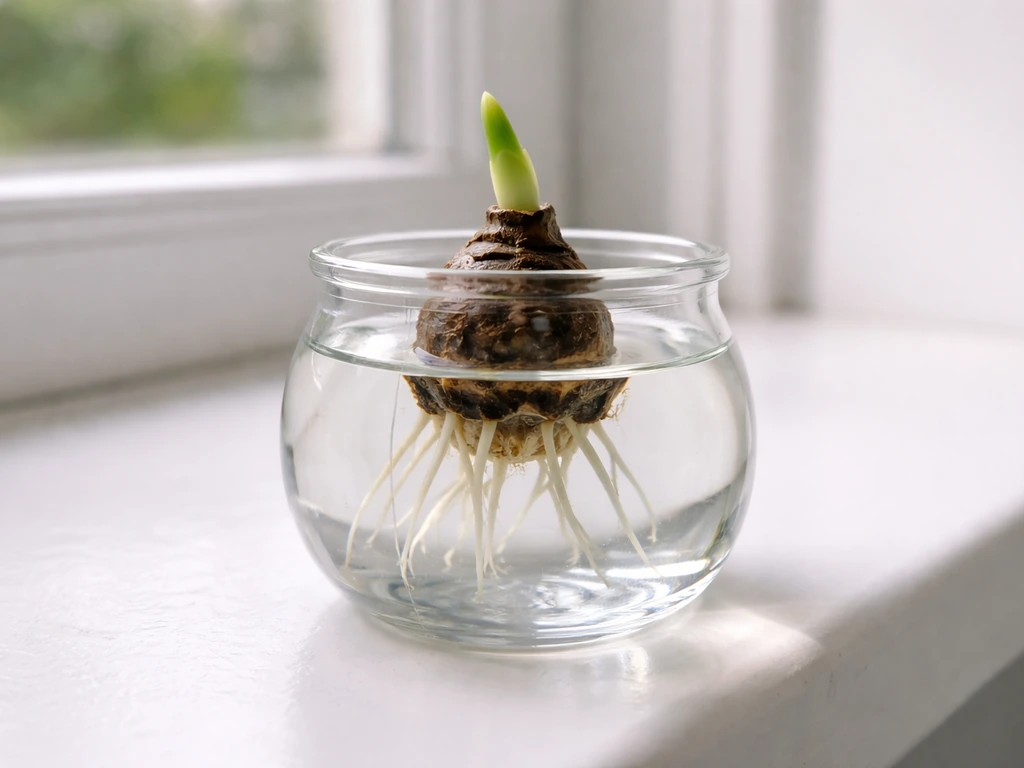
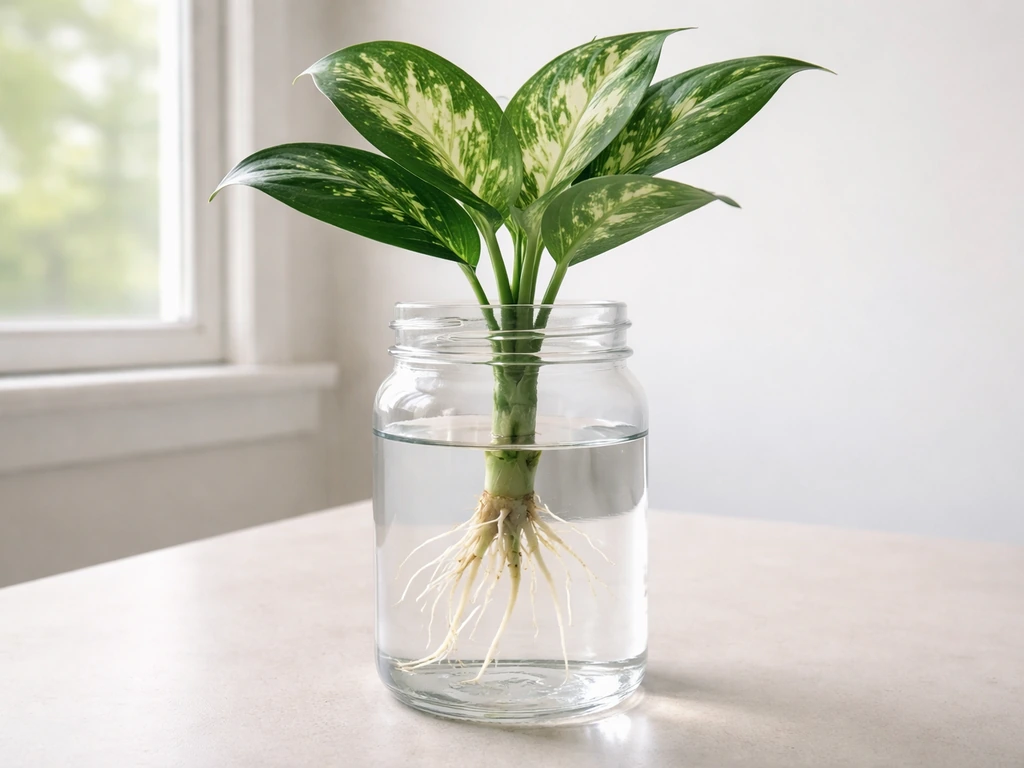
Yes, you can grow dumb cane (Dieffenbachia) in water. It roots reliably from stem cuttings placed in a glass or vase, and if you want to keep it water-based long-term, that works too, though most people treat the water phase as a rooting stage before moving the cutting to soil or a proper hydroponic setup. Either way, the process is straightforward once you know what the cutting needs: the right node placement, clean water, decent indirect light, and a little patience. If you are curious about a different plant type, learning how to grow corms in water follows a similar logic with careful positioning and ongoing water management.
How to Grow Dumb Cane in Water: Rooting and Care Guide

Marcus Holloway
27 Apr 2026
Is dumb cane actually suited for water growing?
Dieffenbachia is a solid candidate for water propagation. Its stems are tender and water-filled, which means cuttings tend to root faster than woody houseplants, often within a week, though tougher stems can take 10 to 14 days. That makes it a satisfying plant to root in water because you actually see progress quickly.
There is a catch worth knowing upfront. Dieffenbachia evolved to have periods of drying between waterings, it does not love being waterlogged or oxygen-starved at the roots. That is why long-term water culture requires a bit more attention than just dropping a cutting in a vase and forgetting it. If you are planning to root a cutting and then move to soil, the whole process is easy. If you want to keep it growing in water indefinitely, you need to manage oxygenation, nutrients, and water quality actively. Think of it less like a simple vase plant and more like a beginner hydroponic setup.
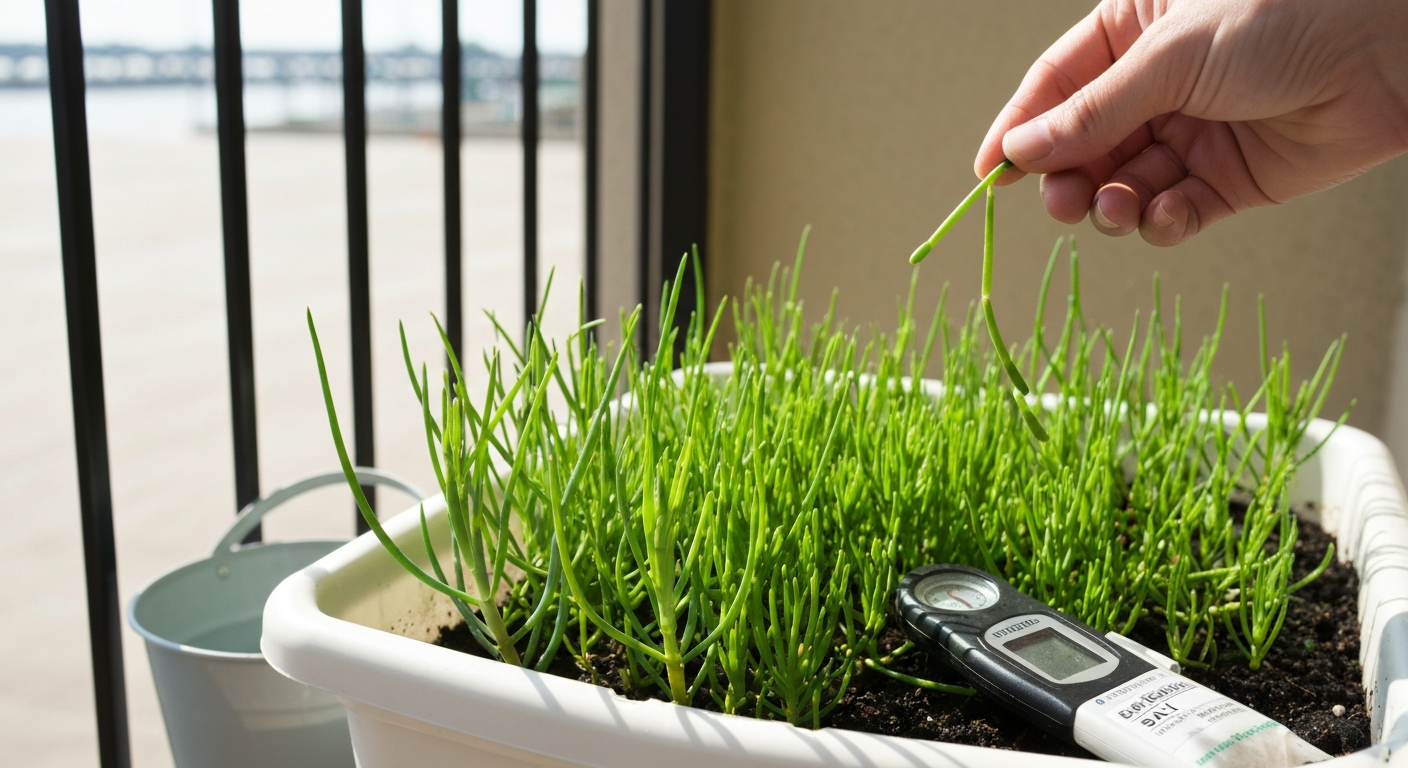
For readers already comfortable with water-based growing, the same crowd that might be rooting alocasia corms or experimenting with other tropical foliage in aquatic setups, dumb cane fits naturally into that workflow. For alocasia corms, the setup is different, but you can still use water as part of the process by keeping the corm positioned so only the right portion contacts the liquid. Just manage the water conditions and it will reward you.
What you need before you start
You do not need much. Here is the practical checklist before you take your first cutting:
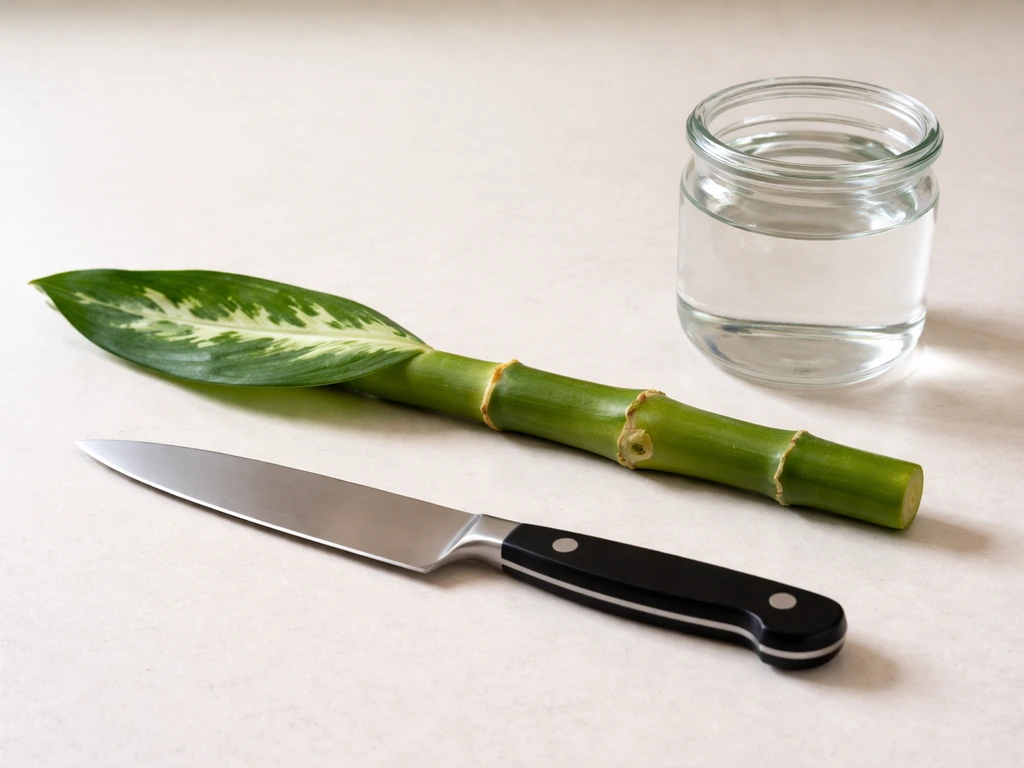
- A healthy Dieffenbachia stem with at least two nodes (the bumps or ridges where leaves emerge)
- A clean knife or pair of scissors — wipe it with rubbing alcohol first to avoid infecting the cutting
- A glass, jar, or vase: narrow-necked vessels work well because they hold the cutting upright and limit how much stem sits submerged
- Dechlorinated water: if your tap water uses chlorine, letting it sit uncovered for 24 hours usually removes it; if your municipality uses chloramine (increasingly common), you will need a dechlorinating product like a few drops of sodium thiosulfate or an aquarium-grade water conditioner, because chloramine does not off-gas on its own
- Optional but useful: a small bag of expanded clay pebbles or a mesh insert if you want to transition the cutting into a semi-hydroponic setup rather than soil
On container size: a jar that holds 4 to 8 ounces of water is plenty for a single cutting. The key is keeping only the nodes submerged, not the entire stem or any leaves. Submerging leaves is one of the fastest ways to trigger rot.
How to take and prepare the cutting
Cut a stem section that is 3 to 6 inches long and includes at least two nodes. A slanted cut works well for cane-style cuttings because it increases the surface area available for rooting. Remove any lower leaves so you are left with just two or three leaves at the top, this reduces how much water the cutting loses through transpiration while it is trying to grow roots.
Here is a step I used to skip and later stopped skipping: let the cut end sit out for a few hours, or even overnight, before placing it in water. This lets a callus form over the wound. A callused cut end is more resistant to rot than a freshly cut, wet surface. It sounds counterintuitive when you are about to put the thing in water, but it genuinely makes a difference. I have had far fewer rotting cuttings since I started doing this consistently.
One important note: dumb cane sap is an irritant. Wear gloves when cutting and handling the stems, and keep it away from children and pets. Wash your hands thoroughly after handling it regardless.
Step-by-step: rooting dumb cane in water
- Prepare your cutting: take a 3 to 6 inch stem with at least two nodes, make a clean slanted cut at the base, and strip off the lower leaves so two to three remain at the top.
- Let the cut end callus for 2 to 8 hours at room temperature in a dry spot out of direct sun.
- Fill your jar with dechlorinated water at room temperature. Cold water straight from the tap can stress the cutting and slow rooting.
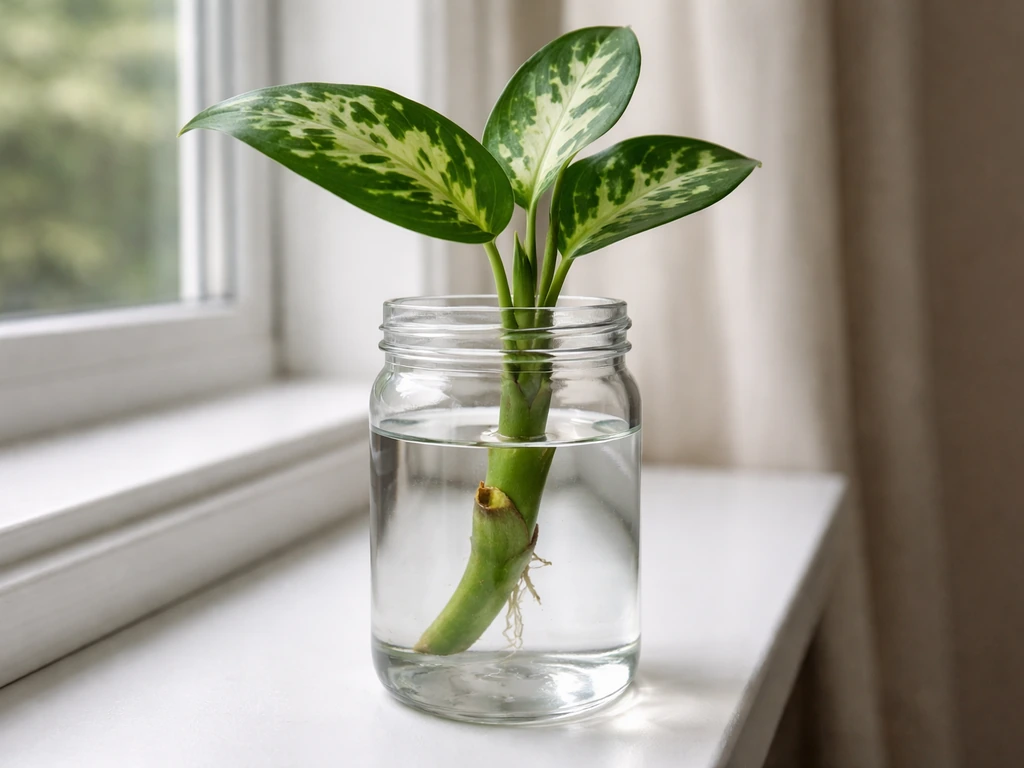
- Place the cutting so the lowest node sits just below the water surface. Keep the leaves above water entirely. Only the lowest inch or two of stem needs to be submerged.
- Set the jar in a spot with bright, indirect light — an east- or west-facing windowsill is ideal. Avoid direct sun hitting the water, which accelerates algae growth.
- Check the water every 2 to 3 days. Change it fully once a week, or sooner if it starts to look cloudy or develop any smell. Each time, use fresh dechlorinated water at room temperature.
- Watch for root nubs to appear at the nodes within 7 to 14 days. Tender stems on the faster end; thicker, older cane segments on the slower end.
- Once roots are visible and growing, you can decide to move to soil or continue water culture (more on that decision below).
If a leaf yellows and drops in the first week, do not panic. The cutting is redirecting energy toward root production. As long as the stem itself stays firm and green, you are on track. Camote tops can be handled similarly in water if you keep the right portion submerged and refresh the water regularly camote tops in water.
Light, temperature, and ongoing water care
Light
Bright, indirect light is the target. An east- or west-facing window gives the right intensity without the harshness of midday direct sun. Dieffenbachia will grow slowly and poorly in low light, so if you are seeing no root development after two weeks and the cutting looks pale, light is often the culprit. Avoid placing the jar where intense sun hits the water directly, that warms the water unevenly and encourages algae blooms fast.
Temperature
Keep temperatures above 60°F (15.5°C) consistently. Dumb cane does not handle cold well, and water culture makes roots even more vulnerable to temperature swings than soil does because water conducts heat away from roots faster. Room temperature water between 65°F and 75°F (18°C to 24°C) is the sweet spot. Keep jars away from air conditioning vents, cold windows in winter, and drafts.
Water changes and nutrients
Change the water completely every 5 to 7 days using fresh dechlorinated water at room temperature. During the first few weeks of rooting, do not add any fertilizer, the cutting does not need it and nutrients in the water can actually promote bacterial growth and rot before the roots are established. Once you have a healthy set of roots (roughly 1 to 2 inches long or more), you can introduce a highly diluted liquid fertilizer at about a quarter of the recommended dose if you plan to keep it in water long-term. For soil transplants, skip the nutrient step entirely and just move the cutting.
Humidity helps, especially while the cutting is getting established. If your space is dry, grouping it near other plants or placing the jar on a tray with a little standing water nearby raises ambient humidity without effort.
When and how to transplant, or keep it hydroponic
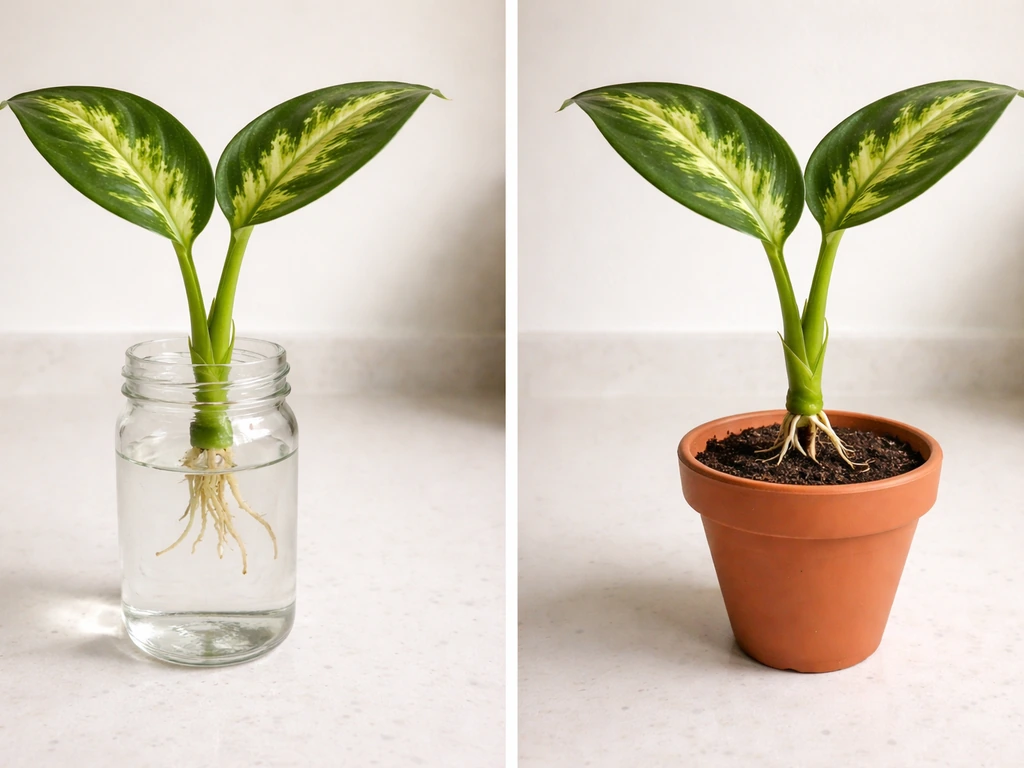
Once your roots are about 1 to 2 inches long, you have a real decision to make: move to soil, or commit to water or hydroponic culture.
| Option | Best for | What to do | Key upside | Key challenge |
|---|---|---|---|---|
| Transplant to potting soil | Most hobbyists, low-maintenance growers | Move cutting when roots hit 1–2 inches; use well-draining tropical mix; water normally | Easier long-term care; natural growing conditions | Root shock is possible if roots have become very water-adapted |
| Continue in water (passive) | Short to medium-term display; casual growers | Keep in clean water with weekly changes; add diluted nutrients after 4–6 weeks | Visually interesting; low initial cost | Requires consistent water changes; limited nutrient delivery; slower growth |
| Transition to hydroponics | Aquatic/hydro hobbyists; readers already using soilless systems | Transfer to net pots with expanded clay media; add appropriate hydroponic nutrient solution | Best long-term water-based growth; better oxygenation; scalable | More setup required; pH and EC monitoring recommended |
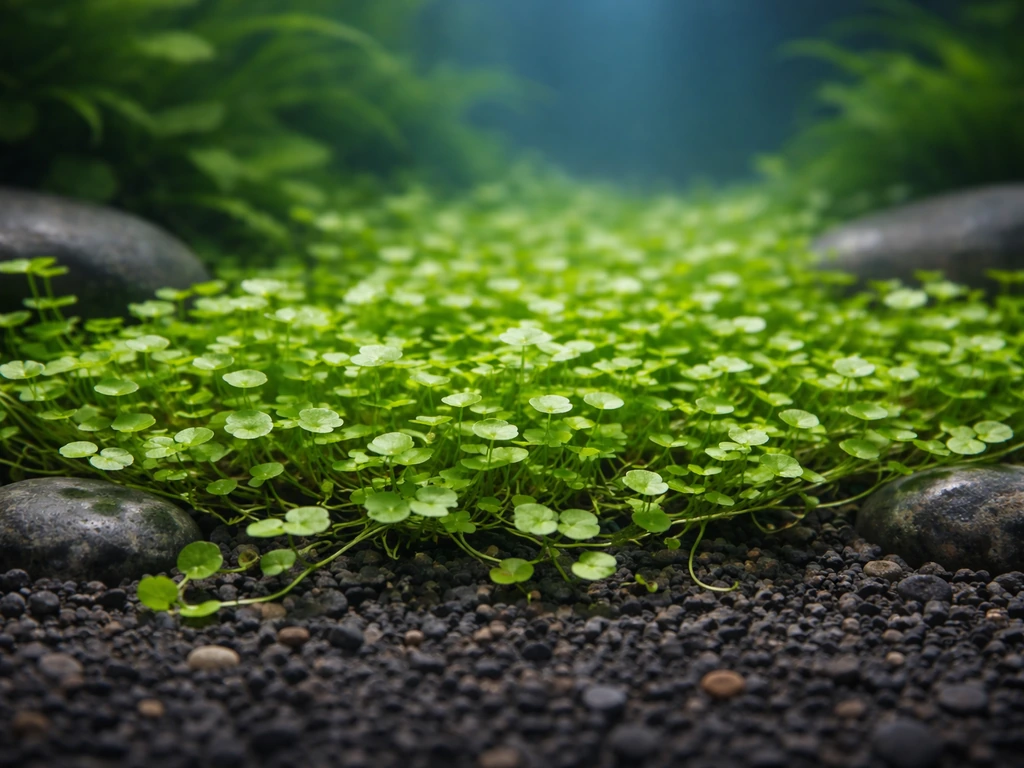
If you are already running hydroponic setups, the kind of system you might use for growing cryptocoryne or other aquatic-adjacent plants, transitioning rooted dumb cane into a passive deep water culture or ebb-and-flow system is very doable. If you want to branch out into aquatic plants, learning how to grow cryptocoryne will help you match light, temperature, and water conditions to that species. The plant adapts well once it has established water roots, and true hydroponics gives you far better control over oxygenation and nutrients than a plain glass of water ever can. In hydroponic, soilless culture, pH and EC matter because there is no soil buffering, so blank" rel="noopener noreferrer">nutrient availability depends on maintaining an optimum pH and EC range.
If you are transplanting to soil, do it gently. Water-grown roots are softer and more fragile than soil-grown roots. Handle them carefully, bury just to the base of the stem, and water lightly for the first week rather than soaking.
Troubleshooting: rot, algae, and yellowing
Stem or cutting rot
Rot is the most common failure and it almost always comes down to one of three causes: the cut end was not callused before going into water, too much of the stem is submerged, or the water was not changed frequently enough. If you catch soft, brown, mushy tissue early, trim it back to clean tissue with a sterilized knife, let the trimmed end callus again for an hour or two, and restart in fresh clean water. Do not try to save a cutting where rot has reached the node you are counting on for roots, it will not recover.
Slow or no root growth
If you hit the two-week mark with no visible roots, check light first, low light is the number one growth inhibitor. Then check water temperature; anything below 65°F will slow rooting noticeably. Make sure at least one node is actually submerged and not just hovering near the water surface. If all of those look fine, try refreshing with new dechlorinated water and moving the jar to a brighter spot.
Algae and murky water
Green algae in the water is normal when light hits a transparent container. It is not immediately dangerous to the cutting but it signals that your water changes need to be more frequent, or that the jar is getting too much direct light. The easy fix is to use an opaque or colored container, or wrap the outside of your glass jar with tape or paper to block light from the water. Change the water more often, every 4 to 5 days instead of 7, if algae keeps coming back. Murky, smelly water means bacterial growth and that needs an immediate full water change.
Yellowing leaves
A single yellowing lower leaf in the first week or two is normal, the cutting is adjusting. Widespread or rapid yellowing across multiple leaves usually points to one of these: insufficient light, water that is too cold, or leaves sitting in or touching the water. Check each one systematically. If leaves are yellowing after roots have formed, the cutting likely needs nutrients, add a very diluted liquid fertilizer at quarter strength and see if color improves over the next two weeks.
Long-term growth and realistic expectations in water
Dieffenbachia grows quickly under ideal conditions, bright indirect light, warm temperatures, stable humidity. In plain water with occasional diluted nutrients, you will see slower growth than in soil or a proper hydroponic system, but it is absolutely sustainable if you are committed to the maintenance. Expect new leaf growth to start appearing a few weeks after roots are established.
The honest reality of long-term plain-water culture is that it requires more active management than soil. Weekly water changes are non-negotiable. Nutrients need to be dialed in carefully, too little and growth stalls, too much and you get salt buildup and root burn. For most casual growers, rooting in water and then moving to soil is the path of least resistance.
For aquatic-system enthusiasts who want to keep the plant truly water-based, a transition to a proper hydroponic setup with a nutrient solution and aerated water will give you far better results than a static vase. If you are wondering how to grow croton plant in water, the same ideas about keeping nutrients balanced and managing oxygen and water quality apply hydroponic setup.
If you want to keep it truly water-based, the same kind of oxygenation and nutrient management you would use for hydroponic growing applies to canna as well proper hydroponic setup.
Either way, dumb cane is genuinely rewarding to water-propagate. The rooting phase is fast, the process is visual and satisfying, and you end up with new plants from cuttings that would otherwise be discarded. Whether you land in a vase, a pot, or a hydroponic tray, the water-rooting step is a reliable starting point. If you want to try a similar water-propagation approach with a different aquatic plant, this is a good guide for how to grow cabomba. Water caltrop needs similar attention to light, temperature, and water quality, so the same general water-growing principles can help you succeed.
FAQ
Do I need to use rooting hormone when I’m growing dumb cane in water?
Usually no. Dumb cane cuttings often root reliably with warm, bright indirect light and clean water. If you want a small boost, use a gel or powder sparingly on the callused cut end, then keep only the nodes submerged and avoid getting hormone into the water, which can worsen bacterial buildup.
What kind of water should I use, and do I have to dechlorinate it every time?
Use dechlorinated water, especially tap water, and keep it at room temperature. If chlorine or chloramine remains, it can stress tender roots and slow rooting. If you do not have a way to dechlorinate, switch to filtered or properly aged water and still change on the same schedule.
How do I prevent algae if I want the water to stay clear?
Reduce light hitting the water and keep the container covered or opaque. Even indirect light can drive algae in a transparent vase. If algae keeps returning, switch to an opaque container and shorten water change intervals to the faster end of the range.
Should I keep the leaves above water or let any touch the water?
Keep all leaves above the water line. If leaves touch water, they wick oxygen-depleted liquid and rot quickly, which can spread into the node area. If a leaf falls in, trim it off rather than trying to “position it later.”
My cutting smells bad, what’s the fastest diagnosis?
A sour or foul smell usually means bacterial rot rather than just algae. The fix is an immediate full water change and trimming back to firm, clean tissue with a sterilized knife. After that, callus the cut end again before restarting in fresh dechlorinated water.
Can I leave my dumb cane cutting in water indefinitely without switching to soil?
Yes, but it requires active hydroponic-style maintenance. Static water alone tends to run out of oxygen and accumulate salts or bacteria over time. Use consistent water changes, introduce nutrients only after roots are established, and consider aeration or a more controlled hydroponic setup if you want long-term success.
How long should I wait before deciding it’s not rooting?
If conditions are right, you typically see roots within about 1 to 2 weeks. If you hit two weeks with no roots, check light intensity first, then water temperature, and confirm that at least one node is fully submerged. After adjustments, refresh with new dechlorinated water and give it another 7 to 14 days.
Do I need to worry about the stem becoming mushy even if nodes look okay?
Yes. Mushiness indicates rot is moving through the stem tissue. Trim back to healthy, firm green tissue, discard any soft sections, and re-callus the cut end. If rot has reached the node area you need for roots, that cutting often cannot recover.
How do I transition from water roots to soil without losing the plant?
Handle roots gently since they tear more easily than soil roots. Plant with the stem buried only to the base, avoid burying leaves, and water lightly for the first week to prevent shock. If the roots are very short, keep the plant in bright indirect light and monitor for leaf drop.
Why are my leaves yellowing after roots formed, not before?
Yellowing after roots have been established often points to a nutrient shortfall or water chemistry changes. Use a highly diluted liquid fertilizer at about quarter strength, then reassess after 1 to 2 weeks. If yellowing quickly worsens, stop fertilizing and do a full water change to reduce stress.
Is dumb cane safe to grow around pets and kids?
No. Sap is an irritant and the plant can be harmful if chewed or handled by curious pets and children. Wear gloves during cutting, keep the plant out of reach, and wash hands thoroughly after handling.
What’s the best jar size and how deep should the cutting be?
A small jar is easier to manage, commonly one that holds roughly 4 to 8 ounces per cutting. Submerge only the nodes, not the full stem, and keep the water level stable. Too much submerged stem increases the chance of rot and reduces oxygen availability near the nodes.