Nannochloropsis is one of the most reliable microalgae you can grow at home, and a basic batch culture in a 2-liter soda bottle with an air pump and a grow light is genuinely enough to get started. The species most people use is Nannochloropsis oculata, which is well-documented, forgiving, and widely available as a starter culture. You need marine salt mixed to about 1.025 SG (roughly 34–35 ppt), f/2 nutrient medium, a light source hitting 80–120 µmol photons m⁻² s⁻¹ for 16 hours a day, steady aeration, and a temperature between 20 and 25°C. In a saline photobioreactor context using Nannochloropsis oculata with air plus CO2 aeration, the report emphasizes that culture performance is sensitive to CO2, irradiance, temperature, pH, nutrients, salinity, and mixing blank" rel="noopener noreferrer">air plus CO2 aeration and how CO2, light, temperature, pH, nutrients, salinity, and mixing affect growth. Get those five things right and you'll have dense, dark green cultures ready to harvest in about 7–10 days. If you're actually trying to keep an aiptasia colony alive and growing, you'll need to follow aiptasia-specific steps like setting up the tank, controlling water quality, and sourcing healthy specimens how to grow aiptasia.
How to Grow Nannochloropsis: A Step-by-Step Guide
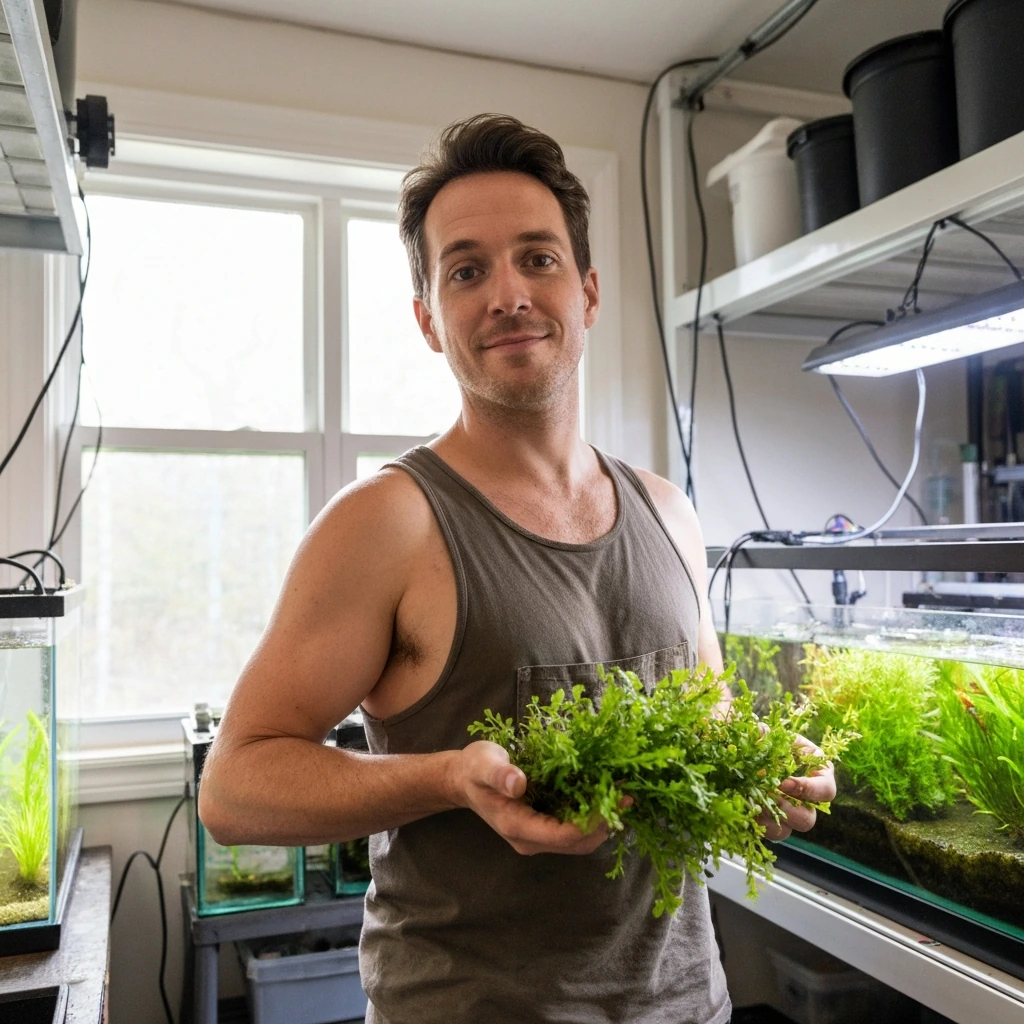
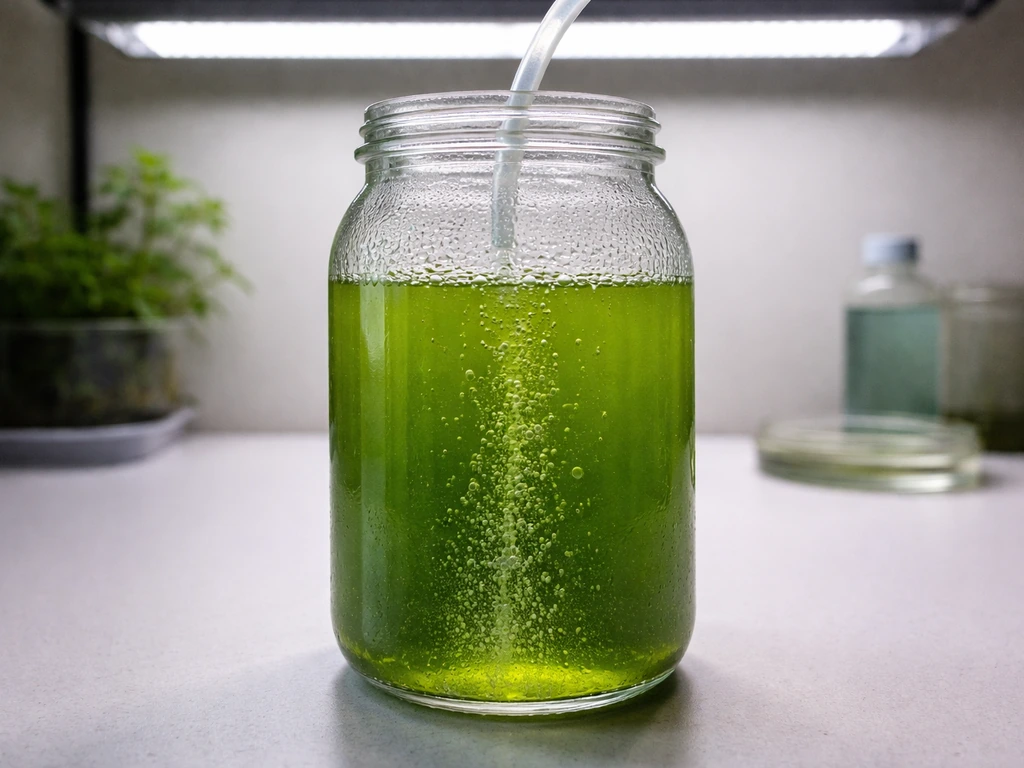
Choosing a strain and sourcing your starter culture
The two species you'll come across most often in aquaculture contexts are Nannochloropsis oculata and Nannochloropsis salina. For home use, go with N. oculata. It's the most forgiving and best-documented species for small-scale culture, and it's what most live-feed suppliers stock. N. salina performs well at slightly higher salinities but is less commonly available as a hobbyist starter.
For sourcing, you have a few solid options. Hobbyist vendors like Florida Reef Labs sell starter vials (typically around 14 mL) intended to inoculate up to about a liter of prepared media. That's the fastest, cheapest entry point. For something more reliable in terms of strain identity, Bigelow Laboratory's National Center for Marine Algae and Microbiota (NCMA) stocks N. oculata CCMP525, which is a well-characterized strain with published growth data. CSIRO's Australian National Algae Culture Collection (ANACC) is another authoritative source if you're in that part of the world. Buying from a formal culture collection costs more, but you know exactly what you're getting, which matters if you're scaling up or troubleshooting.
The one thing I'd caution against is using mystery 'green water' from someone else's tank or an unlabeled online listing. Mixed or contaminated inoculum is the number one reason beginner cultures fail in the first week. Starting with a clean, identified culture means any problems you encounter are yours to troubleshoot, not the previous owner's contamination hitchhiking in with the cells.
Setting up a simple culture system
For a beginner, a 2-liter clear PET bottle or a 1-gallon glass jar is all you need. Clear containers let light through from all angles and are easy to clean. Once you're comfortable, you can scale to 5-liter carboys or flat-panel systems. The key components are aeration, lighting, and a way to maintain consistent temperature.
What you actually need to get started
- 1 to 5-liter clear container (PET bottles, glass jars, or purpose-built culture flasks)
- Aquarium air pump with airline tubing and a fine air stone or diffuser
- LED grow light or daylight-spectrum fluorescent (T5 or LED panel)
- Timer for the photoperiod
- Marine salt (reef-grade) and RO or distilled water
- f/2 nutrient solution (premixed commercial product or DIY from components)
- A thermometer and a basic refractometer or hydrometer
Aeration is non-negotiable. Nannochloropsis cells are denser than water and will settle out within hours without agitation. Run your air pump continuously and aim for vigorous bubbling, not just a trickle. Research setups use around 0.9 liters of air per liter of culture per minute, but for a home 2-liter bottle, a standard aquarium pump set to moderate output is close enough. Just make sure the whole column of liquid is circulating, not just the top half.
Keep your containers out of direct sunlight. That sounds counterintuitive for a photosynthetic organism, but outdoor sunlight causes temperature spikes and promotes contamination from wild algae and bacteria. Controlled indoor lighting is far more stable and ultimately more productive.
Preparing your water and nutrients
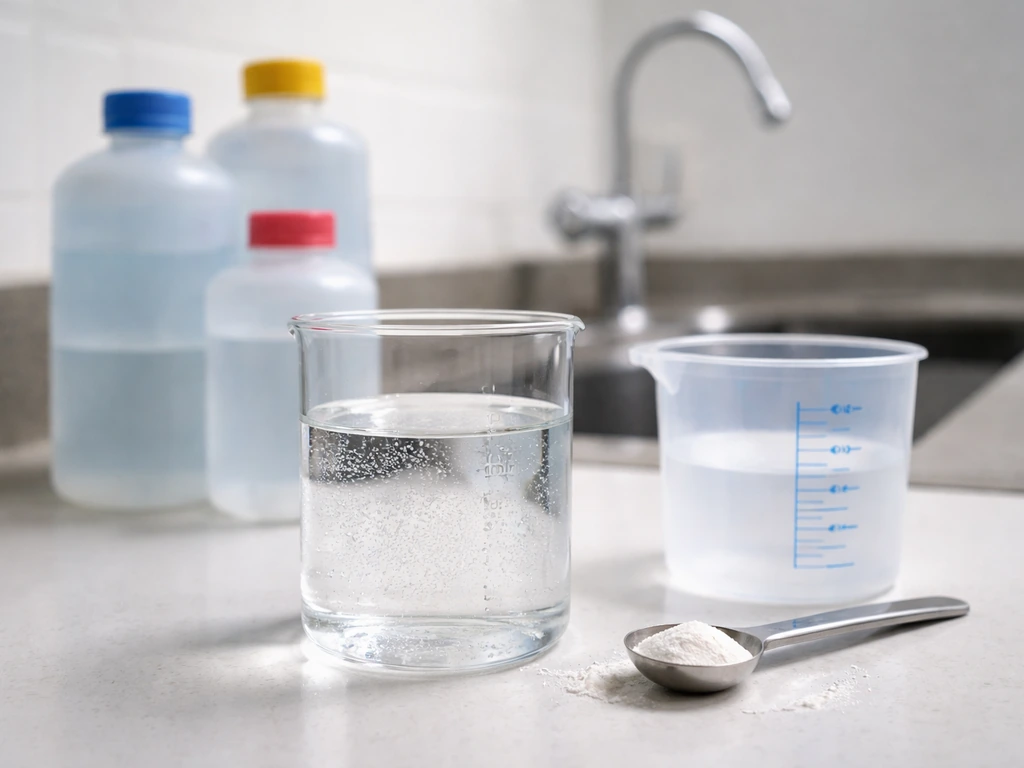
Start with reverse osmosis or distilled water. Tap water works in a pinch if you dechlorinate it and let it off-gas for 24 hours, but RO is safer and removes the variables. Mix in reef-grade marine salt to a specific gravity of 1.025 (approximately 34–35 ppt). That salinity sits right in the middle of N. oculata's productive range. The species can tolerate salinities from about 22 ppt to 49 ppt, but growth and biomass quality are best in that 30–35 ppt window.
For nutrients, use Guillard's f/2 medium. This is the standard marine microalgae nutrient formula and is widely available as a premixed solution or as component powders. The key nutrients in f/2 are sodium nitrate (NaNO3) as the nitrogen source, sodium phosphate (NaH2PO4) as the phosphorus source, plus a trace metal solution and a vitamin solution. One well-studied batch protocol used roughly 75 mg/L NaNO3 and 5 mg/L monobasic sodium phosphate as a starting point, which lines up with standard commercial f/2 concentrations. When buying premixed f/2, follow the product's dilution instructions and you'll be fine. For longer runs or scaled-up cultures, some growers use 4x concentrated f/2 at inoculation and then dilute back as they scale to avoid nitrogen depletion early on.
Target pH between 7.5 and 8.5 at inoculation. As the culture grows, photosynthesis pulls CO2 out of the water and pH will rise naturally, sometimes reaching 9 or above in dense cultures. That's normal up to a point, but if pH pushes past 9.5 without CO2 supplementation, cells may start to autoflocculate and drop out of suspension, which can look exactly like a crash. Check your pH every couple of days. If it's climbing past 9, add CO2 or increase aeration to drive more gas exchange.
Lighting, aeration, CO₂, and temperature targets
Light intensity for a home culture should land between 80 and 120 µmol photons m⁻² s⁻¹ PAR. Stock cultures in published studies are often maintained at around 40 µmol m⁻² s⁻¹, but for productive growth you want more. Experimental optima reported for Nannochloropsis species range from 100 to 120 µmol m⁻² s⁻¹ with a 16-hour light, 8-hour dark photoperiod, and that's a solid practical target for home use. A standard LED grow panel or two T5 fluorescent tubes held 15–25 cm from your container will typically land in that range. Use a PAR meter if you have one, but if not, work with the distance estimates and watch how the culture responds.
Photoperiod matters as much as intensity. Run 16 hours on, 8 hours off. Use a plug-in timer to keep it consistent. Inconsistent photoperiods stress the culture and slow growth noticeably. Continuous light works for a few days but leads to photoinhibition over time in small containers without active temperature and pH management.
Temperature target for productive growth is 20–25°C. The literature suggests an optimum range of around 25–29°C for maximum growth rate, but 20–25°C is safer for home setups because it's more achievable with a heat mat or room temperature and avoids contamination issues that accelerate at higher temperatures. Below 17°C, growth slows noticeably. Above 30°C, you risk crashes, especially if your culture is already stressed by light or nutrient issues.
CO2 supplementation is optional for a small home setup but makes a real difference in dense cultures. The simplest approach is to run your aeration through a CO2 diffuser and add CO2 at about 1% of the airflow volume. If you don't have a CO2 setup, just make sure aeration is vigorous enough to drive gas exchange. A well-aerated culture at moderate density will grow fine on atmospheric CO2 alone. Where CO2 becomes critical is if your culture reaches high density and pH is climbing fast: at that point, the cells are competing for available dissolved carbon and growth stalls.
| Parameter | Target Range | Notes |
|---|---|---|
| Salinity | 30–35 ppt (SG 1.025) | Use reef-grade salt and RO water |
| Temperature | 20–25°C | 25°C is close to optimal; avoid spikes above 30°C |
| pH | 7.5–8.5 at start | Allow to rise to 9 max; add CO2 if climbing higher |
| Light intensity | 80–120 µmol m⁻² s⁻¹ PAR | LED grow panel 15–25 cm away works well |
| Photoperiod | 16h light / 8h dark | Use a timer for consistency |
| Aeration | Vigorous continuous bubbling | ~0.9 L air / L culture / min in lab setups |
Monitoring your culture and knowing when it's ready
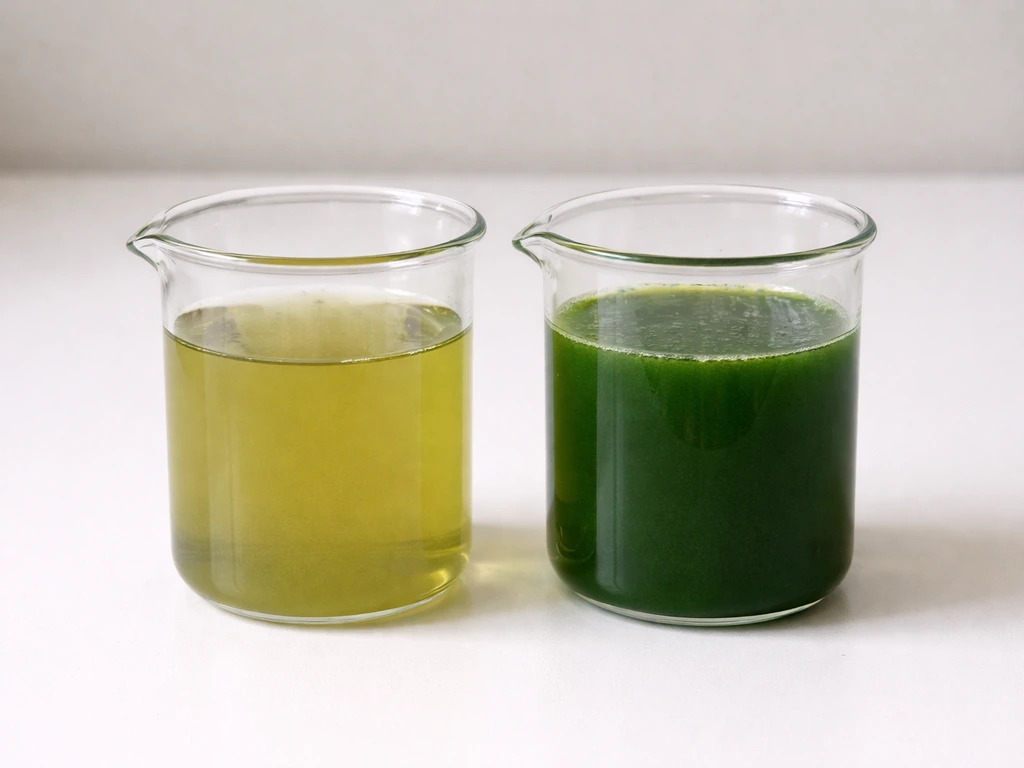
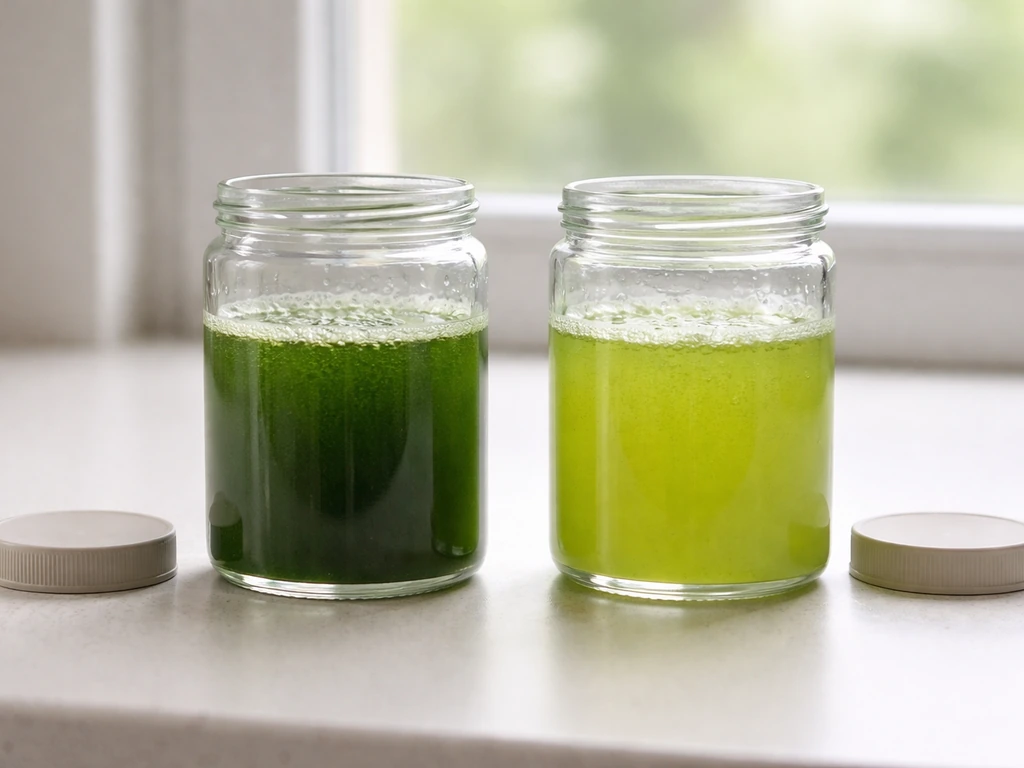
The easiest way to monitor Nannochloropsis at home is color and turbidity. A healthy, growing culture starts as a pale olive-green and darkens to a rich, opaque dark green as cell density increases. When you hold a lit container up to a light source and you can't see through it, you're approaching harvest density. That visual check is genuinely useful and lines up with what researchers see when OD750 (optical density at 750 nm) is high.
If you want to go one step further, an aquarium OD test or a cheap colorimeter lets you track density over time. Professional protocols use OD750 as the standard proxy for biomass concentration and flag harvest when the value plateaus. For home growers, measuring OD750 daily with a pocket photometer or colorimeter gives you a growth curve and tells you exactly when you've hit the stationary phase, which is the ideal harvest point.
Check for contamination weekly with a basic aquarium microscope. N. oculata cells are tiny (2–5 µm), round, and bright green. If you start seeing larger, differently shaped cells, flagellated organisms, or any visible ciliates swimming around, your culture has been contaminated. Catching this early is far easier than saving a crashed culture. FlowCAM imaging can catch protozoan grazers very early in research settings, but for home growers, a 40x microscope objective is enough to spot obvious problems before they cascade.
A healthy batch grown under the conditions described above typically takes 5–7 days to reach a dense, harvestable green, and up to 10 days if your starting density was low. The culture should smell faintly marine, not foul or sulfurous. Any unusual smell is a warning sign.
Troubleshooting slow growth and culture crashes
Slow growth is almost always one of five things: not enough light, wrong temperature, nutrient depletion, pH going too high without CO2, or contamination pulling resources away from your cells. Run through this checklist before assuming anything else is wrong.
- Light too dim or photoperiod too short: check intensity with a PAR meter or phone-based lux app (convert to PAR roughly); make sure the timer is working
- Temperature below 17°C or above 30°C: photosynthesis slows sharply outside this range, and above 30°C cultures collapse quickly
- Nutrient depletion: in a batch system, nitrogen runs out first, typically after day 9–10 at high density; if growth stalls and color turns pale yellow-green, add f/2 or restart with fresh media
- pH above 9.5: cells start to autoflocculate and settle even without a true biological crash; add CO2 or do a partial dilution with fresh media
- Contamination: protozoan grazers and bacteria are the most common cause of sudden crashes; if the culture thins rapidly within 24–48 hours, look under the microscope immediately
True culture crashes are usually biological. In Nannochloropsis, the most dangerous contaminants are protozoan grazers (ciliates, flagellates) and bacterial pathogens. A grazer infestation can consume most of a culture within a day or two. If you catch it early with microscopy, the only reliable fix is to restart from your backup starter culture. This is why you should always keep a small, sealed backup culture at reduced light (stock conditions: 20°C, 12h light, ~40 µmol m⁻² s⁻¹) running separately from your main production bottles.
Foaming or scum at the surface is typically caused by excess organic matter from dead cells or bacterial activity, sometimes combined with too much aeration force without a fine enough diffuser. It's not always a crisis, but persistent foam usually means your culture is stressed. Reduce aeration intensity slightly and check for contamination.
Settling without a crash (cells just sinking) is a mixing problem, not a biological one. Increase aeration, check your air stone for clogs, and make sure bubbles are reaching the bottom of the container.
Harvesting, storing, and using your culture
When and how much to harvest
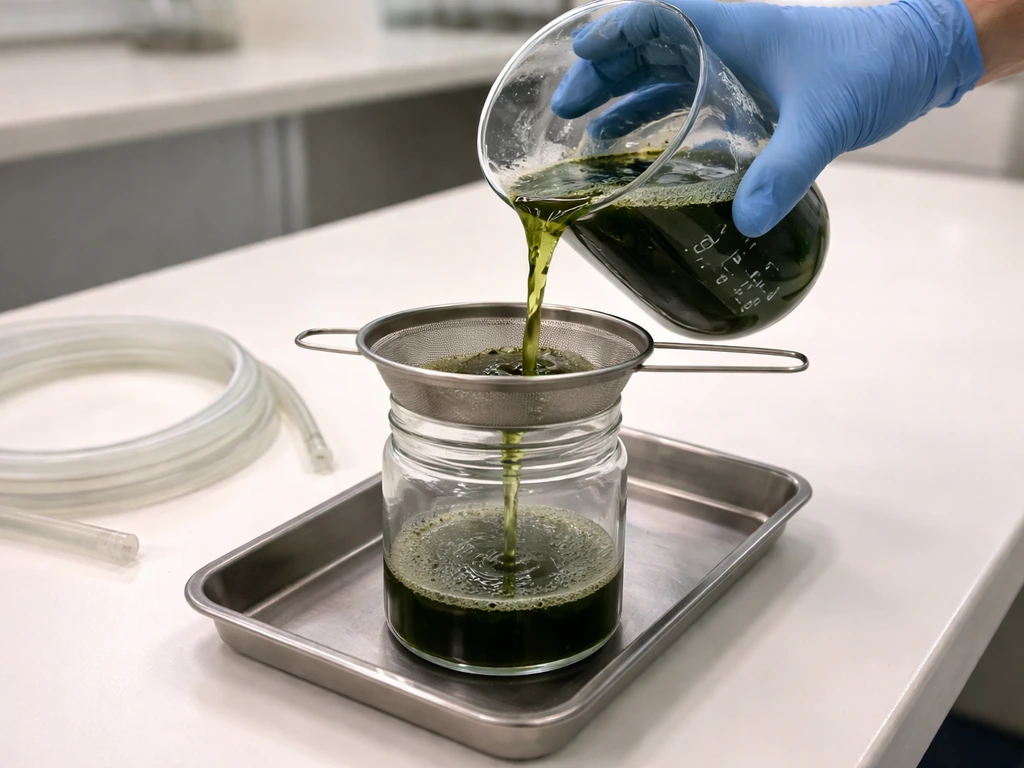
Harvest when the culture is at peak density: visually opaque dark green, or when OD750 has plateaued for a day. Once your culture routines are dialed in, the same idea of optimizing conditions also applies to plants like Anubias, so check the practical steps for how to grow Anubias fast. Remove about 70% of the volume, leaving 30% as your new inoculum. Taking more than 70% at once extends the recovery time and leaves the low-density remaining culture vulnerable to contamination during the regrowth lag. Replace what you removed with freshly prepared f/2 media at the correct salinity. Under good conditions, the refreshed culture returns to harvest density in another 5–7 days.
For continuous production, do this on a rolling schedule: harvest one bottle every few days from a bank of staggered cultures rather than harvesting everything at once. That way you always have dense, ready-to-use culture on hand.
Harvesting methods beyond simple volume removal
For feeding directly to a reef tank or invertebrate system, you don't need to concentrate the harvest at all. If you are trying to grow a sea anemone, this kind of live phytoplankton feeding can support the anemone's nutrition alongside appropriate tank conditions feeding directly to a reef tank or invertebrate system. Just pour the culture directly into the tank or a dosing container. If you’re looking to grow Anubias instead, you’ll need different lighting, substrate, and rhizome care than with Nannochloropsis invertebrate system. The green water approach for fish larval rearing works the same way: add harvested culture to the rearing vessel at a target cell density and let the animals graze. Japanese anemones are typically kept successfully with stable salinity, clean water, and appropriate feeding, so be sure to match your culture and tank conditions to their needs.
If you need a concentrate (for storage or for very high-density feeding), settling and decanting is the simplest method. Move your harvest to a tall, narrow container, turn off aeration, and let cells settle for several hours to overnight. Carefully siphon off the top clear layer and you're left with a loose green paste at the bottom. More efficient concentration uses flocculants: chitosan-mediated flocculation or chemical flocculation-sedimentation systems are used commercially, but for home scale, gravity settling is usually sufficient. A study on continuous flocculation-sedimentation for Nannochloropsis salina biomass reports that chemically induced flocculation combined with gravity sedimentation can be a less expensive partial dewatering option chemical flocculation-sedimentation systems are used commercially.
Centrifugation produces a dense, dry-ish pellet that you can resuspend at any concentration you want, and it's the most practical method if you have access to a lab or kitchen centrifuge (a second-hand unit running at 3,000–5,000 rpm works). The downside is cell damage if the G-force is too high.
Storage
Fresh live culture is best used immediately, but concentrates can be stored. Refrigeration at 4–5°C preserves cell viability for a week or two with minimal degradation. Frozen concentrate stored at -18°C can remain viable for several months, though cell integrity decreases over time. Research on N. oculata concentrates found meaningful viability retention at -18°C for up to about 16 weeks, making frozen paste a practical backup. Don't freeze your live production culture; always keep an active backup at reduced light.
For reef aquarium and copepod/rotifer feeding, using the culture live at room temperature is always better than stored concentrate if you can manage the timing. Stored paste is fine for coral broadcast feeding but loses some of the live nutritional benefits for larval fish and sensitive crustaceans.
Scaling up from your first successful batch
Once you've got a stable, repeating batch cycle going in 2-liter bottles, scaling up to 5-liter carboys or custom flat-panel photobioreactors follows the same principles: same water chemistry, same light targets per unit volume, and the same aeration rate relative to volume. The main challenge at larger volumes is light penetration. Dense cultures at 10+ liters absorb most incoming light in the outer few centimeters, leaving the interior dark. Flat-panel designs (thin culture depth) or systems with internal illumination solve this, but for most home aquaculture growers, a bank of 2–5 liter bottles is more practical and easier to manage than one large vessel.
If you're using Nannochloropsis alongside other live organisms in your system, it pairs well with copepod and rotifer culture as a primary food source. It's less useful for species that prefer larger food particles, where something like Tetraselmis or Chaetoceros would be a better fit. For coral and filter-feeding invertebrates, Nannochloropsis is excellent as a staple phytoplankton ration because of its high EPA content and stable cell wall. If your goal is to grow Acropora fast, you will use that live phytoplankton as a reliable food base alongside strong light, stable water parameters, and consistent dosing Nannochloropsis is excellent.
FAQ
My Nannochloropsis looks pale and never turns dark green. What should I check first?
Start by checking whether the culture is actually light-limited. If it looks pale green and stays that way, increase PAR or reduce container depth, and confirm the full bottle depth is mixing (no dead zones). If the culture is dark but not getting denser, the more likely cause is nitrogen or phosphate running low (re-dosing f/2 or refreshing the batch) or pH climbing above about 9.5 without enough CO2 and gas exchange.
Will I get good growth if I use tap water or cheaper salt mix instead of RO and reef-grade salt?
Test for dechlorination and salt accuracy, then confirm the nutrients are really f/2 at the intended dilution. Tap water that is only partially dechlorinated can suppress growth, and a salt mix off by a few ppt can slow productivity. If you already used RO or distilled water, the next most common mistake is using nutrients that are too concentrated or too diluted compared with the product’s instructions.
Should I start with a higher inoculation density to harvest sooner?
Yes, but treat it as a different growth target. A heavier inoculation can shorten the time to harvest, yet it also speeds up nutrient and CO2 limitations, so pH may climb faster. A practical approach is to keep your daily harvest strategy (about 30% starter left after taking 70%) consistent, then adjust inoculation size only if you see systematic early stalling.
How can I tell the difference between stressed growth and actual contamination?
Do not rely on smell alone. Mild marine odor can be normal, but sulfurous, rotten, or putrid odors usually indicate bacterial bloom or severe contamination. If smell is off and microscopy shows anything other than mostly uniform round green cells, restart from a verified backup rather than trying to “fix” it with more light or nutrients.
My pH rises fast, then the culture crashes. What does that usually mean and what can I do?
Use the pH trend. A gradual rise with healthy darkening is normal, but if pH shoots up quickly (especially above 9.5) and you see cells clumping or settling early, that suggests carbon limitation and/or autoflocculation. Adding CO2, increasing aeration, and keeping light intensity in the 80 to 120 PAR range usually helps; changing only one variable often doesn’t.
How much aeration is “too much,” and how do I avoid foaming?
Yes, but be careful about overdoing it. Too little aeration leads to settling and CO2 depletion, too much can increase foaming and physically stress the system depending on your diffuser. Aim for vigorous bubbling that turns the whole column, and if you see persistent scum or excessive foam, slightly reduce pump output or upgrade to a finer diffuser.
Can I judge readiness to harvest just by color and turbidity, or do I need OD testing?
Color can mislead if you have contamination, because some organisms also produce green or cloudy turbidity. If you want a quick decision aid, combine appearance with density behavior: healthy cultures darken and stay evenly suspended, while contaminated cultures often develop patchy color, sudden turbidity shifts, or persistent surface scum. Weekly microscopy is the safest confirmation.
After harvesting and refreshing media, my culture is slow to return. What should I verify?
If you harvest 70% and refresh with new f/2 at the same salinity, you should see regrowth back toward harvest within about a week. If it takes much longer, check that your refreshed medium is not nutrient-poor or salt-inaccurate, and verify temperature and photoperiod did not change during the restart.
What’s the best way to store Nannochloropsis if I can’t use it right away?
For dense batches, storage matters. Refrigeration around 4 to 5°C can preserve viability for about 1 to 2 weeks, but room temperature culture generally performs better for sensitive feeders because it is live and actively metabolizing. If you must store, use short refrigeration windows for dosing and avoid letting paste sit warm for long periods.
Can I freeze my production culture and resume later without major problems?
Freezing often damages cells, so avoid freezing your active production cultures. If you need a backup, keep an actively maintained “starter” culture under stock-like conditions, then freeze only concentrates/paste for emergencies. When you thaw, expect some loss in viability, so plan to re-condition gradually (for example, use thawed concentrate to inoculate fresh f/2 rather than direct high-density feeding).
What changes when I scale from 2-liter bottles to larger carboys or tanks?
Light distribution is the limiting factor at scale. If you move to 5+ liters, the interior will darken because cells self-shade, which reduces productivity even if surface regions look fine. Prefer thin culture depths, flat-panel designs, or many smaller bottles, and scale light by ensuring PAR target per unit depth, not just per container.
Is Nannochloropsis always the best live food, or are there cases where it’s a poor match?
Nannochloropsis is generally a good staple phytoplankton for filter-feeding invertebrates and many larval systems, but it may be less suitable when organisms need larger particle sizes. If your animals refuse it or growth stalls despite normal water parameters, compare what they normally eat (often a particle-size match) and consider adding a complementary algae like Chaetoceros or Tetraselmis for larger feed particles.
My culture crashed. How do I decide whether it was a grazer problem or an aeration issue?
Consider the two most common “crash” buckets: biological grazers and physical settling/mixing issues. If the culture settles without obvious foul smell and microscopy looks clean, fix aeration and diffuser clogging. If microscopy shows protozoan grazers or abnormal cells, restart from backup because grazer outbreaks usually can’t be reliably corrected at home scale.