Anubias is one of the easiest aquarium plants to keep alive and one of the easiest to quietly kill with a single mistake: blank" rel="noopener noreferrer">burying the rhizome. Get that one thing right and almost everything else about growing Anubias falls into place. This guide walks you through exactly how to grow Anubias step by step, whether you are setting up a fully submerged aquarium or an emersed paludarium/terrarium setup, with concrete numbers for lighting, water chemistry, fertilizing, and what to do when things go wrong.
How to Grow Anubias Step-by-Step Submerged or Emersed

Marcus Holloway
3 Apr 2026
Best setup for growing Anubias in an aquarium
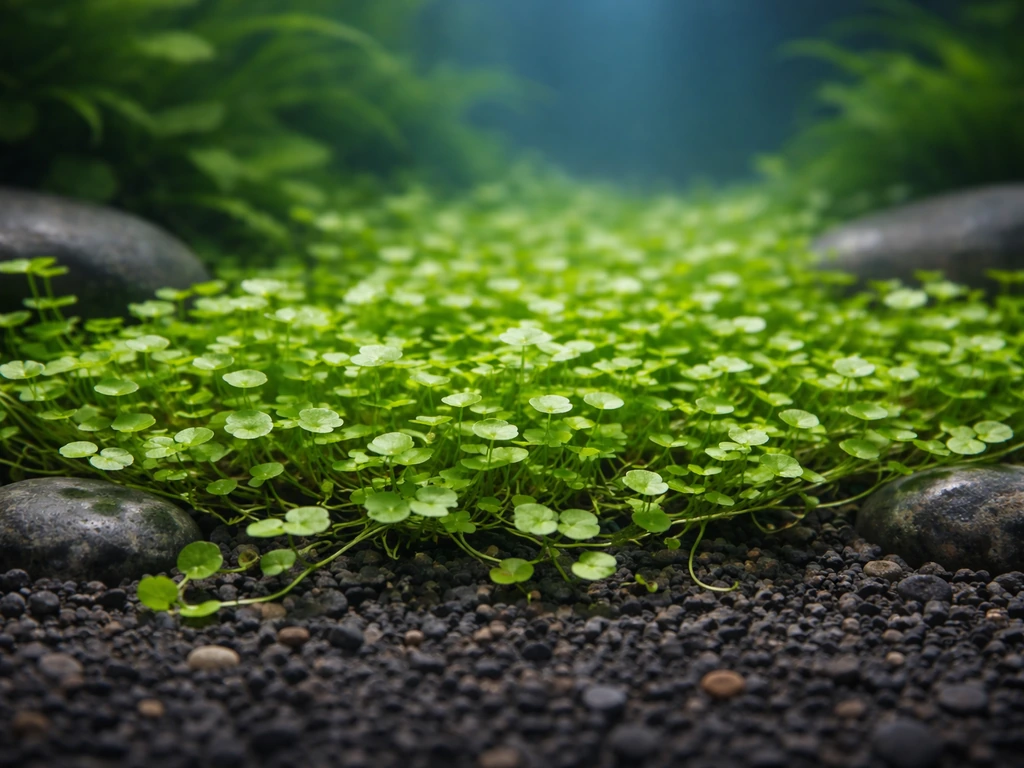
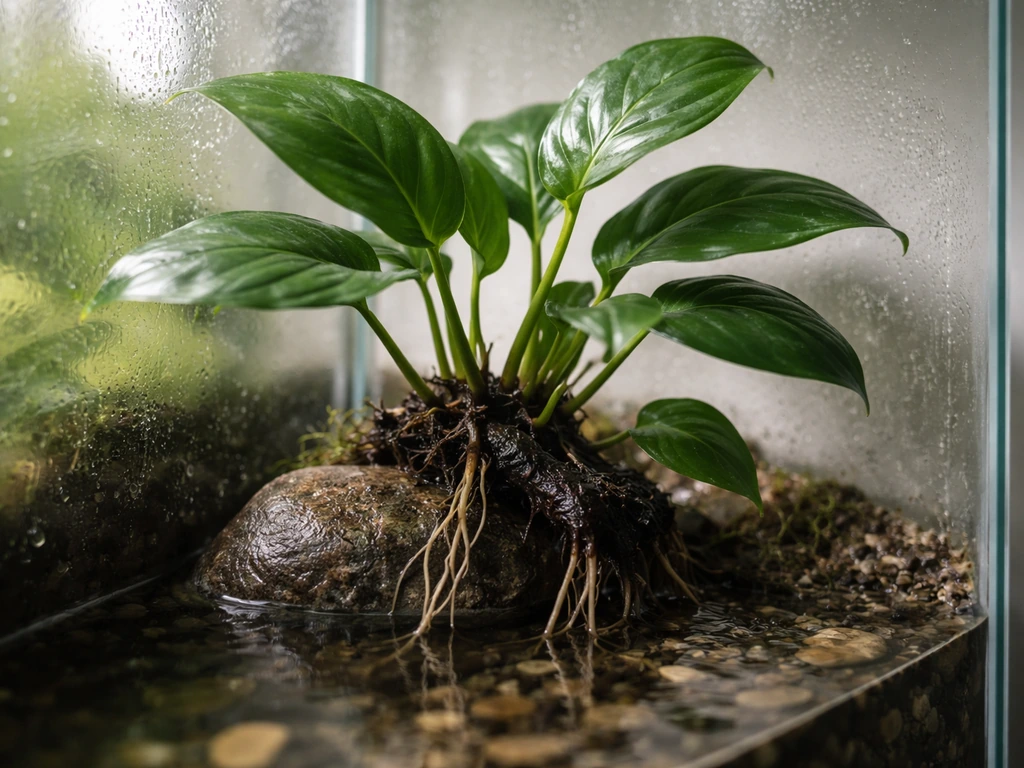
Anubias is an epiphyte, meaning it naturally anchors itself to rocks and submerged wood rather than rooting into soil. That single biological fact shapes every setup decision you need to make. You do not need a deep or nutrient-rich substrate for Anubias. Plain gravel, sand, or even a bare-bottom tank all work fine. What you do need is something hard to attach the plant to: driftwood and smooth river rocks are the most popular choices, and both work well.
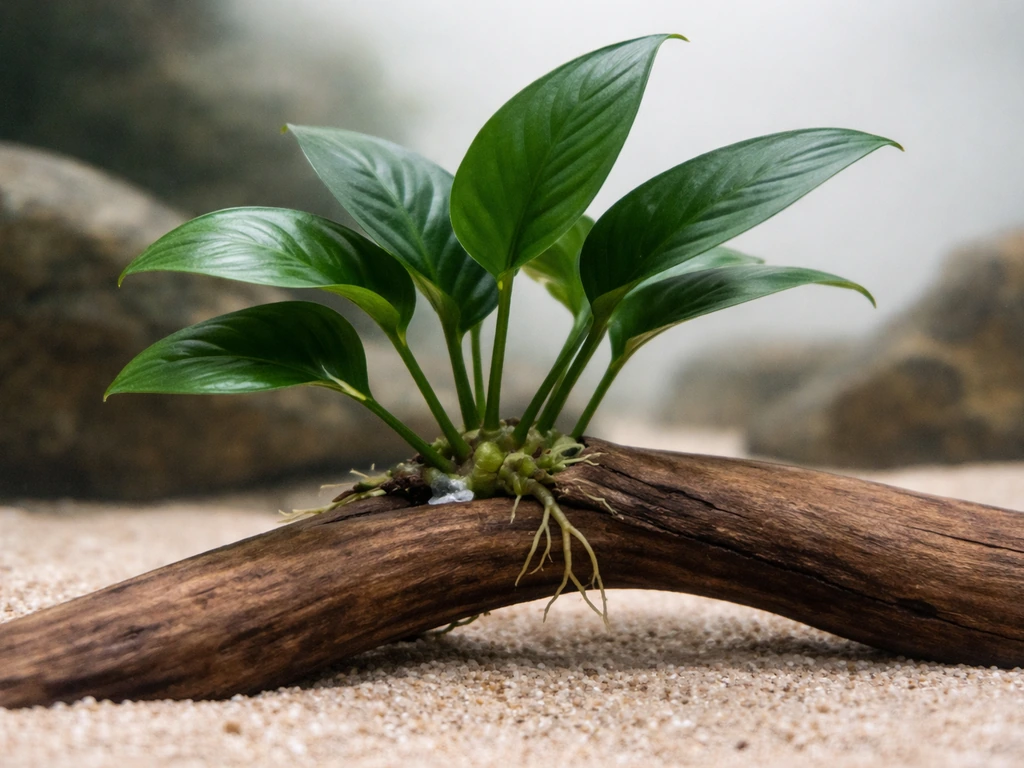
For attachment materials, aquarium-safe super glue gel (cyanoacrylate) is fast and reliable. You apply a small dab to the rock or wood, press the rhizome against it for about 30 seconds, and the plant stays put. Cotton thread or fishing line are gentler alternatives if you prefer not to use glue. Wrap a few loops around the rhizome and the hardscape and tie it off. Within a few weeks the roots grip the surface naturally and you can remove the thread if you like, though most people leave it.
Water movement matters more than people expect. Anubias benefits from gentle flow that circulates nutrients past the leaves without blasting the plant sideways. A sponge filter or a low-output hang-on-back filter positioned to create mild circulation is plenty for most tanks. Strong turbulence is not necessary and can make algae management harder.
Planting Anubias correctly (rhizome vs roots)
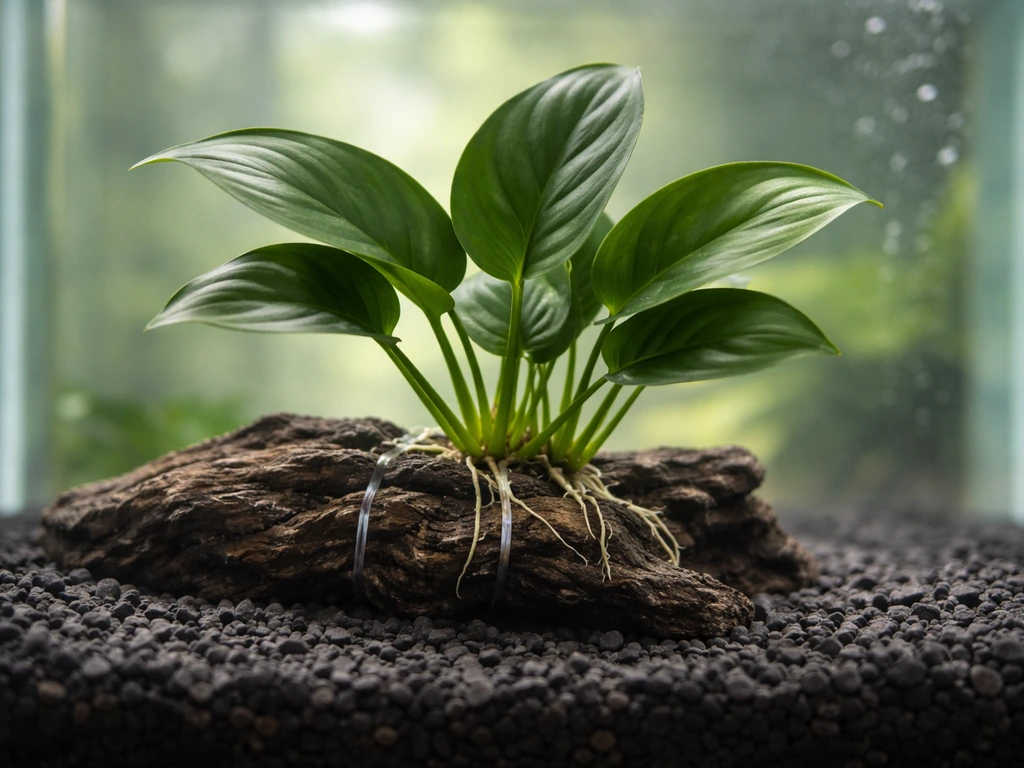
The thick horizontal stem running along the base of the plant is the rhizome. This is the growth engine of the whole plant, and it must stay above the substrate at all times. I made the mistake of half-burying a rhizome in my first planted tank thinking it would anchor better. Within three weeks the buried section turned brown and mushy. That is rhizome rot, and it is the most common way Anubias dies. The roots, by contrast, can absolutely grow down into gravel or sand and the plant is perfectly happy to send them in that direction. It is only the thick rhizome itself that needs to stay fully exposed.
When you receive a new plant, trim off any dead or mushy roots with clean scissors before attaching it. Healthy roots are white or pale tan. If you spot any soft or dark sections on the rhizome itself, trim those off too with a sterile blade and let the cut surface dry for a few minutes before attaching the plant. This gives the wound a chance to seal before water contact.
Once attached to your hardscape, position the plant so the rhizome is horizontal or angled slightly upward. The leaves will orient themselves toward the light over time. Roots will find their way into crevices in the wood or rock, or trail down toward the substrate. Either is fine. The key checkpoint is simple: you should always be able to see the rhizome when you look at the plant. If you cannot, it is buried too deep.
How to grow Anubias emersed (paludarium/terrarium-style)
Growing Anubias emersed means the roots and rhizome are in contact with wet substrate or water, but the leaves are in humid air above the waterline. Commercial Anubias farms almost universally grow their stock this way because it is faster and cleaner than fully submerged growing. If you want the quickest results, emersed growing is worth trying.
The same rhizome rule applies emersed: keep it exposed and anchor it to a surface. In a paludarium, attach the plant to a rock or piece of wood that sits at the waterline or in a shallow tray of water. The roots should have access to moisture at all times. Humidity around the leaves should stay high, ideally above 70%, which is why a covered paludarium or terrarium with a lid works much better than an open shelf. If the air is too dry the leaves will brown at the tips and growth slows noticeably.
One important transition note: if you buy Anubias that was grown emersed by a commercial producer (which is most store-bought Anubias) and then submerge it, expect the old leaves to melt back over the first two to four weeks. This is completely normal. The plant is shedding emersed-grown leaves and will push out new submersed-adapted leaves from the rhizome. Do not pull the plant out and give up during this window. As long as the rhizome stays firm and green-ish, the plant is alive and adjusting.
Lighting, temperature, and water parameters
Anubias is a low-light plant in the best possible sense: it genuinely thrives at light levels that would leave most aquarium plants struggling. Target a PAR (photosynthetically active radiation) of roughly 15 to 30 µmol/m²/s at the leaf surface and a photoperiod of 6 to 8 hours per day. A basic LED planted tank light running at partial intensity, or even a budget clip-on LED, is usually enough. The bigger risk is too much light, not too little, because Anubias grows so slowly that it cannot use excess light productively, and that unused energy feeds algae instead.
For temperature, keep the tank between 22°C and 27°C (roughly 72°F to 81°F). Anubias tolerates a wider range in practice but grows most consistently in this band. Water chemistry is forgiving: aim for a pH of 6.5 to 7.5, general hardness (GH) around 3 to 8 dGH, and carbonate hardness (KH) around 1 to 4 dKH. The most important word in those ranges is stability. Anubias can adapt to water slightly outside those numbers, but swings in pH or hardness stress the plant more than being slightly off target. If your tap water is stable and roughly neutral, it will almost certainly work.
| Parameter | Target Range | Notes |
|---|---|---|
| Temperature | 22–27°C (72–81°F) | Stable is more important than exact |
| pH | 6.5–7.5 | Tolerates 6.0–7.5; avoid swings |
| GH | 3–8 dGH | Soft to moderately hard works fine |
| KH | 1–4 dKH | Low KH is acceptable |
| Light (PAR) | 15–30 µmol/m²/s | Low-light plant; excess light causes algae |
| Photoperiod | 6–8 hours/day | Reduce if algae appears on leaves |
Fertilizing and CO₂: what helps vs what hurts
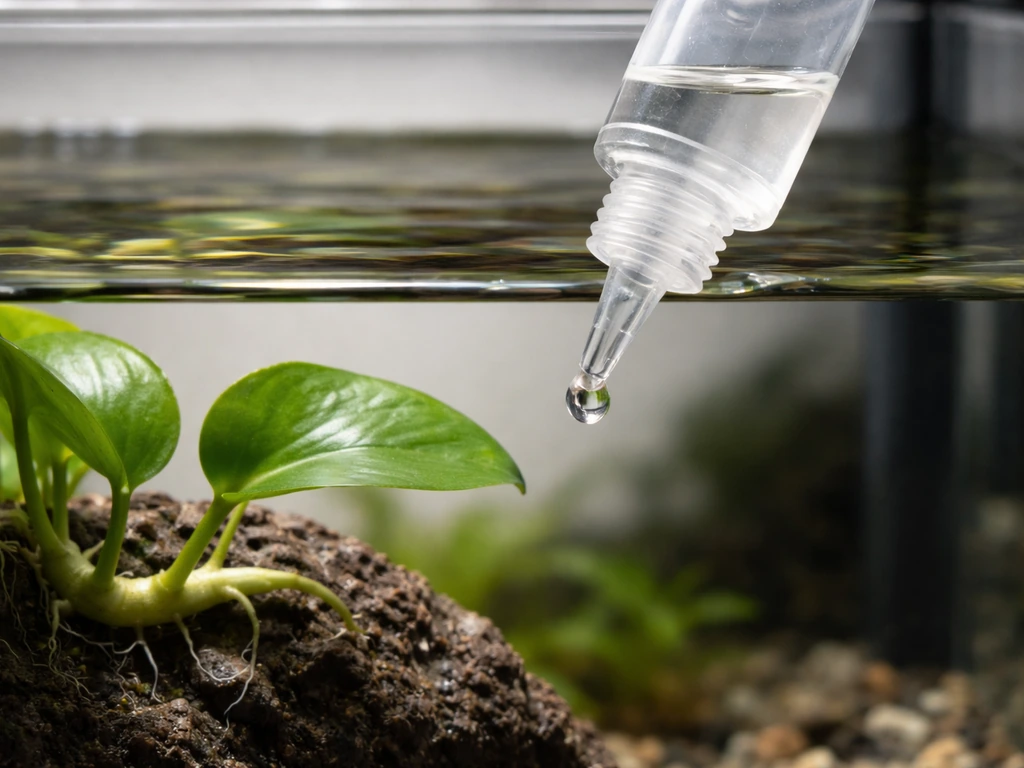
Because Anubias is an epiphyte, it feeds primarily through its leaves and roots from the water column rather than through buried substrate roots. You do not need root tabs under Anubias, and pushing heavy substrate fertilization near the plant is more likely to cause problems than help. A liquid all-in-one fertilizer dosed into the water column is the right approach. Start at half the recommended dose for the first few weeks while the plant settles in, then adjust from there. Overdosing fertilizer in a low-tech tank is a fast route to algae outbreaks, which Anubias is especially prone to because of its slow growth and broad leaves.
CO₂ injection is not required for Anubias to survive or even to grow reasonably well. Anubias is one of the plants most commonly recommended for low-tech, no-CO₂ setups, and for good reason. That said, CO₂ does help. Hobbyists running pressurized CO₂ alongside liquid fertilizer typically report faster growth, sometimes describing a new leaf appearing more frequently than the baseline 4 to 6 week pace you see in a low-tech setup. If you decide to add CO₂, introduce it gradually and watch the plant for two to three weeks before judging results. Plants often look worse during a transition period before they adapt and improve, so don't panic and pull everything apart after week one.
If you are curious about the upper end of what you can push Anubias to do, the article on how to grow anubias fast covers CO₂ strategies and fertilizing intensity in more detail for those who want to maximize growth rate rather than just maintain the plant.
Common problems and troubleshooting (melting, algae, slow growth)
Leaves melting or deteriorating
Melting leaves on their own are not necessarily a crisis. Newly submerged Anubias commonly drops its emersed leaves in the first two to four weeks. The diagnostic question is: what does the rhizome look like? If it is firm, green or pale, and intact, the plant is alive and adjusting. New leaves will emerge from the growth tip at the end of the rhizome. If the rhizome itself is turning brown, soft, or mushy, that is rot, and it is almost always caused by a buried or partially buried rhizome. The fix is to dig it out, trim any rotten sections back to healthy tissue, and reattach it correctly above the substrate.
Algae growing on the leaves
Green spot algae (hard, circular green dots on the leaf surface) and green dust algae are the most common algae types that colonize Anubias. Both are strongly linked to excess light. Because Anubias grows so slowly, it cannot absorb nutrients and light fast enough to outcompete algae when light levels are high. The first response should always be to reduce your photoperiod by one to two hours or dim your light. If green spot algae is appearing specifically on older leaves and your light seems reasonable, the cause may be a phosphate deficiency in the water column. Test phosphate and dose accordingly. The older leaves are most vulnerable because they are the lowest priority for the plant's nutrient allocation.
Very slow or stalled growth
Anubias is genuinely slow. A new leaf every four to six weeks is normal in a healthy low-tech tank. If you have gone eight or more weeks without any new leaf emergence and the plant looks otherwise okay, check your light duration first (increase slightly if you are below 6 hours), then verify your fertilizer is reaching the water column. Also check that the rhizome tip (the growing end) is not accidentally buried or pinned against the glass in a way that restricts growth.
Patience is the hardest part of growing Anubias. After four weeks with no visible change it is tempting to start moving the plant around, adjusting parameters, or dosing more fertilizer. Resist that urge for at least the first month. Give the plant the 2 to 4 week adaptation window before making any changes, and only change one variable at a time if you do intervene.
Routine maintenance and growth expectations
Anubias needs very little active maintenance once it is established. A weekly water change of around 25% keeps parameters stable and removes accumulated waste without shocking the plant. During water changes, take a few seconds to check the leaves for algae spots and the rhizome for any soft or discolored sections. Early detection of rot makes it much easier to treat.
Trim dead or algae-covered leaves all the way back to the rhizome with clean scissors. Do not leave stubs because they can harbor bacteria. If a leaf is more than 50% covered in algae or dead tissue, remove it. The plant redirects energy to new growth rather than trying to repair badly damaged leaves.
Here is a realistic milestone timeline to set your expectations:
- Weeks 1 to 2: Plant anchors and roots begin gripping hardscape. Old emersed leaves may begin melting. No visible new growth yet.
- Weeks 3 to 4: Rhizome stabilizes. Watch for the first new leaf tip emerging from the growing end of the rhizome.
- Month 2: One or two new leaves in a healthy setup. Algae should be minimal if light is kept low.
- Months 3 to 6: Rhizome visibly elongating. Multiple leaves established. The plant is now truly settled.
- 6 months and beyond: Anubias can be split at the rhizome and propagated. Each section with at least two or three leaves will grow independently.
One thing that surprises new Anubias growers is how much variety there is within the genus once you get the basics down. The same principles that apply to Anubias nana apply to larger species like Anubias barteri and compact varieties like Anubias nana 'petite.' Each varies in leaf size and growth speed but not in care fundamentals.
If your interest in aquatic plants is expanding beyond Anubias, the broader aquatic plant world offers some fascinating contrasts. At one extreme you have fast-growing demanding species, and at the other you have sessile aquatic organisms like those covered in the guide on how to grow sea anemone, which share some of the same patience-first approach but in a marine context. And if you are exploring algae cultivation as a complement to a planted system, the guide on how to grow nannochloropsis covers one of the most useful microalgae species for aquatic setups.
For those interested in expanding into coral systems, the methods used to push growth in demanding species like stony corals are explored in the article on how to grow acropora fast, which illustrates just how different high-demand aquatic cultivation can be compared to the low-maintenance approach that makes Anubias so appealing to beginners. On the freshwater side, if you are building a paludarium that includes terrestrial flowering plants alongside your Anubias, the guide on how to grow japanese anemones can help you plan the above-water planting zones. And for those who want to understand the nuisance side of marine tank life that sometimes invades reef systems, the article on how to grow aiptasia is a useful reference for identifying and managing that particular pest.
Anubias rewards consistency over intervention. Set it up correctly, keep the light modest, dose fertilizer lightly, and leave it alone. Most of the hobbyists I have seen struggle with Anubias were doing too much, not too little. Get the rhizome above the substrate, attach it firmly, and give it a month before you judge anything. That is genuinely most of what it takes.
FAQ
Can I cover any part of the Anubias rhizome with sand or gravel to help it anchor?
For submerged growing, treat the rhizome like a non-negotiable “always visible” body part. If the rhizome is even partially covered by gravel, sand, filter media, or a decorative mound, you raise the risk of rot. Keep only the roots able to disappear into crevices, while the thick horizontal rhizome stays above the substrate line.
Is it safe to glue Anubias to porous live rock or only to smooth wood/rocks?
Yes, Anubias can be attached to live rock or porous surfaces, but avoid spots where the rhizome stays damp without oxygen exchange. If you use cyanoacrylate on porous stone, give the glue time to cure fully before placing it in the tank, and test stability for a couple of days. For best results, attach to a smooth or at least easily rinsed surface where biofilm will not fully bury the rhizome over time.
How do I know if my water movement is too strong for Anubias?
Start with gentle flow and confirm it at the plant level, not just by how the filter looks. If leaves are constantly tugged sideways or a leaf “threads” in the current, reduce output or redirect the return. In most tanks, mild circulation that moves fine particles past the leaves is enough, and less turbulence usually means fewer algae issues on broad leaf surfaces.
If I see no new leaves for two months, what are the first things to check besides water parameters?
Anubias growth is slow, but “stalled” can still mean a fix is possible. First, check that the growing tip (the end of the rhizome where new leaves emerge) is not pressed against glass, rocks, or hardscape in a way that blocks that tip’s upward expansion. Second, confirm light is within your target window and that you have at least moderate illumination reaching the leaves, not just the tank front.
What is the best first step when Anubias develops algae, light reduction or changing nutrients?
If algae is mainly appearing on older leaves, and the lights have been on longer than you expected, reduce the photoperiod before adding more fertilizer. If green spot algae is repeatedly spreading, test phosphate only after you correct light duration, because both excess light and nutrient imbalance can drive it. Also physically remove the worst affected leaves early, since Anubias will not outcompete algae quickly.
How should I handle trimming dead roots or rhizome rot so it does not come back?
When you trim off dead growth, leave healthy tissue only, and trim back to the rhizome. Do not reattach with fresh glue immediately after cutting in a way that traps water in the wound. Let the cut surface dry briefly (just a few minutes) so it seals, then attach. Also, use clean tools, and remove any loose, brown, or mushy root bits so they do not seed rot around the rhizome.
My Anubias melted after I moved it from emersed to submerged, how can I tell if it is normal adaptation or rot?
Yes, emersed plants often melt when submersed, but there is a key difference between normal leaf drop and failure. If the rhizome is firm and stays green or pale, the plant is usually adapting. If the rhizome itself turns brown, soft, or mushy, submersion is not the problem, rot is, and you should trim back to healthy tissue and reattach correctly.
Will temperature swings slow Anubias growth, even if the rhizome is healthy?
Anubias can grow with a wide range of temperatures, but consistent temps in the low to mid 70s F tend to give the steadiest leaf production. If your tank swings widely, growth can pause even when the rhizome looks healthy. If you use a heater, confirm it is stable and not short-cycling, and avoid placing the tank in direct sun where temperature and algae pressure both rise.
What is the safest way to speed up Anubias growth if I decide to add CO2?
If you want faster growth without high-risk changes, the most controlled upgrade is adding CO2 gradually and dosing fertilizer lightly. Jumping straight to heavy fertilizing or aggressive CO2 changes often causes algae rather than “more plant.” During the first couple of weeks after changes, judge progress by new leaf emergence and rhizome firmness, not by how the existing leaves look immediately.
I keep dosing fertilizer but my tank gets algae. How should I adjust fertilizer without starving the plant?
In low-tech tanks, underfeeding usually causes slower growth, but overdosing commonly fuels algae because Anubias cannot use nutrients quickly. If your tank has algae problems, reduce fertilizer to half of the prior dose for a few weeks and keep the photoperiod modest. You can also confirm whether fertilizer is reaching the water column by checking for algae response consistency rather than assuming it is “absorbing too slowly.”