Growing Haematococcus pluvialis is a two-stage process: first you cultivate healthy green cells in ideal conditions, then you deliberately stress them into producing astaxanthin-rich red cysts. Get those two stages confused, or skip the stress phase entirely, and you'll end up with a green tank and nothing worth harvesting. The good news is that with the right setup, a starter culture, and a few measurable targets to watch, you can produce deep-red astaxanthin-rich biomass at home or small-scale production in about four to six weeks from start to harvest.
How to Grow Haematococcus pluvialis for Astaxanthin

Marcus Holloway
28 Jun 2026
What Haematococcus pluvialis needs to grow vs. what it needs to make astaxanthin
This is the most important thing to understand before you spend money on equipment. Haematococcus has two very different modes, and each demands nearly opposite conditions. Confuse the two and your culture either stays green forever or crashes before it produces anything useful.
The green vegetative stage is all about giving the algae everything it wants: stable temperature (20–25 °C is the documented sweet spot), soft light, balanced nutrients, and a pH kept between 6 and 8. Under these conditions the cells divide, multiply, and build biomass. At this stage, astaxanthin content is low. Think of it as feeding and growing the organism first.
The red induction stage is about intentional stress. Haematococcus responds to adversity by encapsulating into thick-walled aplanospores (the 'red cysts') and flooding those cysts with astaxanthin as a protective pigment against oxidative damage. The primary triggers documented in peer-reviewed research are nitrogen depletion, high light intensity, phosphate deficiency, salt/osmotic stress, and elevated temperature. In Haematococcus astaxanthin induction (the red stage), documented stressors include nitrogen depletion or limitation, high light intensity, salinity or osmotic stress, phosphate deficiency, and temperature effects, which trigger red-cyst formation and pigment accumulation blank" rel="noopener noreferrer">nitrogen depletion, high light intensity, phosphate deficiency, salt/osmotic stress, and elevated temperature. A 2020+ review on Haematococcus bioprocess optimization similarly highlights stressors such as nitrogen depletion or nitrate limitation, high illumination or UV, phosphate deficiency, and salinity or temperature as key drivers of the green-to-red astaxanthin induction blank" rel="noopener noreferrer">nitrogen depletion, high light intensity, phosphate deficiency, salt and elevated temperature. When cells that have been stressed by nitrogen depletion AND exposed to high light, studies show they can produce roughly 3.5 times more astaxanthin than cells given plenty of nutrients under the same high light. Stacking stressors matters enormously.
| Parameter | Green Stage (growth) | Red Stage (induction) |
|---|---|---|
| Temperature | 20–25 °C | 25–30 °C (mild heat stress) |
| Light intensity | ~2,000 lx / low–moderate | 10,000–30,000 lx or higher |
| Photoperiod | 12:12 h light:dark or 16:8 h | Up to 24:0 h (continuous light) |
| Nitrogen | Full (BG-11 or similar) | Depleted or removed |
| Phosphate | Full | Reduced or removed |
| pH | 6.0–8.0 | Allow to drift up slightly (7.5–9) |
| Salinity/NaCl | None or minimal | Add NaCl 0.5–1% as stressor |
Choosing a culture setup: small tank or photobioreactor vs. open pond
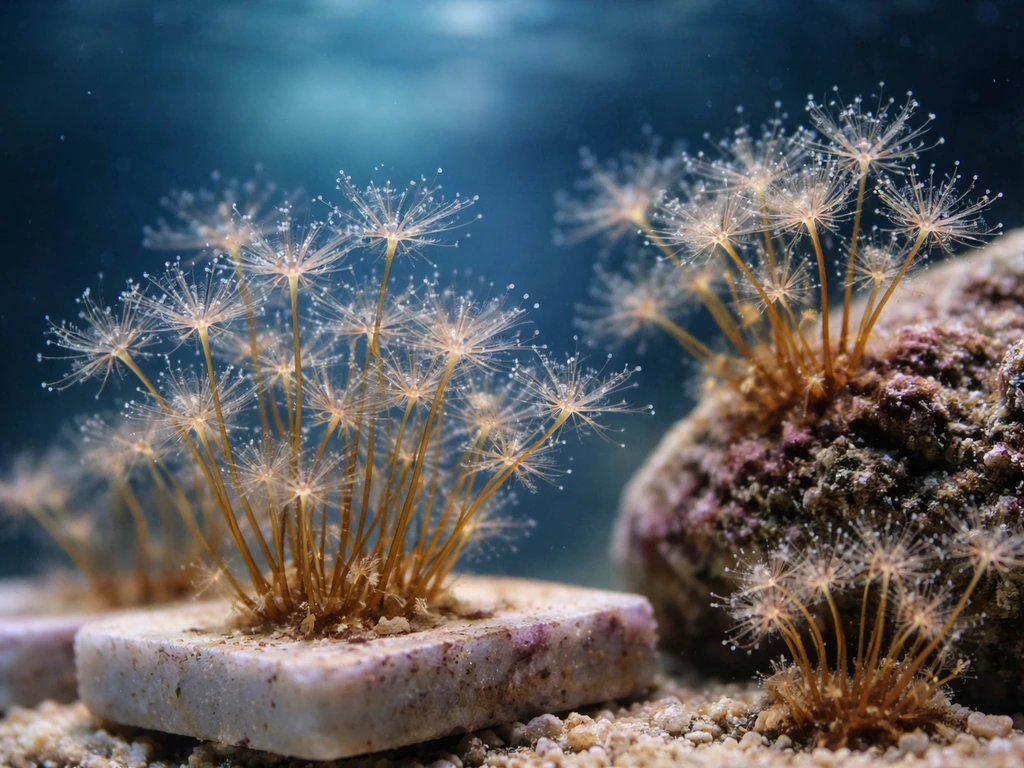
For most hobbyists and small-scale producers reading this, a closed system is the right choice. Open ponds work at commercial scale with dedicated facilities, but contamination from bacteria, competing algae, and protozoa will devastate a Haematococcus culture in an open system at hobby scale. Haematococcus grows slowly compared to invasive algae, so it simply cannot outcompete contaminants in an open environment. Stick with closed or semi-closed vessels. If you want a related comparison to how different setups behave, see our guide on how to grow hydroids, which helps you think through tank choices and contamination risks before you start.
Small tank or flask setup (beginner-friendly)
- 2–10 liter clear glass or food-grade PET/HDPE containers work well for starter cultures
- Flat-panel or cylindrical containers maximize light penetration better than deep square tanks
- Use aquarium airline tubing and a small air pump for aeration and gentle mixing
- A tight-fitting lid or cotton/foam plug prevents contamination while allowing gas exchange
- LED grow lights or fluorescent daylight tubes mounted 10–20 cm from the vessel for green stage; move lights closer or add intensity for induction
Tubular photobioreactor (intermediate, better yield)
A DIY tubular photobioreactor using clear PVC or acrylic tubing coiled in a loop with a small pump and an aeration manifold gives you better light distribution and more control. This is worth building once you've successfully run a few flask cultures and want to scale up to 20–50 liters. The increased surface-area-to-volume ratio helps enormously during the induction phase when high light penetration is critical.
Supplies checklist
- Clear culture vessels (glass Erlenmeyer flasks, PET bottles, or custom tubes)
- Aquarium air pump + airline tubing + airstone or sparger
- Full-spectrum LED or fluorescent grow lights (dimmable is ideal)
- Digital thermometer and a heater or cooling fan depending on your room temperature
- pH meter or reliable pH strips (0.5 unit precision minimum)
- Nutrient media salts: BG-11 medium is the standard, available as premixed powder
- Distilled or RO water (tap water mineral content is unpredictable)
- Sterile syringes or pipettes for inoculation
- 70% isopropyl alcohol for surface sterilization
- Light meter (lux meter) — inexpensive phone apps work reasonably well for this
Starter culture, media, and getting your water parameters right
You can buy Haematococcus pluvialis starter cultures from algae culture collections (UTEX, CCAP, and several online specialty suppliers ship viable cultures in small volumes). Avoid harvesting 'wild' pond samples, you'll spend weeks trying to purify a contaminated mess. The extra few dollars for a clean axenic or near-axenic culture is absolutely worth it. When your culture arrives, acclimate it slowly to your setup's light and temperature before scaling up.
Preparing your growth medium
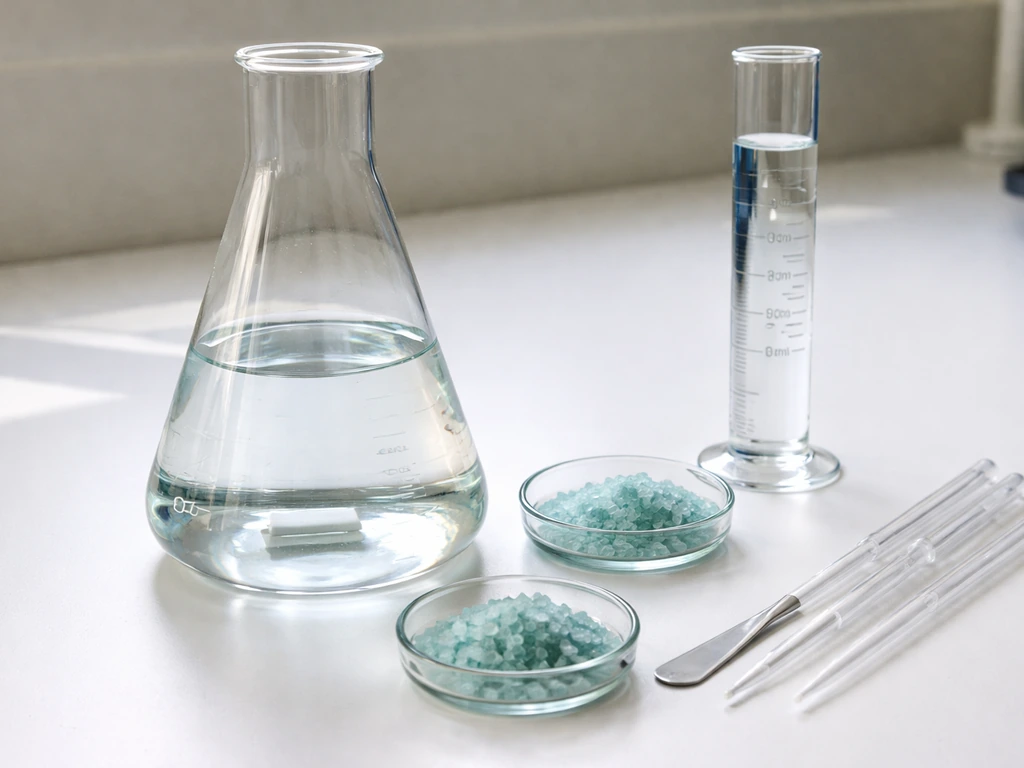
BG-11 (Blue-Green 11) is the most widely used medium for Haematococcus and is what most published protocols reference. Mix it with distilled or reverse-osmosis water, tap water introduces variable levels of copper, chlorine, and phosphate that can interfere with your culture. BG-11 is a suitable starting point if you are figuring out the basic “water first” setup, but a hyacinth still has its own rules for roots, bulb health, and water level grow a hyacinth in water. If you want a simpler option, Bold's Basal Medium (BBM) also works well for the green stage. Make up your media at the full recommended concentration for the growth phase.
- Prepare BG-11 at the standard concentration using distilled water
- Autoclave or filter-sterilize the media (0.22 µm syringe filter works for small batches)
- Check pH after preparation and adjust to 7.0 using dilute HCl or NaOH
- Allow media to cool to room temperature before inoculating
- Inoculate at roughly 1 part starter culture to 5–10 parts fresh media (10–20% inoculum rate)
- Seal with a breathable plug or loose cap and place under light
pH and salinity targets
Keep pH between 6 and 8 during the green stage. If CO2 aeration is driving pH down below 6, reduce your CO2 input or increase air flow. During induction you can let pH drift up to around 8.5–9 naturally as photosynthesis consumes CO2, this mild alkaline shift actually reinforces the stress signal. For the red stage, some growers add NaCl to 0.5–1% w/v as an additional osmotic stressor on top of nitrogen depletion. Haematococcus is not a marine organism, so don't push salinity beyond 1.5% or you'll crash the culture.
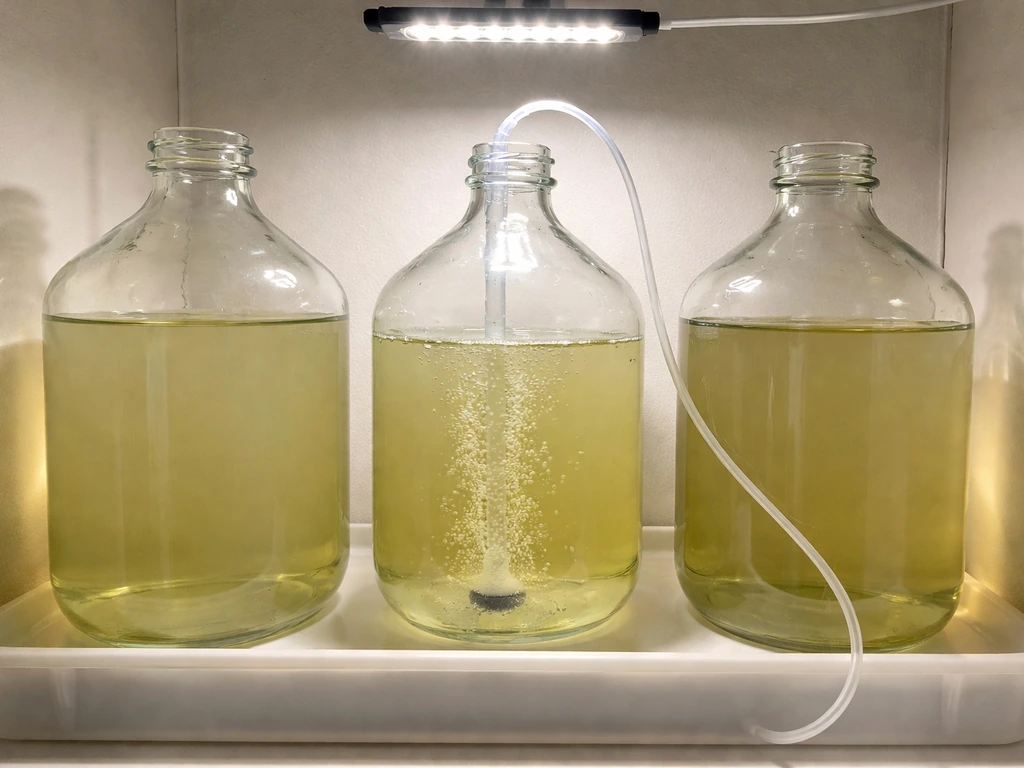
Green stage: light, temperature, aeration, and keeping contamination out
The green growth phase typically runs 10–21 days depending on your inoculum density and conditions. Your goal here is to build as much healthy cell biomass as possible before you stress it. Dense, healthy cell populations at the start of induction translate directly to more astaxanthin at harvest.
Lighting for vegetative growth
Start at around 2,000 lx (roughly equivalent to a well-lit office). This is lower than you might expect for algae culture, but Haematococcus is naturally found in temporary rock pools and tree holes, not open ocean surfaces. Too much light at this stage causes premature stress and slows cell division. I learned this the hard way when my first culture started going orange at day 5 because I had the light too close. A 12:12 light:dark photoperiod works well for growth, though 16:8 is also commonly used.
Temperature
Keep the culture at 20–25 °C during the green phase. Below 18 °C growth slows dramatically. Above 28 °C for extended periods during vegetative growth can cause stress responses you don't want yet. If your grow space gets warm, a small fan directed at the vessels is often enough to shave off a few degrees.
Aeration and mixing
Gentle, continuous aeration serves two purposes: it keeps cells in suspension (preventing them from settling and dying) and provides CO2 for photosynthesis. A small aquarium air pump at low-to-medium flow through a fine airstone is ideal. Avoid vigorous turbulence, Haematococcus flagellates are mechanically delicate during the green stage and excessive shear stress damages them. Bubble size matters: finer bubbles from a ceramic airstone are gentler and more efficient than large sporadic ones.
Contamination control
Contamination is the single biggest cause of failed Haematococcus cultures at hobby scale. Bacteria and fast-growing green algae like Chlorella outcompete it quickly. Prevent problems before they start:
- Sterilize all equipment with 70% isopropanol before use and let it dry completely
- Work quickly when opening vessels — minimize exposure time
- Use cotton or foam plugs (not open holes) on flasks and tubes
- Check under a microscope or at minimum a 30–60x jeweler's loupe every 3–4 days for rod-shaped bacteria or foreign algae
- If you see a sudden color shift to bright green slime or yellow, assume contamination and do not attempt to salvage the vessel — start fresh
- Never use the same pipette in multiple vessels without re-sterilizing
Induction phase: triggering the red cyst transformation
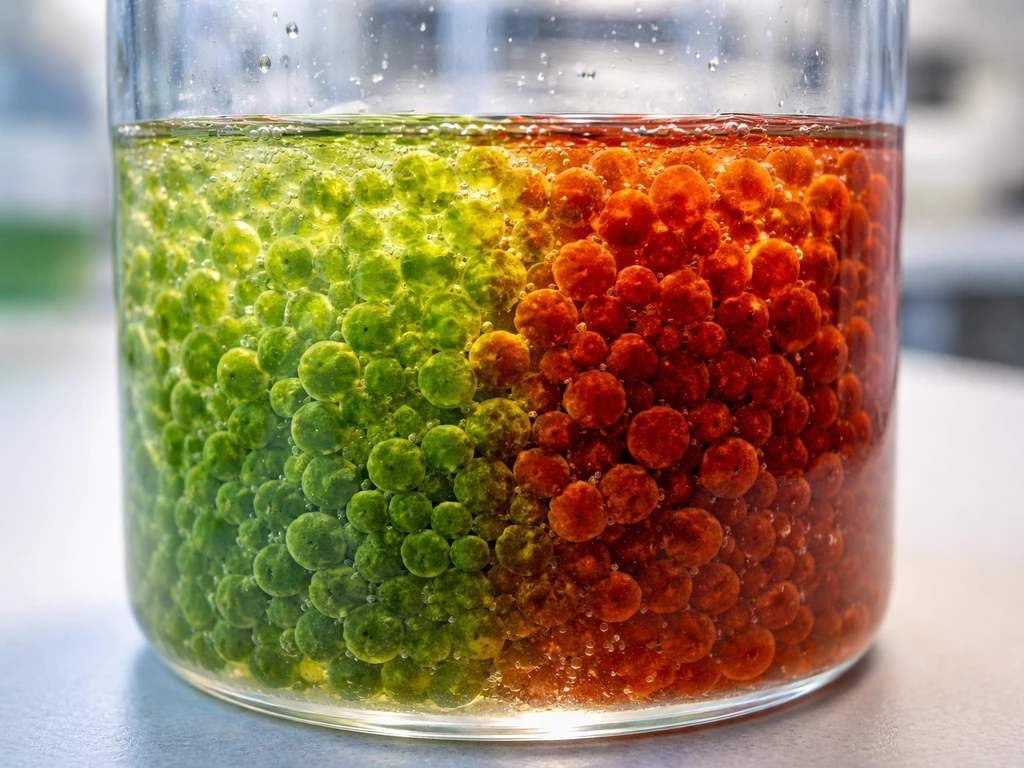
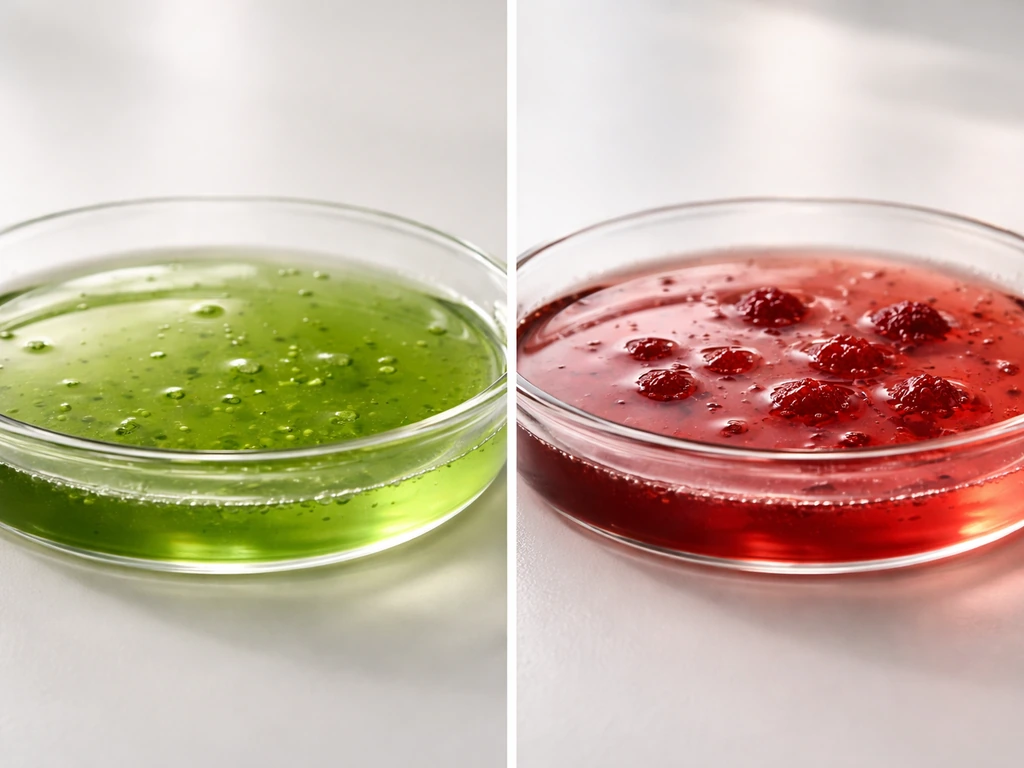
Once your culture is visibly dense green (typically day 12–18), it's time to flip the switch and stress the cells into making astaxanthin. This phase usually takes 7–14 days to complete, and when it's working you'll watch the culture transform from bright green to orange to deep brick red. It's genuinely satisfying to see.
Nitrogen depletion: the most powerful trigger
Nitrogen starvation is the primary and most reliable astaxanthin inducer. To do this, centrifuge or settle your green cells, carefully pour off the spent nutrient media, and resuspend in nitrogen-free or very low-nitrogen media (BG-11 with the NaNO3 omitted, or simply distilled water for a more aggressive deprivation). This removes the cell's primary nitrogen source and forces it into the protective cyst-forming response. Some growers do a 50% media swap rather than a full wash, which is gentler but slightly slower.
High light: stack this with nitrogen depletion
As soon as you switch to nitrogen-deficient media, crank the light intensity up to 10,000–30,000 lx and optionally switch to continuous light (24:0 photoperiod). Research comparing 12:12 vs. continuous light during induction shows continuous light accelerates pigmentation. The combination of nitrogen depletion plus high light is the most effective dual stressor, cells with no nitrogen under high light accumulate astaxanthin roughly 3.5 times faster than nutrient-sufficient cells under the same light. Don't apply the high light before removing nitrogen or you'll just cause photoinhibition without the metabolic switch that drives astaxanthin synthesis.
Optional additional stressors
- Add NaCl to 0.5–1.0% w/v for osmotic stress — this is a simple and effective add-on
- Reduce or eliminate phosphate from the induction media alongside nitrogen
- Allow temperature to rise slightly to 26–30 °C (but not above 30 °C — that causes cell death, not cyst formation)
- Some protocols add sodium acetate as a carbon source during induction to further boost pigment accumulation
- Reduce or stop CO2 supplementation to allow pH to drift up naturally as a mild additional stressor
What the transition looks like day by day
Days 1–3 of induction: cells may look similar or slightly paler green. Days 3–6: cells begin rounding up into aplanospores, green color gives way to yellowish-orange. Days 7–14: the culture should be visibly orange to deep red. By day 14, if conditions are right, most cells should be thick-walled red cysts. If you're still looking at mostly green cells at day 10, your nitrogen deprivation is probably incomplete or your light isn't strong enough.
Monitoring your culture and fixing common problems
You don't need a lab full of instruments to monitor Haematococcus effectively. A pH meter, a lux meter, a thermometer, and a basic microscope cover most of what you need to catch problems early.
What to check and how often
| Parameter | Check frequency | Target (green stage) | Target (red stage) |
|---|---|---|---|
| pH | Daily | 6.0–8.0 | 7.5–9.0 (drift up) |
| Temperature | Daily | 20–25 °C | 25–30 °C |
| Light intensity | Every 2–3 days | ~2,000 lx | 10,000–30,000 lx |
| Color/turbidity | Daily (visual) | Bright green, increasing density | Progressive orange to deep red |
| Contamination (microscope) | Every 3–4 days | No bacteria/foreign algae | Same vigilance |
| Media nitrogen | At induction switch | Full BG-11 | Zero or near-zero |
Slow growth in the green stage
If your culture isn't getting noticeably denser after 7–10 days, check temperature first (below 18 °C will stall growth), then check light (too little or too much), then check that your media was mixed at the right concentration. Also check that your aeration is supplying enough CO2, if pH is climbing above 9 during the day, your cells are CO2-limited. Adding a low-flow CO2 line or shaking the vessel manually twice a day can help in a pinch.
No red color during induction
This is the most frustrating outcome. The most common causes are incomplete nitrogen removal (always rinse the cell pellet with nitrogen-free water at least twice), insufficient light intensity during induction, and starting the induction phase with a low cell density. If your culture is still pale or yellowish-green at day 10 of induction: verify your lux meter reading, do a second media wash to remove residual nitrogen, and check that the culture temperature isn't too low. Also confirm your starter strain is actually capable of forming red cysts, some resellers sell cultures that have been passaged so many times they've lost induction capacity.
Culture crash
A crash usually looks like sudden yellowing, whitening, or the culture going completely transparent and settling out. The most common causes are a temperature spike above 35 °C (even briefly), severe pH crash below 5 from CO2 buildup, or contamination by ciliates/rotifers that graze the cells overnight. Always maintain a backup flask of the green culture in moderate light before switching the main culture to induction. That backup has saved me more than once.
Biofilm and wall growth
Haematococcus cells will stick to vessel walls, especially during induction when cells become non-motile cysts. This isn't a failure, it's normal. Gently scrape or rinse wall growth back into suspension periodically. Heavy biofilm at the base of a tube usually signals bacterial contamination rather than normal cyst settling.
Scaling up from flask to larger production
Once you've successfully completed a full green-to-red cycle in a 2-liter flask, scaling up is mostly about maintaining the same surface-area-to-volume ratio and lighting geometry. Move from a 2 L flask to a 10 L flat-panel vessel or coiled tube, using the proven flask culture as a 10–20% inoculum. Keep all parameters identical. The most common scaling mistake is assuming a larger vessel will self-manage, you need proportionally more light, more aeration, and more careful pH monitoring as volume increases because light attenuation through a dense culture becomes a real problem above 5–10 cm of optical depth. This is exactly why flat-panel and tubular photobioreactors outperform deep tanks for this species.
Harvesting, washing, and storing your astaxanthin-rich biomass
Harvest when the culture is uniformly deep red-orange and cell density is at its peak, typically day 10–14 of induction. Paperwhites grown in gravel use a different approach from algae, but you can apply the same idea of controlling moisture and nutrients to get consistent results how to grow paperwhites in gravel. Waiting too long after this point risks cell death and degradation of the astaxanthin content.
Settling and concentrating the cells
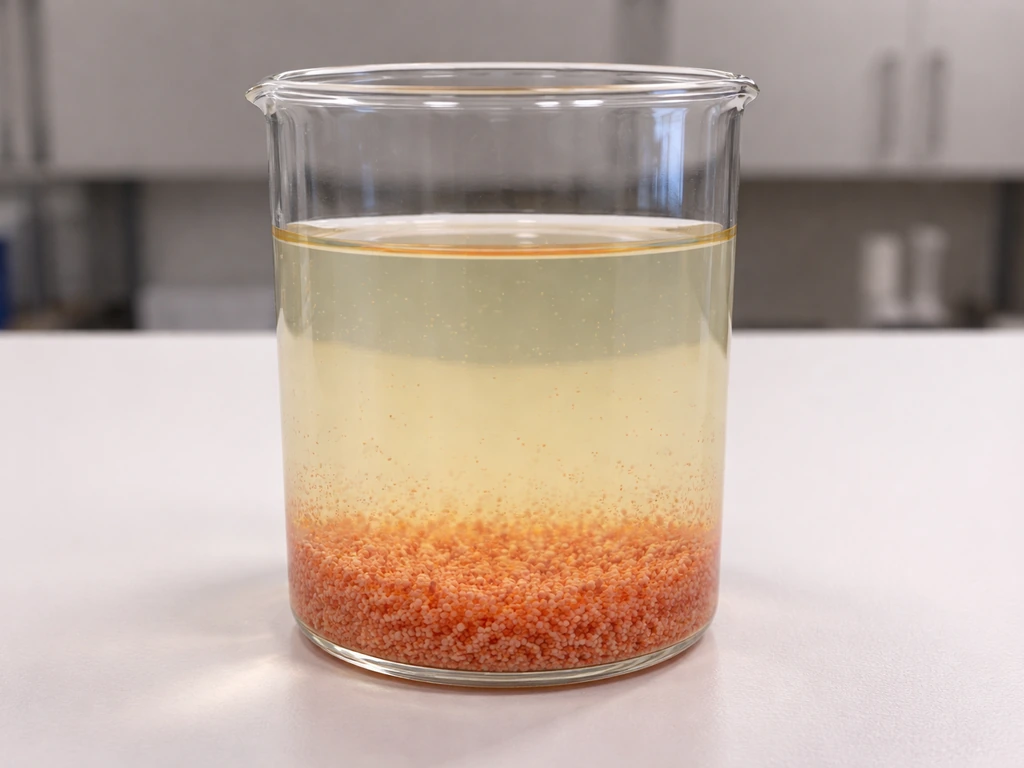
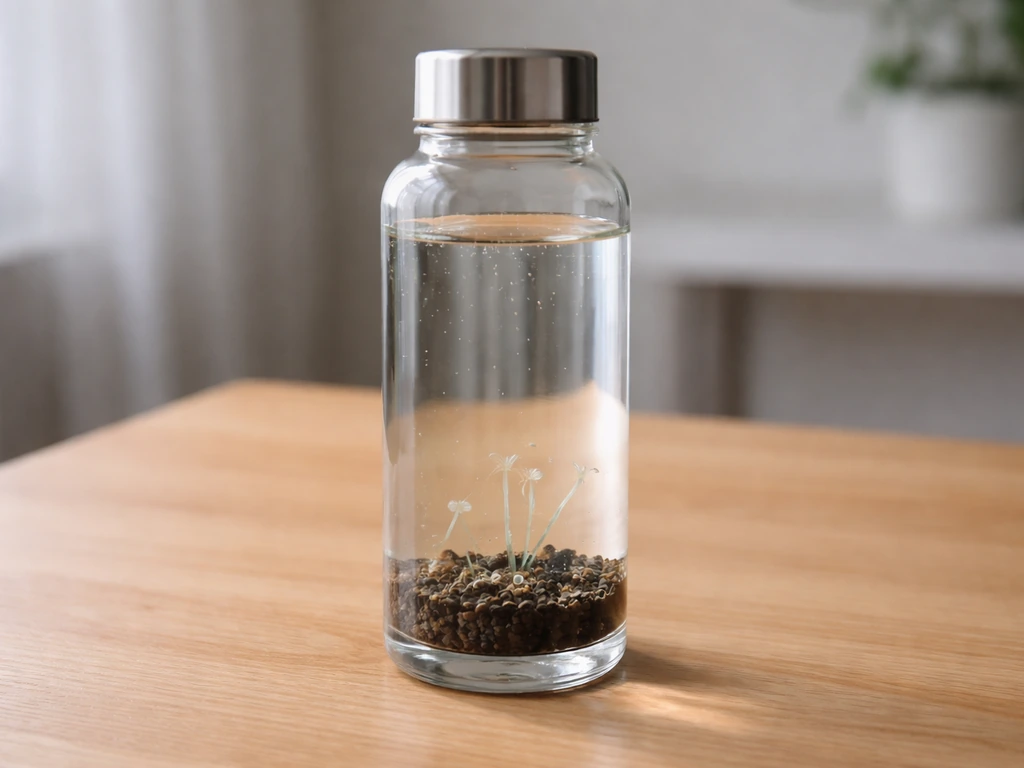
The simplest method for small volumes is gravitational settling. Turn off aeration and allow the culture to sit undisturbed for 12–24 hours. The red cysts are dense and will settle to the bottom. Carefully siphon or decant the clear supernatant, then collect the concentrated paste at the bottom. If you are wondering how to grow hydroids in a water bottle, you can apply many of the same closed-system principles for water quality and light control how to grow hydroids in water bottle. For faster results, a small benchtop centrifuge at 2,000–3,000 rpm for 5–10 minutes pellets the cells efficiently. Filter methods using fine nylon mesh (10–25 µm pore size) also work for larger volumes, though you'll lose some fine cells.
Washing the biomass
After collecting the pellet or paste, resuspend it in distilled water and centrifuge or settle again. Repeat this wash step twice. This removes residual salt, media components, and dead cell debris that would otherwise degrade product quality and shorten shelf life. The washed pellet will be a concentrated, dark red-orange paste.
Drying and storage
For most hobbyist and small-scale uses, spreading the washed paste thinly on parchment paper and drying at 40–50 °C in a food dehydrator or low oven produces a dry, shelf-stable biomass powder. Avoid temperatures above 60 °C, astaxanthin is a carotenoid and degrades with excessive heat. Freeze-drying (lyophilization) gives the best preservation of astaxanthin content if you have access to the equipment, but the dehydrator method is perfectly adequate for most applications. Store dried biomass in an airtight dark container in the freezer. Astaxanthin oxidizes rapidly with light and air exposure, so minimize both. Properly dried and stored biomass can retain potency for several months.
Checking your yield
A rough quality check: grind a small amount of dried biomass between your fingers, it should produce an intensely orange-red pigment stain. Pale or brownish biomass indicates low astaxanthin content, likely from incomplete induction or degradation during drying. If you want to get more precise, astaxanthin can be estimated spectrophotometrically at 474 nm after acetone extraction, though this requires basic lab access. For most hobbyist purposes, the visual color intensity test is a good practical indicator of a successful batch.
Growing Haematococcus pluvialis is genuinely more involved than culturing fast-growing algae like Spirulina or Chlorella, but the two-stage process becomes intuitive once you've run it through once. The payoff, a self-produced, astaxanthin-dense biomass with clear, traceable growing conditions, is hard to replicate any other way at this scale. If you're already comfortable culturing other aquatic organisms in closed systems, the transition to Haematococcus is a natural next step. Paperwhites, unlike algae, are typically grown in water by keeping only the bottom of the bulbs submerged and ensuring the roots get moisture while the shoots stay above the waterline aquatic organisms in closed systems.
FAQ
How do I know if I removed enough nitrogen before induction?
Do a second rinse, not just one media swap, and watch the first 3 to 4 days of induction. If cells stay strongly green with little rounding by day 5 to 6, residual nitrogen is likely still present. Also, verify you actually used nitrogen-free or very low-nitrogen medium for the resuspension step, not the original BG-11 concentration.
What aeration rate should I use, and how can I tell it is too low or too strong?
Too low aeration shows up as settling and pH spikes during the day, cells may look less uniformly suspended. Too strong aeration causes foaming and can mechanically stress cells during the green stage, look for lower growth rate or abnormal cell morphology. Use fine bubbles (small ceramic airstone) at a gentle flow that keeps the culture mixed without churning.
Can I run induction at the same temperature as the green stage (20 to 25 °C)?
Yes, but avoid extended periods above about 28 °C during vegetative growth, and during induction make temperature spikes a priority to control. If you see any excursions near 35 °C, treat it as a likely crash risk. In practice, stable room or grow-space temperature with active cooling if needed is more reliable than aiming for a warmer induction target.
Do I need continuous light during induction, or is a timed photoperiod enough?
Continuous light typically accelerates pigmentation, but it is not the only way to get red cysts. If you use a 12:12 cycle, compensate by ensuring your light intensity is truly in the induction range and that timing matches your lamp output. The key is that high light must start only after nitrogen depletion, not before.
What should I do if my pH rises above 9 during induction?
That pattern suggests CO2 limitation, despite high light. Reduce CO2 draw or improve gas exchange by increasing gentle aeration (or airflow) so photosynthesis does not push pH too high. If you have CO2 available, add it at low flow and keep it controlled, because an overly aggressive CO2 approach can swing pH the other direction and stress cells.
Is it safe to use tap water for media, or can I just let it sit to remove chlorine?
Tap water often contains variable amounts of copper, phosphate, and other ions that can interfere with induction and contamination dynamics. Letting it sit may reduce chlorine, but it does not reliably remove phosphate or metals. For best control, use distilled or reverse-osmosis water, especially for induction where nitrogen source removal is critical.
My culture never turns deep red. What are the most common bottlenecks?
Check these in order: confirm nitrogen is truly depleted (use a second wash), verify light intensity with a lux meter (too low is a frequent issue), and ensure starting cell density is high enough before induction. If those are correct, also examine temperature stability, because slow induction often correlates with under-running conditions rather than a single problem.
Why is my induction turning orange but then reversing or staying patchy?
Patchy color usually points to uneven light distribution or insufficient mixing, especially as culture density increases. If your vessel has depth, light can be absorbed before reaching the bottom, creating gradients. Improve mixing gently or switch to a geometry with better light penetration (flat-panel or tubular design) to drive more uniform cyst formation.
Can I harvest early if the culture looks red on top but not throughout?
If red color is not uniform, harvesting early can lower total astaxanthin yield. Aim for deep red-orange throughout the suspension and cell density at peak, typically around day 10 to 14 of induction. If you must harvest, consider separating layers and re-inducing the less mature fraction only if you can maintain nitrogen depletion and adequate light.
How do I avoid contaminations that cause sudden whitening or clearing?
Use closed or semi-closed vessels and keep a backup green culture under moderate light so you are not forced to start over immediately. During production, minimize introducing air or water from outside sources, and treat overnight grazer signs (such as rapid clearing) as contamination that often needs a full restart. Also, watch for biofilm at the base, heavy biofilm is more consistent with bacterial contamination than normal cyst settling.
What is the best way to store the dried biomass to prevent astaxanthin loss?
Store in an airtight, dark container, and keep it cold, freezer storage is ideal for small-scale makers. Minimize exposure to light and air during handling by weighing or portioning into smaller containers. If the biomass looks browner over time, that typically indicates oxidation or overheating during drying.
Can I measure success without a spectrophotometer?
Yes, use a consistent visual and tactile test. Dried biomass should stain intensely orange-red when ground between fingers. Pale, brownish, or weakly colored samples usually mean either induction was incomplete or the drying temperature and oxygen exposure degraded the pigment.