Biofilm is a living, microscopic layer of bacteria, fungi, microalgae, and protozoa that coats every surface in a healthy shrimp tank. It forms naturally given the right conditions, and growing it reliably comes down to three things: a fully cycled tank, plenty of textured surfaces, and a steady supply of organic nutrients. Get those right and your shrimp will graze on it around the clock, which is exactly what they are built to do.
How to Grow Biofilm in a Shrimp Tank: Step-by-Step

Marcus Holloway
6 May 2026
What biofilm actually is and why shrimp can't live without it
Biofilm is not slime or algae, though it can look a bit like both when it first appears. It is a thin living matrix of nitrifying bacteria, heterotrophic bacteria, fungi, microalgae, and protozoa embedded in an organic matrix on solid surfaces. Shrimp are constant grazers by nature. They do not sit and eat a big meal twice a day like a fish. They move slowly across surfaces all day long, scraping off biofilm with their mouthparts. If there is not enough biofilm available, shrimp will show signs of stress, stay near the top of the tank looking for food, or simply waste away over time.
Beyond nutrition, biofilm is one of the best indicators of a biologically healthy tank. A tank with thriving biofilm has stable water chemistry, active microbial populations, and the kind of environment that supports shrimp molting, breeding, and long-term health. Research into shrimp gut microbiomes shows that biofilm consumption actually shapes the bacterial community in a shrimp's intestine, which connects directly to immune function and overall resilience. So this is not just about keeping shrimp fed. It is about building a working ecosystem.
Tank setup and water parameters that actually encourage biofilm
Biofilm is a community of living organisms, so it responds to the same water parameters your shrimp do. Stability matters more than hitting a perfect number. Here are the targets to aim for depending on the species you are keeping.
| Parameter | Neocaridina (Cherry Shrimp) | Caridina (Crystal/Bee Shrimp) |
|---|---|---|
| Temperature | 65–78°F (18–26°C) | 62–74°F (17–23°C) |
| pH | 6.5–8.0 | 5.8–7.2 |
| GH | 6–12 dGH | 3–6 dGH |
| KH | 2–8 dKH | 0–2 dKH |
| TDS | 150–300 ppm | 80–160 ppm |
| Ammonia | 0 ppm | 0 ppm |
| Nitrite | 0 ppm | 0 ppm |
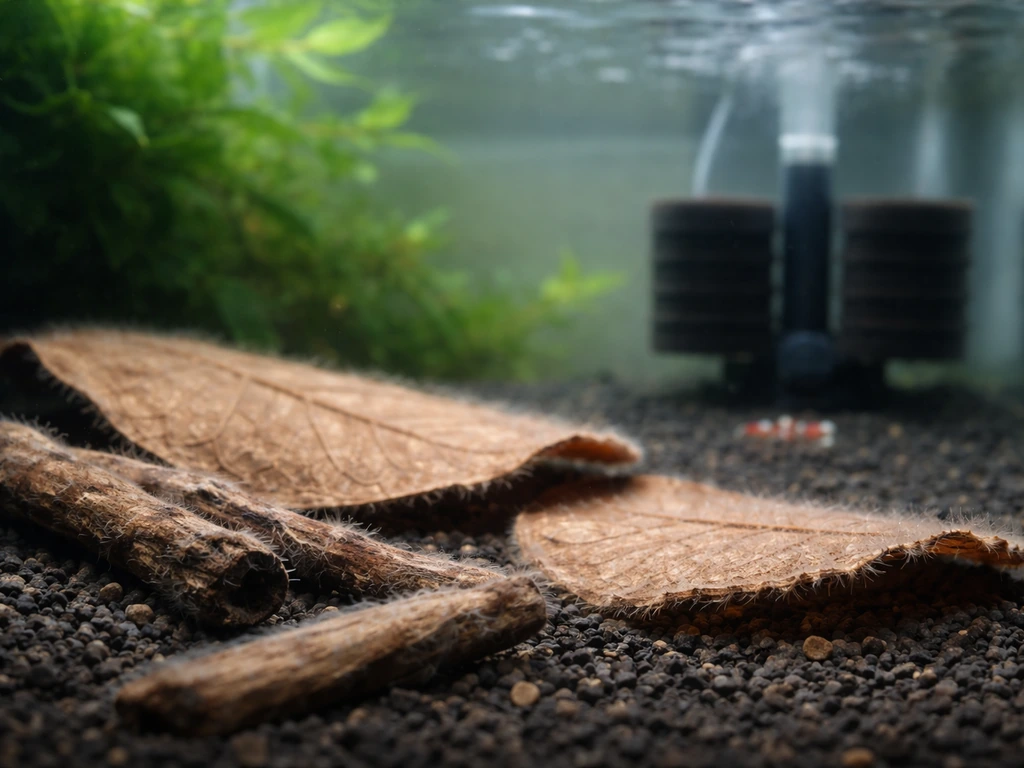
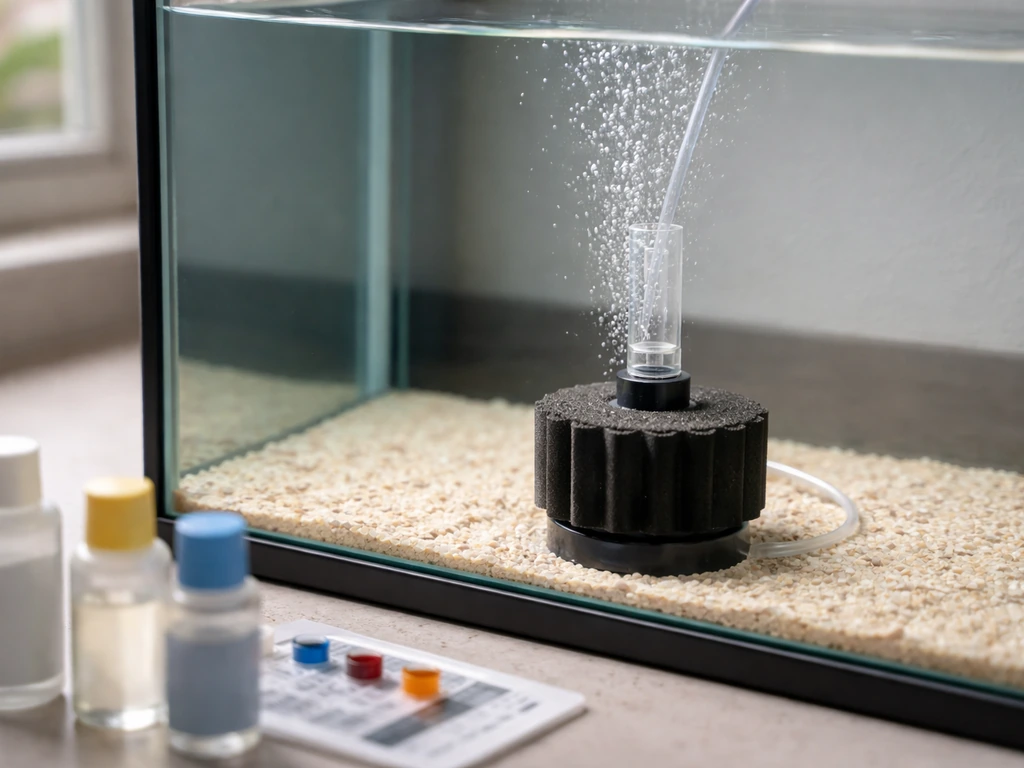
For biofilm specifically, slightly warmer water in the lower range of your target temperature speeds up microbial activity and biofilm formation. pH between 6.8 and 7.6 supports the widest range of nitrifying bacteria. Low flow areas in the tank are where biofilm establishes fastest, so avoid blasting every surface with a powerhead. Sponge filters are ideal here because they create gentle circulation while providing enormous surface area for biofilm colonies to anchor to. Oxygen still needs to stay high enough to support aerobic bacteria, so aim for surface agitation without creating a current that sweeps biofilm off surfaces before it can establish.
How to grow biofilm step by step
The single most important step is completing your nitrogen cycle before you expect visible biofilm. If you want specific steps, learn how to grow biofilm in an aquarium with a full nitrogen cycle, textured surfaces, and careful nutrient feeding. Nitrifying bacteria (Nitrosomonas converting ammonia to nitrite, Nitrospira converting nitrite to nitrate) need to establish first. Biofilm builds on top of and alongside that bacterial foundation. Trying to rush biofilm before the cycle is stable is how you end up with ammonia spikes that crash everything.
Step 1: Cycle the tank first
A new tank typically takes 2 to 6 weeks to fully cycle under normal conditions, though seeded setups can shorten that window. The fastest method I have used is running a spare sponge filter in an already-established tank for about a week, then moving it directly into the new tank.
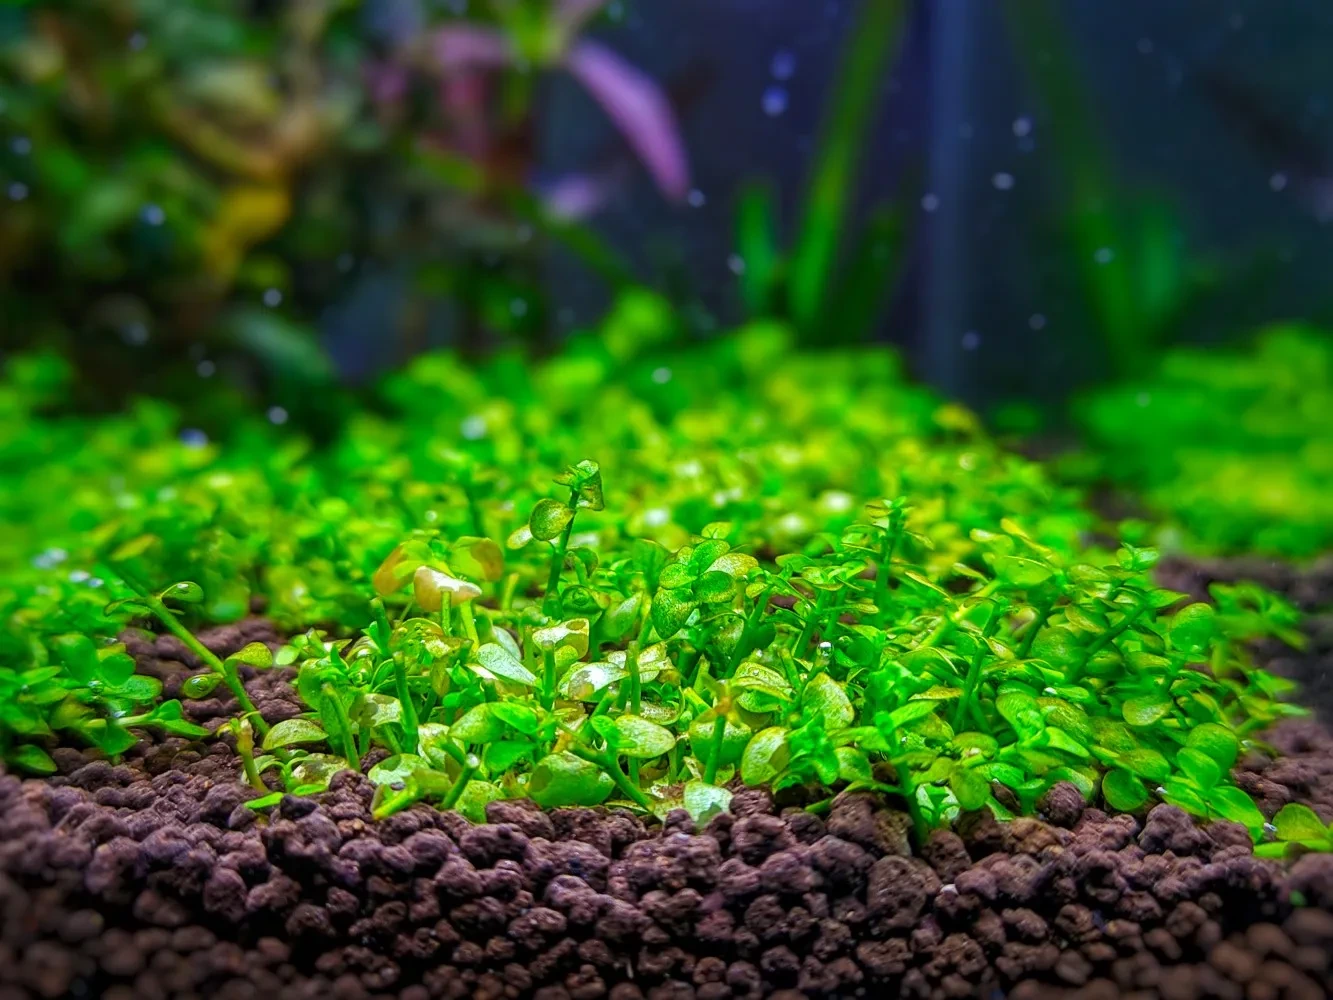
If you want to grow Monte Carlo in an aquarium, you can use the same approach of seeding and stabilizing biological growth first so the plant can settle in faster. This transfers a living colony of beneficial bacteria and can cut cycling time significantly. Products like Seachem Stability or Dr. Tim's One and Only can also accelerate the process when used with porous biological filter media.
Do not add shrimp until you have seen ammonia and nitrite both read zero ppm on consecutive days. Zero is the only safe level for shrimp.
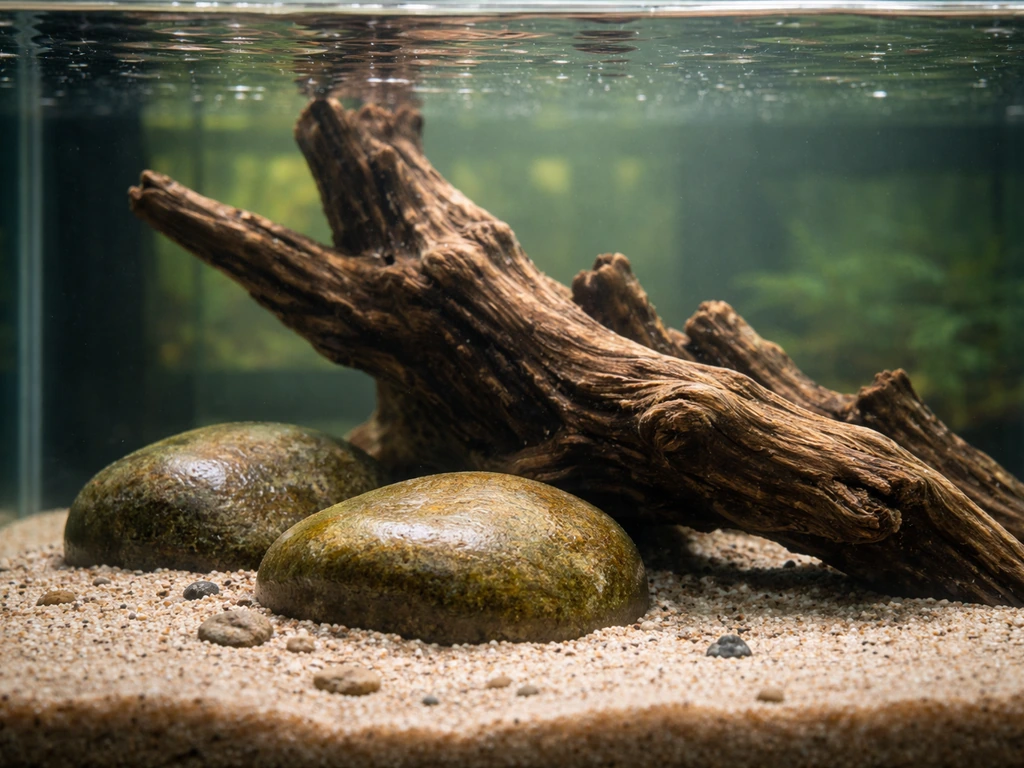
Step 2: Add textured surfaces
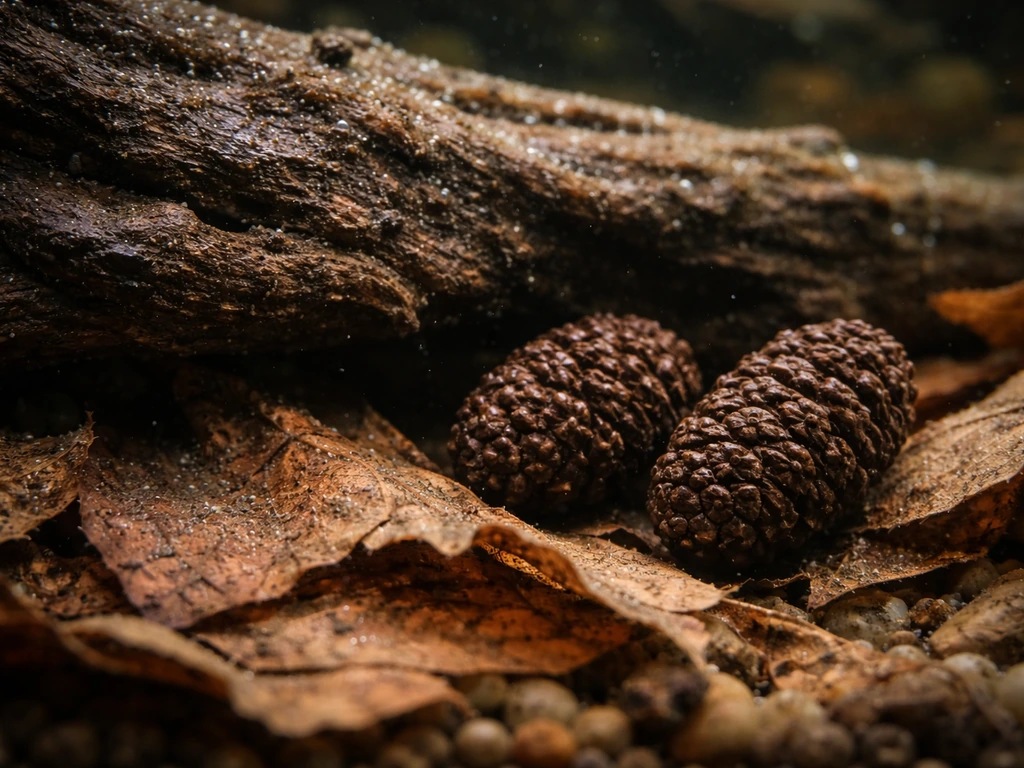
Biofilm grows densest on soft, porous, decomposing surfaces. Smooth glass walls will develop a thin coat eventually, but leaf litter, driftwood, and botanical materials like alder cones are where biofilm really takes off. Add these before or during cycling so the surfaces start conditioning and microbial colonization begins before your shrimp ever go in. I usually add leaf litter and a piece of driftwood on day one, and by the time the tank is cycled the surfaces are already showing that fuzzy, slightly white coating that tells me biofilm is forming.
Step 3: Feed the biofilm, not just the shrimp
Biofilm microorganisms need organic nutrients to grow. In a new tank with no shrimp yet, you can add a small pinch of fish food, a few drops of liquid bacteria food, or a small piece of blanched vegetable every few days to keep nutrients cycling through. Once shrimp are in, their waste and uneaten food become the nutrient input. The key is not overdoing it. Rotting excess food raises ammonia and nitrite, and it reduces oxygen availability for aerobic bacteria. A thin, consistent trickle of nutrients produces far healthier biofilm than occasional large dumps of food.
Seeded vs unseeded approaches
An unseeded tank builds biofilm from scratch using airborne and water-source bacteria. This works fine but takes longer, usually 4 to 8 weeks before you see dense, grazing-quality biofilm. A seeded approach uses a transferred sponge filter, a handful of substrate from an established healthy tank, or a commercial liquid bacteria product to jump-start colonization. Seeded tanks can show visible biofilm in 2 to 3 weeks. If you have access to an established shrimp tank, always use the seeding method. It is faster and produces a more stable outcome because the bacteria are already adapted to aquatic conditions.
The best materials and biofilm recipes
These are the materials I come back to repeatedly because they actually work. Each one does double or triple duty: surface area for biofilm, tannins for water chemistry, and visual interest for the tank.
- Indian almond (Catappa) leaves: Start with about 1 leaf per 10 gallons and adjust from there. These break down slowly, leach tannins that have mild antimicrobial properties, and their soft decomposing surfaces are among the best biofilm substrates available. Do not add too many at once as heavy tannin loads can affect pH in low-KH tanks.
- Alder cones: Use roughly 1 cone per 2 gallons. Boil them for 10 to 15 minutes before adding to release tannins faster and soften the woody texture. The spined surface becomes a dense biofilm attachment point within days.
- Driftwood and cholla wood: Large surface area, slow decomposition, and the white fuzzy coating that forms on new driftwood is almost entirely biofilm. Cholla wood (dried cactus skeleton) is especially porous and shrimp go absolutely crazy on it.
- Sponge filter: The sponge itself becomes a biofilm colony. Shrimp will spend hours on the sponge surface picking off bacteria and organic particles. A mature sponge filter is one of the richest biofilm sources in the tank.
- Substrate: Fine gravel and sand hold some biofilm, but inert substrates like crushed coral or specific Caridina-focused substrates (like ADA Amazonia) support dense microbial communities in their pores.
- Commercial biofilm starters: Products like Borneowild Enlive, GlasGarten Bacter AE, and similar powdered bacterial supplements can be dosed directly onto surfaces. Use sparingly. A tiny pinch every few days is enough. Too much at once can spike ammonia as it decomposes.
Timeline, signs it's working, and troubleshooting
What a healthy biofilm timeline looks like
- Days 1 to 7: Tank is cycling. No visible biofilm yet. Normal.
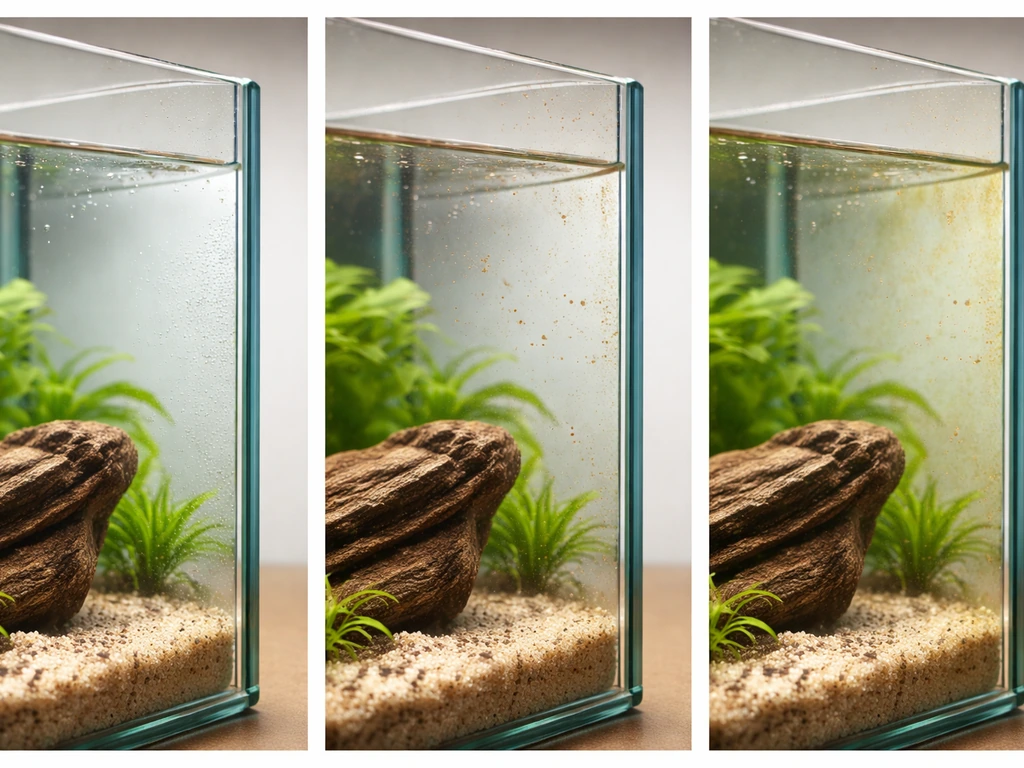
- Days 7 to 14: Brown diatoms may appear on glass and hardscape. This is expected in a new tank and is actually an early biofilm component. Shrimp love it.
- Days 14 to 28: White, slightly fuzzy coating starts appearing on leaf litter and wood. This is classic biofilm. You may also see thin films on the glass.
- Days 28 to 45: Biofilm densifies. Sponge filter develops a visible coating. Surfaces look lived-in. Shrimp added at this stage will immediately start grazing.
Signs it's working
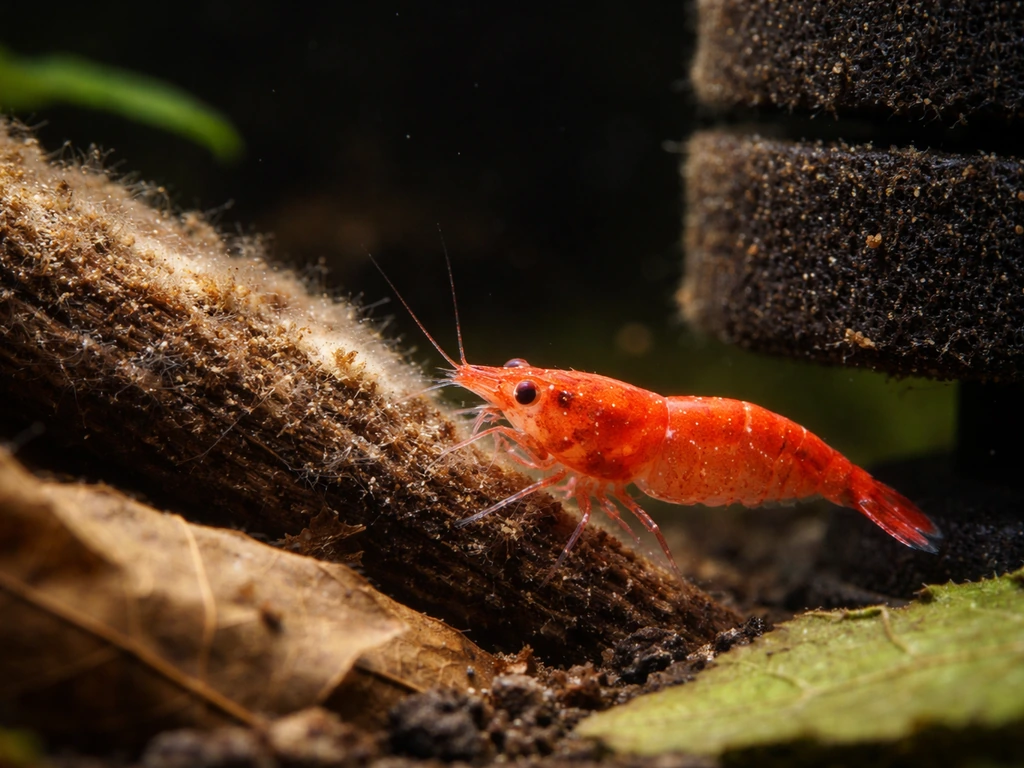
- Shrimp graze continuously on surfaces, especially leaf litter and the sponge filter
- White or slightly brownish fuzzy coating visible on wood, leaves, and hardscape
- Ammonia and nitrite stay at 0 ppm consistently
- Shrimp appear active and curious rather than hiding or lethargic
Troubleshooting common problems
| Problem | Likely Cause | What to Do |
|---|---|---|
| No visible biofilm after 4+ weeks | Insufficient organic input or surfaces too smooth | Add leaf litter, alder cones, or a powdered biofilm starter. Dose very lightly every 3 days. |
| Cloudy white water | Bacterial bloom from too much food or organic matter | Reduce feeding, increase surface agitation, do a small water change (10–15%) |
| Bad smell from tank | Anaerobic decomposition, usually from overfeeding or dead spots | Check for dead shrimp, remove excess food, improve flow in low-oxygen areas |
| Diatom bloom on glass | Normal in weeks 1–3. If persistent, nutrients are too high | Normal: leave it for shrimp. Persistent: reduce feeding, check nitrate levels |
| Biofilm dies off suddenly | Water quality crash or temperature spike | Test ammonia/nitrite immediately. Check temperature. Do a partial water change if readings are off. |
| Shrimp ignoring surfaces | Tank too new, biofilm too thin to be worth grazing | Wait longer. Add more botanicals. Give the tank another 1 to 2 weeks before worrying. |
Safety and risk management
The two biggest safety risks during biofilm building are ammonia/nitrite spikes and pest outbreaks. Both are preventable with a bit of discipline.
Ammonia and nitrite control
Ammonia toxicity to crustaceans is real and fast. Even brief spikes at low concentrations can cause molting failures and sudden death. The zero-tolerance rule exists for a reason. During biofilm building, the most common mistake is adding too much organic material too fast. Leaves, alder cones, and powder supplements all decompose and feed the nitrogen cycle. Go slowly. Add one new botanical at a time and test your water 24 to 48 hours later before adding more. If ammonia or nitrite creep above zero, hold off on any new additions and do a 15 to 20 percent water change with dechlorinated water at the same temperature as the tank.
Pest and pathogen prevention
Planaria and hydra are the most common unwanted hitchhikers in shrimp tanks, and they often come in with plants, wood, or used equipment rather than appearing spontaneously. Quarantine all new additions before putting them in the main tank. Rinse and dry any nets, siphons, or tools between tanks. Never share equipment between an established tank and a new one without sanitizing it first. Boiling or bleach-soaking botanicals before adding them (followed by a dechlorinated rinse) also reduces the chance of introducing pathogens or pest eggs. If you spot planaria in an established biofilm tank, there are specific treatments available, but early prevention is far easier than dealing with an infestation.
Sponge filter maintenance safety
Your sponge filter is one of the most biofilm-rich surfaces in the tank, but it is also where the bulk of your nitrifying bacteria live. Never clean a sponge filter with tap water. Chlorine kills beneficial bacteria instantly and can crash your cycle. Always squeeze the sponge out in a bucket of tank water during your water change. After cleaning, test ammonia and nitrite a few days later to confirm the bacteria survived. If levels creep up, dose a bacterial supplement and hold off on adding new botanicals until readings stabilize again.
When to pause, clean, or restart
Restart the biofilm-building process only if you have a genuine cycle crash (persistent ammonia above 0.25 ppm that will not come down with water changes) or a serious pest infestation that requires a full tank teardown. Otherwise, a partial reset is usually enough. Remove and replace the most heavily affected botanicals, do a series of small water changes over a week, and re-dose a bacterial product to help rebuild the microbial population. A full restart means cycling from scratch, which takes another 2 to 6 weeks, so exhaust other options first.
Keeping biofilm stable over time
Once biofilm is established, the main job is not building it but keeping it stable. Biofilm is a succession community, meaning its composition shifts over time as different microorganisms colonize and take over from others. That is normal and healthy. What disrupts it is sudden change: big water changes, temperature swings, heavy cleaning, or a sudden influx of new shrimp that stresses the tank.
- Do water changes of no more than 10 to 20 percent at a time and always match temperature and pH closely to avoid shocking the tank
- Replace leaf litter gradually as it decomposes. Remove one or two old leaves and add fresh ones rather than swapping everything at once
- Clean the sponge filter in tank water, not tap water, every 4 to 6 weeks or when flow noticeably decreases
- Maintain a consistent feeding schedule. Biofilm microbes thrive on predictable nutrient input, not feast-and-famine cycles
- Test water monthly even in a stable tank. Seasonal temperature changes in the room can shift pH and microbial activity without obvious signs
Adding new shrimp or transferring to a new tank
When you add new shrimp to an established biofilm tank, do it gradually. A sudden increase in waste load can temporarily spike ammonia, especially in smaller tanks. Acclimate slowly and watch water parameters for the first week. If you are moving shrimp to a new tank, transfer as much established media as possible (the old sponge filter, a handful of substrate, some of the leaf litter) to seed the new setup.
The new tank will still take some time to build its biofilm fully, but you are starting ahead of zero. If you are trying to grow grass in an aquarium, use the same approach of stable water conditions, proper lighting, and a healthy nutrient cycle to help the plants establish how to grow grass in aquarium. Biofilm on plants works the same way, which connects to broader aquarium biofilm work that applies across planted and shrimp systems alike.
The routine here is not complicated: stable water, textured surfaces, light consistent feeding, and patience. Biofilm does not need to be engineered. It needs to be invited. Give it the right conditions and it will show up on its own, and your shrimp will spend the rest of their lives grazing on it.
You can apply the same principles to carpet grass by keeping your tank stable and providing clean nutrients that support healthy growth carpet grass seeds in an aquarium. The same idea applies when you’re trying to grow seagrass in an aquarium, where stable light and water conditions help establish healthy growth how to grow seagrass in aquarium.
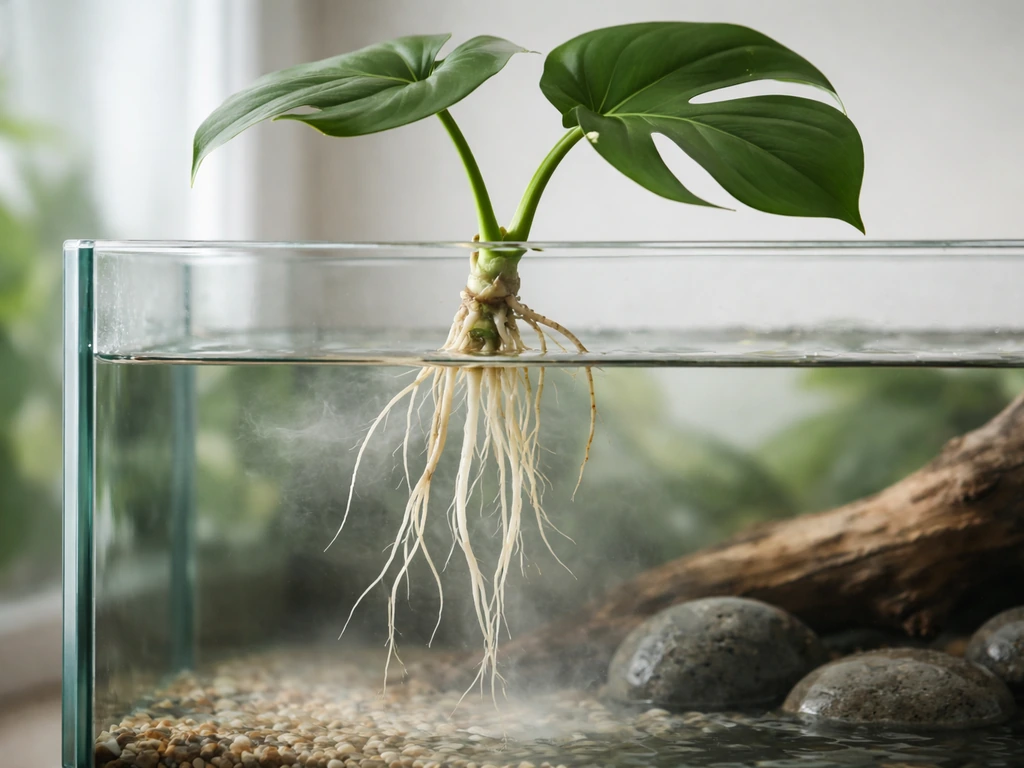
You can use the same biofilm-building basics to support the water quality and plant health you need when you grow monstera in an aquarium how to grow monstera in aquarium.
FAQ
Can I add shrimp as soon as I see biofilm starting to form?
Shrimp can start grazing before the biofilm looks “fuzzy,” but visible biofilm is not your safety signal. Use chemistry: only add shrimp after ammonia and nitrite are 0 ppm on consecutive days, and then keep nutrients light for the first week so the added waste does not trigger a spike.
What’s the best way to seed a new shrimp tank if I already have an established one?
If you already have a tank with strong biofilm, the safest shortcut is to seed with biology, not food. Move an intact sponge filter and add a small amount of established leaf litter or substrate (not decomposing sludge). Avoid transferring detritus that can spike nutrients, and do gradual acclimation for any new shrimp.
How much organic nutrient should I feed to build biofilm without causing ammonia or nitrite spikes?
The “right” amount depends on how fast nutrients are being processed. A practical method is to feed in small increments and observe: if ammonia or nitrite rise after feeding, you are feeding faster than the nitrifiers can keep up. Then reduce organic input and give the biofilter time, rather than adding more botanicals or supplements.
How can I tell biofilm from algae or cloudy bacterial blooms?
Sometimes what looks like biofilm is actually algae or a cloudy bacterial bloom. Biofilm usually forms as a thin coating on textured surfaces and is easiest to spot on wood, leaf litter, and seams, and shrimp graze it down. If you see fast, green growth everywhere under bright light, reduce lighting and nutrient input, because algae responds quickly to excess light and nutrients.
Can I clean my sponge filter during the biofilm-building phase?
Yes, but only if you avoid rinsing away the living layer. If you use a sponge filter, never clean with tap water. Squeeze it in a bucket of tank water during a water change, and afterward monitor ammonia and nitrite for a few days. If levels creep up, pause botanicals and consider a bacterial supplement to help recolonization.
What should I do if ammonia or nitrite briefly rises during biofilm building?
If you miss a stable cycle and ammonia or nitrite reaches nonzero, stop adding new organics and hold feeding steady or reduce it. Perform a 15 to 20 percent water change with dechlorinated water at tank temperature, then retest within 24 to 48 hours. Resume additions only after readings return to 0.
Does seeding always guarantee faster and safer biofilm growth?
Seeded tanks typically show biofilm sooner, but “fast visible growth” does not guarantee stable nitrification. Always confirm safety with consecutive-day testing for ammonia and nitrite before adding shrimp, especially in small tanks where waste buildup can happen quickly.
Is it okay to add a lot of leaf litter or alder cones at the start?
You can use botanicals like leaf litter and driftwood, but treat them like nutrition sources that can be too much at once. Add one botanical at a time, test 24 to 48 hours later, and remove or replace the most decomposing items if readings stay elevated. Also note that tannins can stain water without being harmful, but excessive decay can still drive nitrogen problems.
How much flow is ideal for growing biofilm without harming oxygen levels?
Low flow helps biofilm establish, but completely stagnant water is risky because oxygen drops and detritus can accumulate. Aim for gentle circulation with surface agitation, using a sponge filter and avoiding strong currents that strip surfaces. Watch shrimp behavior, and keep an eye on whether the tank smells off (a sign of oxygen stress).
Do I really need to quarantine new plants or wood before adding them to the shrimp tank?
Quarantine matters most for pests like planaria and hydra. A practical approach is to quarantine any plants, botanicals, and used equipment in a separate container, inspect under good light, and rinse only what is safe to rinse (avoid washing away the entire beneficial layer if it’s your intended seeding material).
When is a partial reset enough, and when do I have to restart from scratch?
If you only need to keep biofilm growing, you usually do not need a tank teardown. Use the least disruptive fix: remove heavily affected botanicals, do several small water changes over a week, and re-dose beneficial bacteria if needed. A full restart is reserved for persistent cycle failure or severe infestations.
Why does my biofilm disappear after water changes or tank maintenance?
Biofilm stability often breaks when you do large, sudden changes to waste input or water conditions. If you must move equipment or do deep cleaning, do it in stages, keep temperature stable, and avoid replacing all surfaces at once. Plan for a short stabilization period after any major change.
How should I add new shrimp to a tank that already has strong biofilm?
Yes, but treat it as an acclimation and seeding problem. When adding shrimp to a mature biofilm tank, do it gradually and acclimate slowly, because the extra waste can temporarily push ammonia up even if the tank “used to be fine.” If possible, transfer the old sponge filter and a bit of established leaf litter/substrate to reduce the jump from near zero.