To grow water beads, drop dry polymer beads into clean, room-temperature water and let them sit for 4 to 6 hours. If you mean jelly balls that grow in water, the same expansion step applies: soak the polymer beads until they swell fully, then use fresh water and proper circulation. That's the core of it. But if you're here because you want to use water beads as a growing medium for plants in a hydroponic or aquatic setup, there's a bit more to get right, and this guide walks through all of it, from choosing the right type to keeping them healthy and troubleshooting when things go sideways. If you’re wondering how to grow water balls in a hydroponic or aquatic setup, water beads (SAP gel beads) are the key medium to use. If you specifically want to grow gummy bears in water, use this same water-beads approach while keeping the water chemistry and oxygen levels stable water beads as a growing medium. If you want water beads to grow larger, start by choosing the right SAP gel beads and give them the full soaking time in clean water.
Water Beads How to Grow: Step-by-Step Setup

What 'water beads' actually means (and which type you're dealing with)
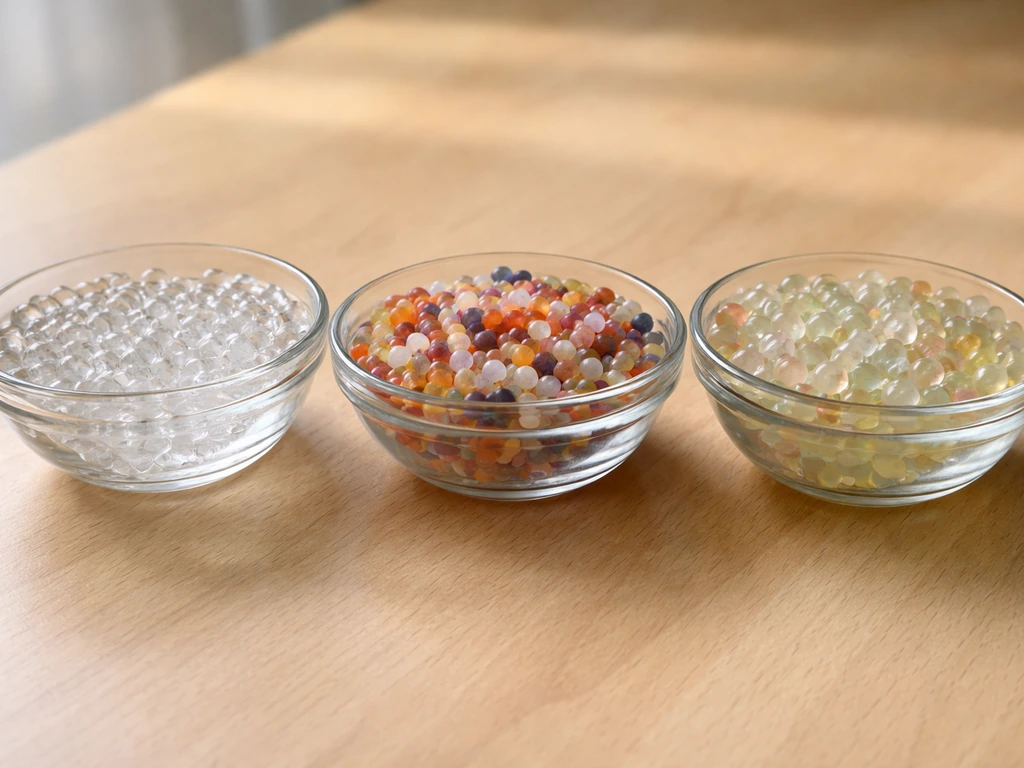
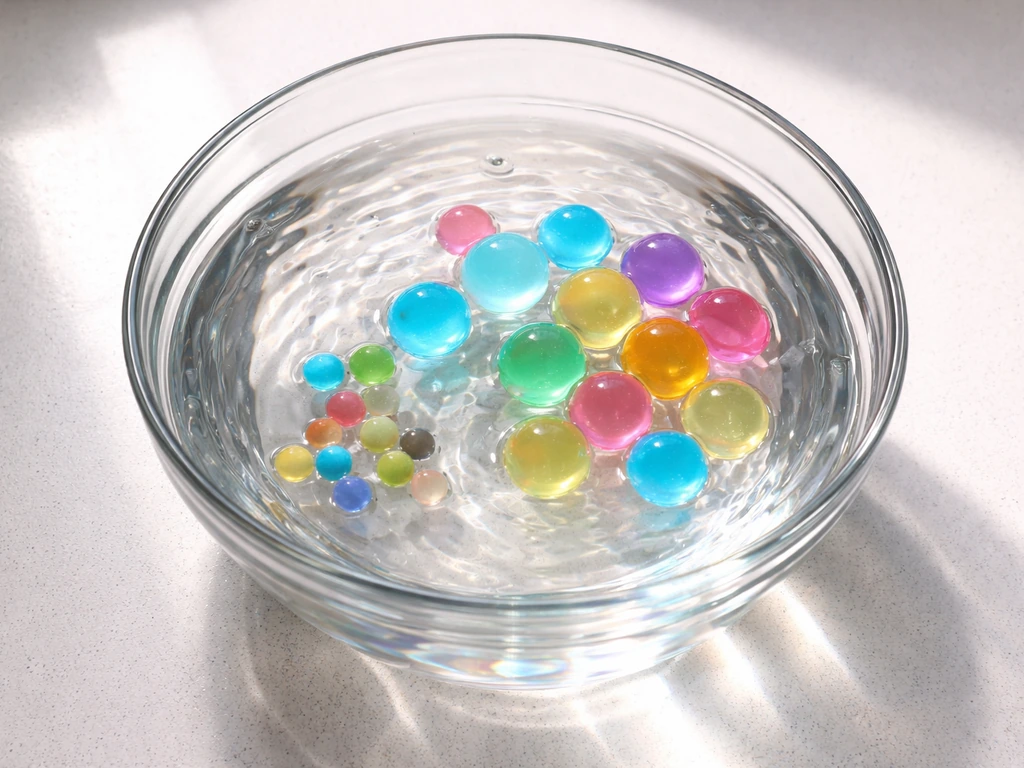
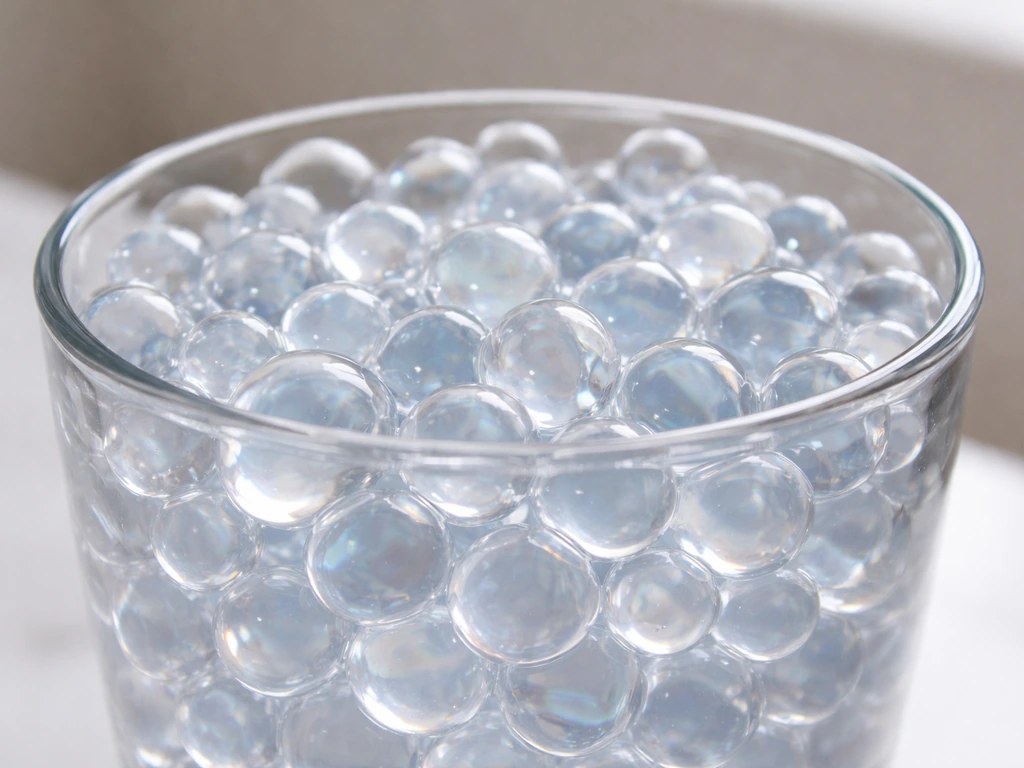
The term 'water beads' gets used for a few different things, and it matters which one you mean before you start. In the context of aquatic gardening and hydroponics, water beads typically refer to superabsorbent polymer (SAP) gel beads made from sodium polyacrylate or similar hydrogel materials. They start as tiny, hard pellets and swell dramatically when submerged in water, sometimes expanding 100 to 1000 times their original dry volume, because they're designed to absorb and hold liquid in their polymer matrix.
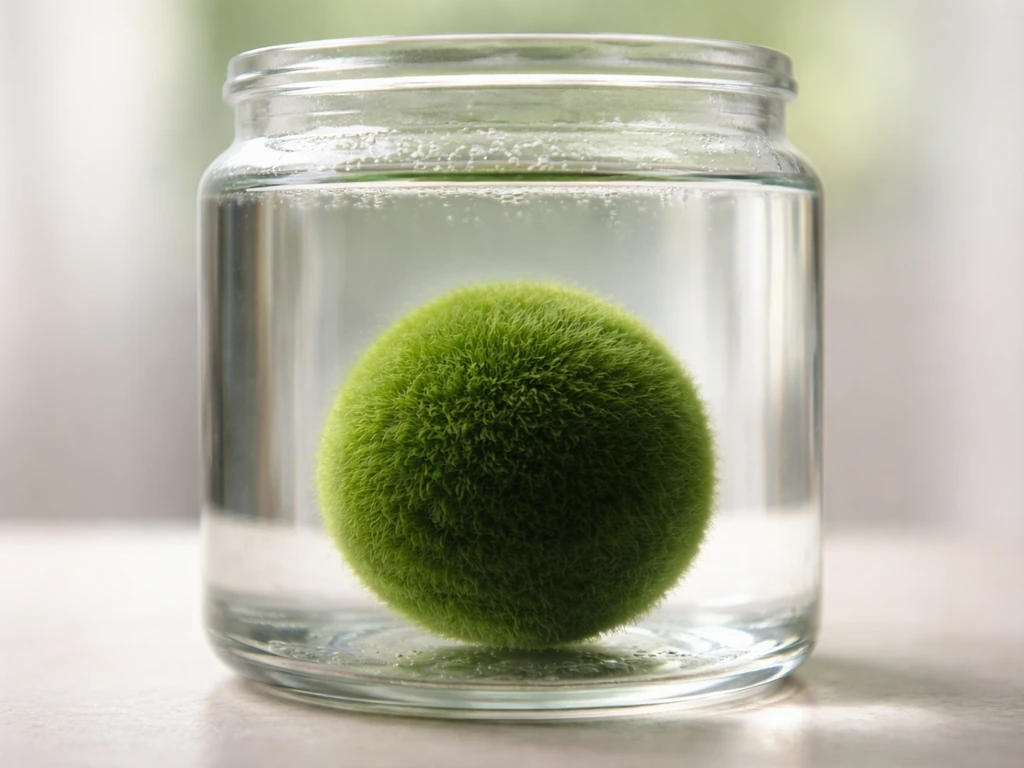
These are different from living bead-like organisms like marimo balls or water soldier plants, and they're also distinct from the jelly ball or gummy bear growing experiments that work on osmosis. If you're interested in those living aquatic alternatives, they follow completely different care rules. For living marimo balls, you want a very different setup with gentle rinsing, specific light, and regular water changes. For this guide, we're focused on SAP hydrogel beads used as a growing medium for plants or as decorative aquatic elements in vases, hydroponics, and plant displays.
One safety note before anything else: these beads are not edible and should be kept away from children and pets. The CPSC has flagged swallowing risks due to expansion, and some products contain acrylamide-related compounds. The CPSC explains that the expansion of water beads, along with bead dimensions, can affect choking risk to children flagged swallowing risks due to expansion. Handle them responsibly, especially around kids.
What you need before you start
The shopping list is short, but each item matters. Getting the water type wrong, for example, is probably the most common reason beads don't expand properly or develop problems later.
- Dry SAP water beads: look for horticultural-grade or aquatic-safe hydrogel beads, usually sold in small packets of 10 to 20 grams dry weight
- Container: clear glass vases, wide-mouth mason jars, or shallow plastic trays work well; avoid metal containers, which can interfere with water chemistry
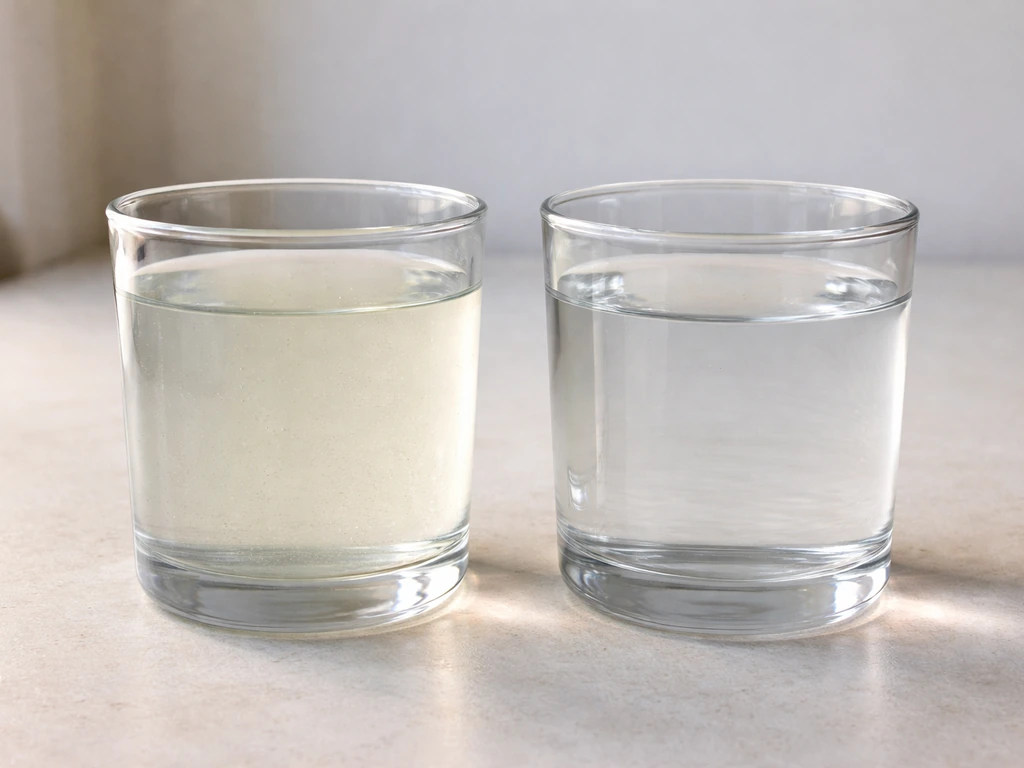
- Water source: distilled or filtered water is best; tap water with high mineral content (hard water) causes beads to shrink or fail to expand fully; if using tap water, let it sit 24 hours or use a dechlorinator
- A kitchen or postal scale: useful because 10 grams of dry beads can absorb 1 to 2 liters of water depending on brand
- pH test strips or a basic pH meter: target pH 6.5 to 7.5 for most plant applications
- Liquid hydroponic nutrients (optional): only needed if you're using beads to grow plants
- A colander or mesh strainer: for rinsing beads after expansion
Step-by-step setup and growing process
Follow these steps in order. Skipping the rinse step or rushing the expansion time are the two most common rookie mistakes I've seen (and made myself early on).
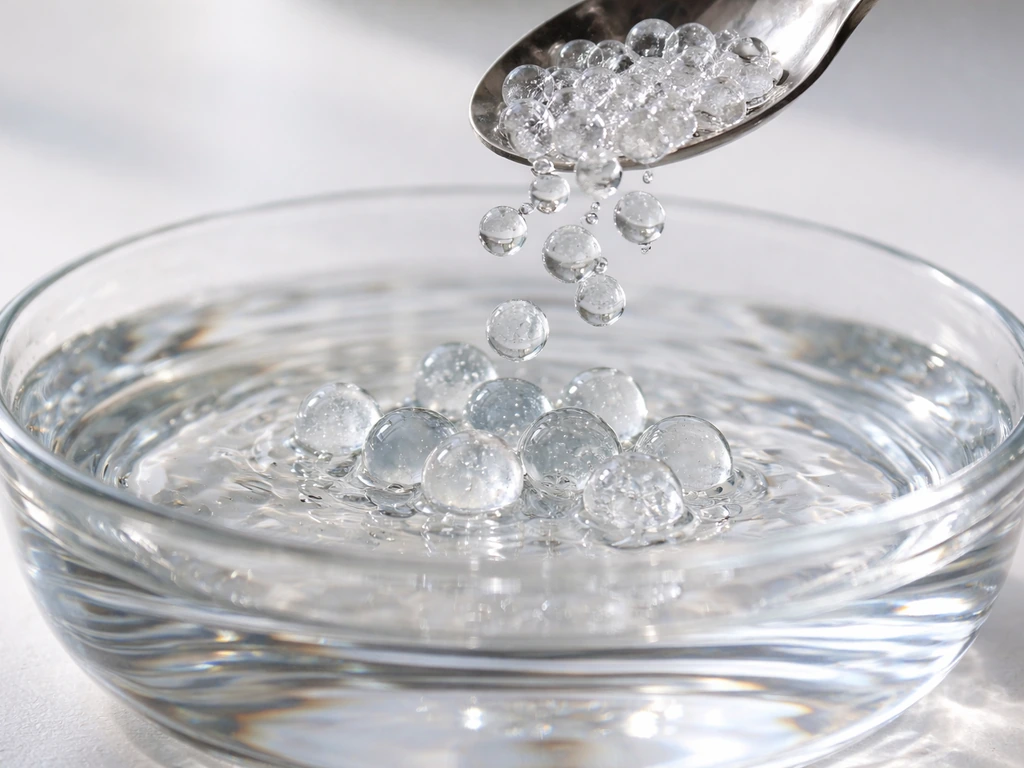
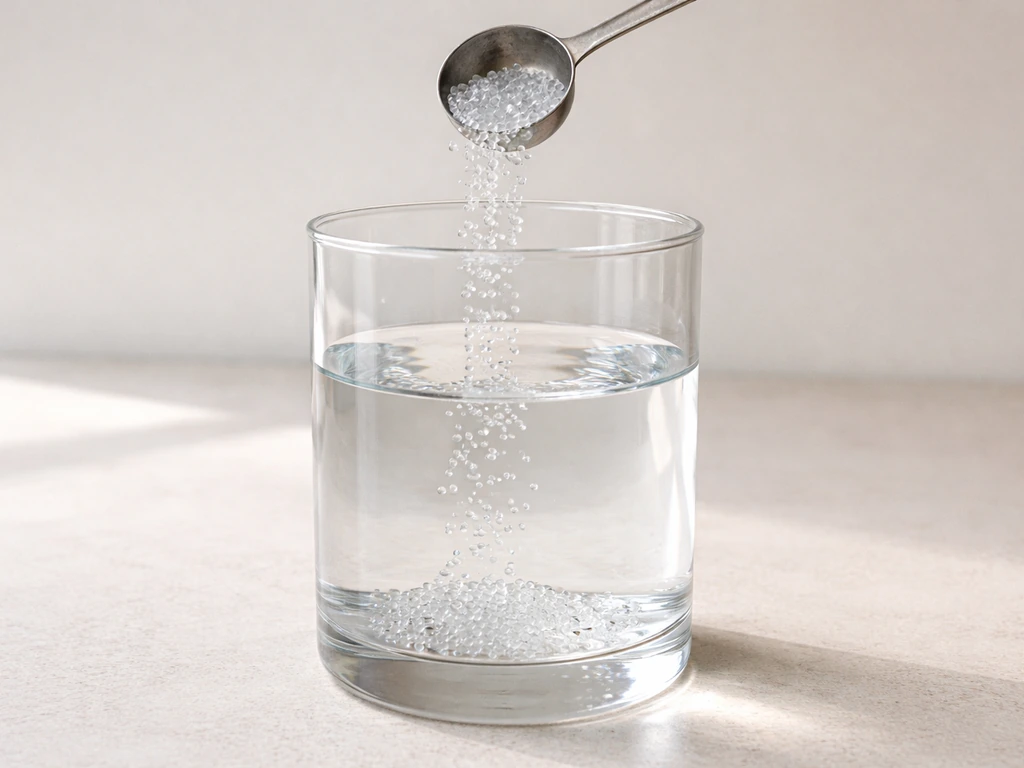
- Measure your dry beads: start with 1 to 2 teaspoons (roughly 5 to 10 grams) for a standard vase or small container. They expand enormously, so less is more at first.
- Prepare your water: use distilled or filtered water at room temperature, around 68 to 77°F (20 to 25°C). If adding nutrients for plant use, mix them into the water before adding beads at a diluted rate, about 1/4 of the recommended hydroponic nutrient dose.
- Check pH: test the water and adjust to pH 6.5 to 7.5. High pH water causes beads to remain smaller and become brittle over time.
- Add beads to water: pour the dry beads into the water, spreading them out so they're not clumped together. Do not crowd them, as they need room to swell without deforming each other.
- Wait for full expansion: let them sit undisturbed for 4 to 6 hours minimum. Many brands say 4 hours, but I always go 6 for a complete, even expansion. For very large batches, 8 hours is safer.
- Rinse expanded beads: once fully expanded, drain excess water through a strainer and rinse gently with clean water. This removes any surface residue or loose polymer fragments.
- Transfer to your container or growing vessel: fill your vase, tray, or hydroponic channel with the expanded beads. If growing plants, insert stem cuttings or rooted plants gently so roots can penetrate the bead matrix.
- Top up water as needed: fill the container to just below the surface of the beads. For plant growing, you want roots accessing moisture without sitting in standing water above the bead line.
Light, temperature, and water circulation requirements
Water beads themselves don't have any light or temperature requirements, but the system they're part of does, especially if you're growing plants in them or keeping them in an aquatic display.
Light
For decorative use with no plants, indirect or ambient light is fine and actually helps prevent algae from colonizing the beads. If you're growing plants in water beads, match the light to your plant species: most houseplants do well under 12 to 14 hours of light daily, either from a bright window or a grow light at 2000 to 5000 lux. Avoid direct, intense sunlight on the beads themselves, as UV exposure over time degrades the polymer and shortens their lifespan.
Temperature
Keep your setup between 65 and 80°F (18 to 27°C). At temperatures above 85°F, beads can begin to break down more quickly and water quality degrades faster due to bacterial activity. Below 60°F, expansion slows noticeably and plant root activity in the bead medium drops off. Room temperature is almost always fine for indoor setups.
Oxygen and water circulation

This is where a lot of people run into trouble. Stagnant water trapped between beads becomes anaerobic quickly, especially if nutrients are present, and that's when you get foul odors and bacterial blooms. For small decorative vases with no plants, simply changing the water every 1 to 2 weeks is enough. For plant-growing setups, consider a small aquarium air pump with a stone diffuser to keep oxygen moving through the water. If you're growing plants in water beads, UNH Extension recommends using an air pump and air stone diffuser to aerate the root zone and keep oxygen moving through the water a small aquarium air pump with a stone diffuser. You don't need heavy flow, just enough to prevent stagnation. Even setting up a slow drip-feed or periodically lifting and draining the container works well in practice.
Do water beads need fertilization?
By themselves, water beads are inert, they contain no nutrients whatsoever. If you're using them purely as a decorative element with no living plants, you don't need to add anything to the water. But if plants are growing in them, nutrients are essential because there's no soil providing anything. Use a balanced liquid hydroponic fertilizer with a full macro and micronutrient profile. Start at 25% of the label's recommended dose and work up based on how your plants respond. I prefer a 3-part hydroponic system (grow, bloom, micro) or a simple all-in-one formula like a 7-9-5 NPK blend. Change the nutrient solution completely every 2 to 3 weeks to prevent salt buildup, which causes beads to shrink and become firm.
Care schedule, maintenance, and growth timeline
Here's what a typical maintenance routine looks like once your setup is running. The timeline column reflects what you should see at each stage.
| Timeframe | What to do | What success looks like |
|---|---|---|
| Hours 0 to 6 | Add dry beads to water, wait for full expansion | Beads reach full size, translucent, uniform, and firm |
| Day 1 | Rinse beads, set up container, introduce plants if applicable | Beads hold shape, water is clear, no odor |
| Days 3 to 7 | Check water level, top up if needed, check pH | Plants (if present) show no wilting, beads still plump |
| Week 2 | Partial water change or full nutrient solution refresh | No cloudiness or smell, beads remain firm and full |
| Monthly | Full rinse of beads under clean water, inspect for breakdown | Beads maintain size and elasticity, no sliminess |
| Every 1 to 3 months | Replace beads showing signs of fragmentation or permanent shrinkage | Fresh batch expands evenly, system performing well |
In terms of lifespan, quality SAP hydrogel beads last 1 to 3 years with proper care. Cheap beads from discount suppliers often break down in 2 to 3 months. If you're seeing rapid deterioration, water quality and UV exposure are the first things to check.
Troubleshooting when things go wrong
Most problems with water beads come down to three things: wrong water chemistry, poor circulation, or degraded beads. Here's how to diagnose and fix the most common issues.
Beads won't expand or stay small
Hard or mineral-heavy water is almost always the cause. The dissolved salts compete with the polymer's ability to absorb water. Switch to distilled water and try again. If you've already used tap water, drain it, rinse the beads thoroughly, and rehydrate in distilled or reverse osmosis water. Also check that you're giving them enough time: some brands need closer to 8 hours for full expansion.
Cloudy water
Cloudiness usually means bacterial growth, which happens when organic matter (plant debris, decaying roots, uneaten nutrients) accumulates in stagnant water. Do a full water change, rinse the beads, and add gentle aeration going forward. If the problem persists, try rinsing beads in a very dilute hydrogen peroxide solution (1 to 3%) before returning them to clean water. Avoid using chemical clarifiers designed for pools, as these can damage the polymer.
Bad smell or slimy beads
A sulfur or rotten smell means anaerobic bacteria have taken hold, almost always from stagnant water and organic buildup. Remove the beads, rinse them thoroughly under running water for several minutes, and check whether they feel slimy. A thin biofilm can be rinsed off; a persistent slime coating means the polymer surface has degraded and those beads need to be replaced. Going forward, improve circulation and reduce the amount of nutrient solution you're adding if plants aren't consuming it quickly.
Algae taking over
Green or brown algae coating the beads or water surface is a sign of too much light combined with excess nutrients. Move the setup out of direct sunlight, reduce your nutrient dosing by half, and do a full water change. Using an opaque or dark-colored container also helps, since algae need light to grow and blocking light to the water (while still lighting the plants above) cuts algae growth dramatically. This is the same approach used in most aquatic plant setups.
Beads shrinking after they were already expanded
Shrinkage after expansion usually means salt concentration in the water is too high, either from mineral-heavy water or over-fertilizing. Do a full drain and rehydrate the beads in fresh distilled water. If you've been adding nutrients, cut the concentration in half going forward. Beads can re-expand if caught early, but beads that have been in high-salt conditions for a long time may have permanent polymer damage.
Plants dying in water beads
If plants are wilting or dying despite the beads looking fine, check roots first. Pull the plant gently and look for brown, mushy roots, which signals root rot from anaerobic conditions or overwatering (keeping beads fully submerged rather than moist). The fix is to drain excess water so roots are in moist beads but not fully submerged, add aeration, and trim any dead root tissue before replanting. Yellowing leaves with healthy roots usually means nutrient deficiency, so bump up your fertilizer concentration slightly and recheck pH, since nutrients become unavailable outside the 6.0 to 7.0 pH range.
A few extra tips from real experience
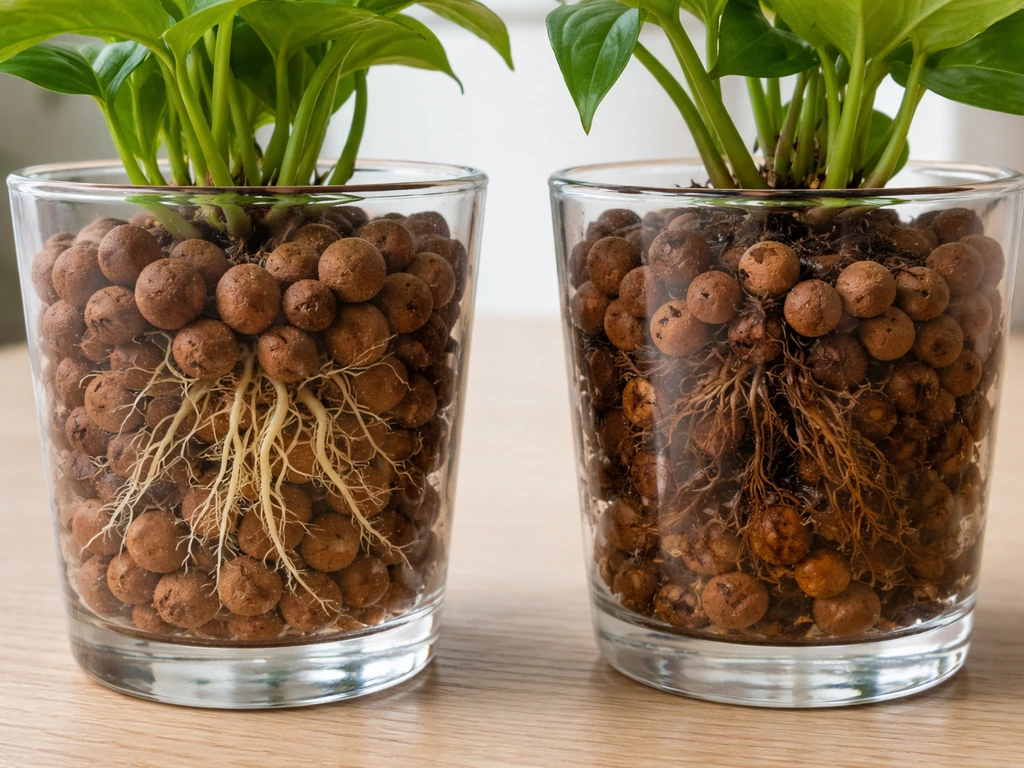
One thing I'd tell anyone starting out: don't over-expand your first batch in a closed container. I made that mistake once, packed too many dry beads into a glass vase, added water, and came back to find the vase cracked from the pressure of expanding beads. Always leave plenty of room, about 3 to 4 times the dry volume of the beads in empty space. And if you're experimenting with using beads as a medium for aquatic cuttings, low-light, moisture-loving plants like pothos, lucky bamboo, and peace lilies do especially well and are very forgiving while you dial in your setup.
FAQ
How much water should I use when hydrating water beads so they expand correctly?
Add enough clean water to fully submerge the beads, and leave headspace in the container. As a starting rule, fill the vessel so the final hydrated volume can reach about 3 to 4 times the beads’ dry volume without pressurizing or overflowing.
Can I reuse expanded water beads after they’ve been in a vase or plant system?
Yes, if they still feel firm and are not slimy, but you should rinse them thoroughly and rehydrate in fresh distilled or RO water first. If they smell anaerobic, show a persistent slime layer, or have shrunk permanently, replacement is usually better than trying to salvage them.
Why do my beads look expanded but still feel firm or not “fully hydrated”?
Two common causes are insufficient soak time and water chemistry. Some brands need closer to 8 hours, and mineral-heavy tap water can reduce absorption. Drain, rinse, then rehydrate in distilled or RO water for the full required time.
Is it safe to use tap water at first, and when should I switch to distilled or RO?
Tap water is often fine for a decorative display if expansion is complete, but switch to distilled or RO when beads don’t reach full size, shrink later, or the water becomes cloudy quickly. Mineral-heavy water can create long-term salt buildup that damages the polymer.
How do I prevent beads from floating or shifting around if I’m growing plants?
Most beads will settle once fully hydrated, but if they shift, use a gentle physical anchor like a small net pot, mesh ring, or a perforated basket to hold roots in place. Avoid compressing the beads tightly, which can create anaerobic pockets.
Do I need to measure pH for hydroponic setups with water beads?
If you’re growing plants, yes, because nutrients become unavailable outside a roughly 6.0 to 7.0 range. If leaves yellow while roots look healthy, test pH and adjust gradually, then re-evaluate fertilizer strength after correcting pH.
What fertilizer strength should I start with, and how do I know I’m overdoing it?
Start around 25% of the label dose and increase only if plants respond. Signs of too much salts include bead shrinkage, increasingly firm beads, and worsening cloudiness, so cut the concentration and change the solution if those show up.
Can I use regular garden soil or compost in water beads?
No. Water beads do not provide a soil matrix, and adding soil or organics will rapidly foul the water, increase bacterial growth, and can push the system anaerobic. Use hydroponic nutrients and keep the water free of decomposing debris.
How often should I aerate, and is an air stone enough for oxygen?
A small air stone with gentle bubbling is usually sufficient to prevent stagnation in plant setups. Run it continuously if possible, or at least for long cycles, because oxygen demand increases when plants are actively growing and roots are respiring.
Is hydrogen peroxide ever useful for cloudy water beads?
It can help in limited cases of bacterial haze if you use a very dilute solution (about 1 to 3%) and then immediately return beads to clean water. Don’t treat repeatedly without fixing the cause (stagnation, excess organics, or nutrient leftovers).
My water turns green even with indirect light. What’s the next fix?
Green algae usually means light and nutrients are both present. Move the setup farther from any light source, reduce nutrient dosing, and switch to a container that blocks light from reaching the beads. Also do a full water change and keep the system from sitting in direct sun.
What should I do if plants wilt, but roots don’t look brown or mushy?
If roots are healthy, the cause is often nutrient availability or pH imbalance. Test pH, then adjust fertilizer slightly rather than adding more water. Also check for hidden issues like nutrient lockout after a water change.
Can I keep water beads in a closed vase without circulation?
For purely decorative use with no plants and clean conditions, changing water every 1 to 2 weeks is often enough. For plant growth, closed or stagnant conditions commonly lead to anaerobic odors and root problems, so add gentle oxygenation or periodic water exchange.
How do I stop beads from degrading faster over time?
Minimize UV exposure by avoiding direct sunlight, and don’t leave them in nutrient-rich water indefinitely. Use fresh distilled or RO water, do scheduled water changes for plant systems, and replace beads if they develop persistent sliminess or permanent shrinkage.
Are water beads truly non-edible, and what precautions should I take at home?
They are not meant for eating, they can expand rapidly, and some products may involve chemical components that are unsafe if ingested. Keep them in sealed containers when dry, store hydrated beads away from kids and pets, and rinse your hands and tools after handling.