Marimo moss balls grow slowly, reliably, and with almost no fuss, but only if you get a handful of basic conditions right. Get those wrong and you will end up with a brown, slimy, flattening ball that never seems to do anything. This guide covers everything: what marimo actually are, how to set up a container today, how to source and start them, and exactly what you can do to speed up growth without burning them out.
How to Grow Marimo Balls: Setup, Care, and Fast Growth

Marcus Holloway
7 Apr 2026
What marimo balls actually are, and what growing them really means
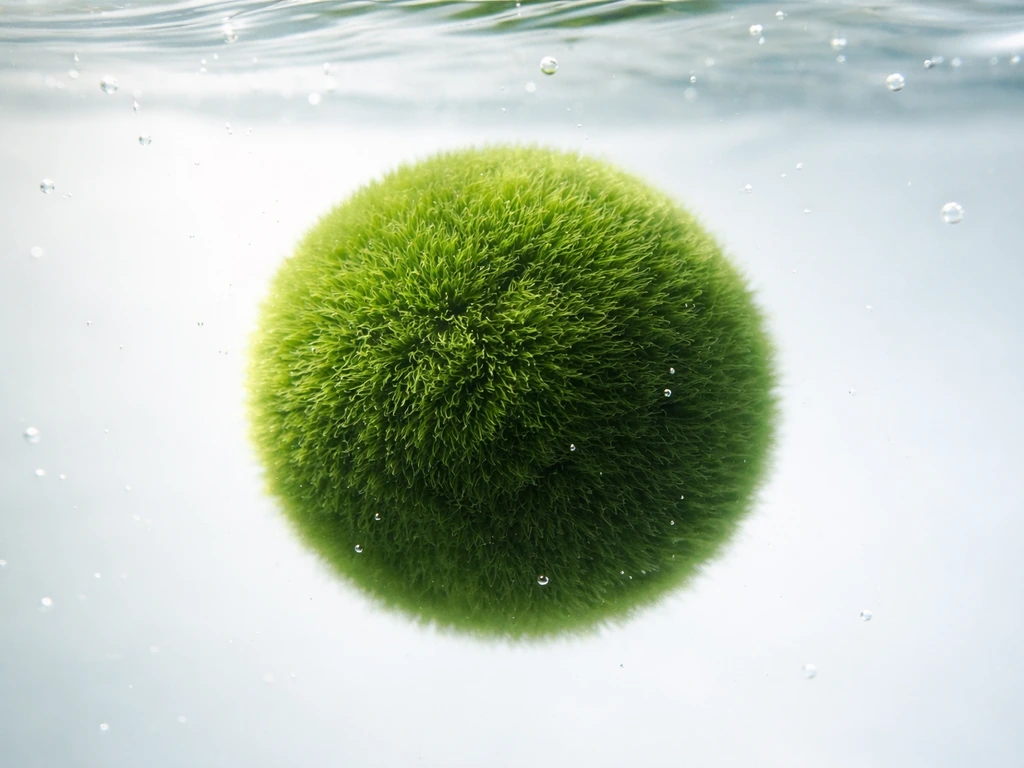
Marimo (Aegagropila linnaei) are not moss at all. They are freshwater filamentous green algae that happen to grow in a spherical aggregate form. The ball shape is not a single plant body, it is a tightly packed colony of individual algae filaments that tumble and roll together in nature until they form a dense, round mass. In Lake Akan, Japan, where some of the best-studied wild specimens live, waves rolling the algae continuously over years produce the iconic sphere shape.
When you say you want to grow marimo, you are really doing two things at once. First, you are maintaining a living photosynthetic organism that needs light, clean water, and gentle movement. Second, you are waiting for the diameter of the ball to increase, which happens at a genuinely slow pace. Under natural lake conditions, research shows blank" rel="noopener noreferrer">marimo grow roughly 9 to 12. A scientific study on internal microbial zonation reports that radial marimo samples were collected from Lake Akan (Churui Bay, Lake Akan) in August 2014 blank" rel="noopener noreferrer">Under natural lake conditions, research shows. 6 mm in diameter per year, and a ball starting at about 3 cm can take around 17 years to reach 25 cm. In a home container you can close that gap somewhat, but you will not double the size in a month. If you have ever wondered about other water-based growing projects, understanding this timeline is a useful contrast to something like how water beads grow, which expand within hours rather than years.
Setting up the container: glass, water, light, and flow
Container choice
A clear glass bowl, vase, or small aquarium works best. Glass lets in diffuse light from all sides, which matters for even growth. Avoid plastic containers with a tint or UV coating, and avoid very small vessels (under about 1 liter for a single ball) because the water quality degrades too fast. You do not need a lid. Marimo do fine in open containers as long as you are doing regular water changes.
Water quality
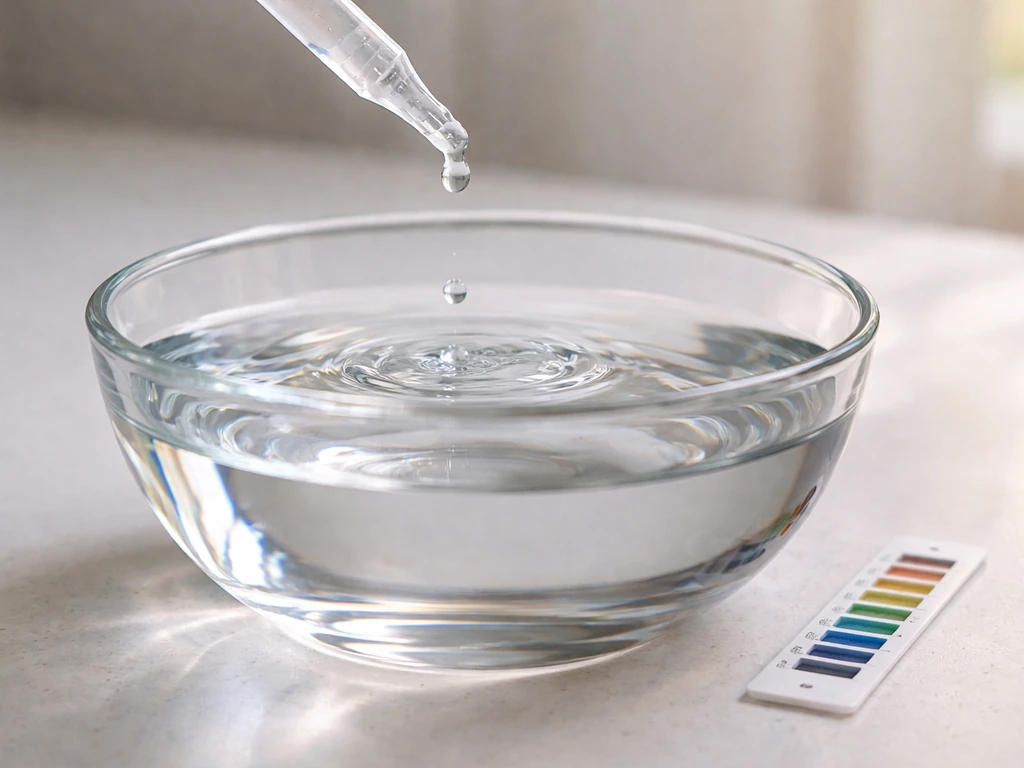
Tap water is fine for most setups as long as you let it dechlorinate first. Fill your container and let it sit for 24 hours, or use a dechlorinator drop. The target parameters are simple: pH between 6 and 8.5, and temperature between 15 and 24°C (59 to 75°F). Marimo can technically tolerate a wider temperature band, but that sweet spot is where photosynthesis runs efficiently and growth is most consistent. If your home runs warm in summer and the water climbs above 24°C for extended periods, move the container somewhere cooler, such as a tiled floor or a north-facing windowsill. High heat is one of the most common reasons home marimo stall or rot.
Light
Indirect light is the goal. Marimo grow in lake water where light is filtered and diffuse. Direct intense sunlight on a clear container heats the water fast, promotes invasive algae growth on the glass, and can bleach the ball. A bright room, a windowsill with a sheer curtain, or a low-to-medium intensity aquarium grow light on a timer for 8 to 10 hours per day is ideal. If you are using a dedicated aquarium light, keep it at the lower end of its intensity range.
Filtration and flow
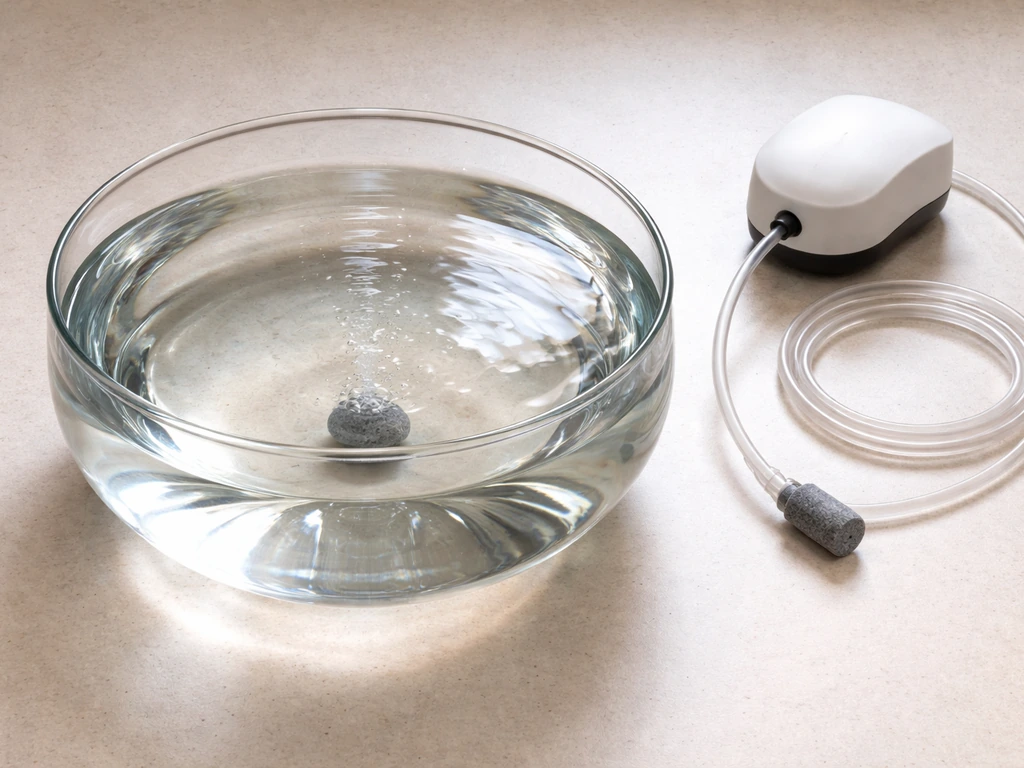
You do not need a filter for a simple marimo bowl. However, gentle water movement genuinely helps. In nature, wave action rolls the balls continuously, which polishes the surface, keeps filaments exposed for photosynthesis, and prevents the buildup of particulate organic matter on the surface. Research from Lake Akan shows that this oscillation is directly tied to maintaining the dense green surface that drives growth. In a home setup you can replicate this by swirling the water gently when you handle the container, or by placing marimo in an aquarium with a gentle output from a sponge filter or circulation pump. Avoid strong jets that flatten or compress the ball.
How to start: sourcing, rinsing, and placement

Buy from a reputable aquatic or specialty retailer. Commercially available marimo typically come in starting diameters of around 1 to 1.5 inches (roughly 2.5 to 4 cm), which is a practical size to work from. Be aware that some products sold as moss balls are misidentified or are synthetic, so check that what you are buying is listed as Aegagropila linnaei and that it looks and feels like a dense, velvet-textured green ball rather than something stringy or hollow.
Once you have it home, the first step is a gentle rinse in clean, dechlorinated water or your prepared aquarium water. Do not use running tap water at full pressure, and do not squeeze aggressively. Hold the ball in your cupped hands and gently push water through it, then roll it lightly to reshape it into a sphere. Aggressive squeezing is one of the most commonly reported causes of internal structural damage, splitting, and slow regrowth. After rinsing, place it directly into your prepared container. There is no soaking step or conditioning period needed. Set it on the bottom of the glass, make sure it is submerged, and it is ready to go.
How to actually make your marimo grow faster
Let me be honest here: you cannot make marimo grow at the pace of a fast plant. But you can close the gap between sluggish stalled growth and the faster end of natural growth rates. Every tactic below is aimed at removing a limiting factor, because marimo growth is almost always limited by something avoidable rather than by biology alone.
Light schedule and intensity
Run a consistent photoperiod of 8 to 10 hours of moderate indirect light per day. More is not better; extended direct light heats the water and encourages competing algae. If you are using a lamp or aquarium light, put it on a timer so the schedule stays consistent. Inconsistent light cycles stress marimo the same way they stress any photosynthetic organism.
Gentle rotation
Rotate the container once a week so different sides of the ball face the light. This mimics the rolling motion marimo experience in nature and prevents one side from greening up while the other goes brown from lack of light. If the ball is resting flat on the bottom, tip the container slightly when you rotate it so the ball shifts position. This is one of the simplest things you can do with the biggest visible payoff: within a few weeks the whole ball stays uniformly green instead of developing a pale or brown underside.
Gentle water movement
If marimo is in an aquarium, position it near a gentle flow outlet. If it is in a bowl, swirl the water for 10 to 15 seconds each time you handle or check it. This movement serves the same purpose as natural wave action: it dislodges particles from the surface, keeps the outer filaments free for photosynthesis, and helps maintain the spherical shape over time.
Nutrients: a little goes a long way
Marimo does not need heavy fertilization. The key constraint is avoiding high nitrogen and high phosphate levels, which can cause the ball to burn and turn brown. If you want to supplement, use a diluted aquarium plant fertilizer at a fraction of the recommended dose, roughly a quarter dose at most, and only if your water is very soft or demineralized. A tiny pinch of aquarium salt can also help in standalone bowl setups by providing trace minerals. Most of the time, regular water changes with quality tap water provide enough trace nutrients on their own. Overfeeding is far more damaging than underfeeding with marimo.
Temperature stability
Keep the temperature in the 15 to 24°C range and avoid sudden swings. Growth slows noticeably above 24°C and the risk of rot increases sharply. In summer especially, this is the first thing to check when marimo looks unhappy. Moving the container to a cooler spot for a few weeks and doing a water change usually brings it back.
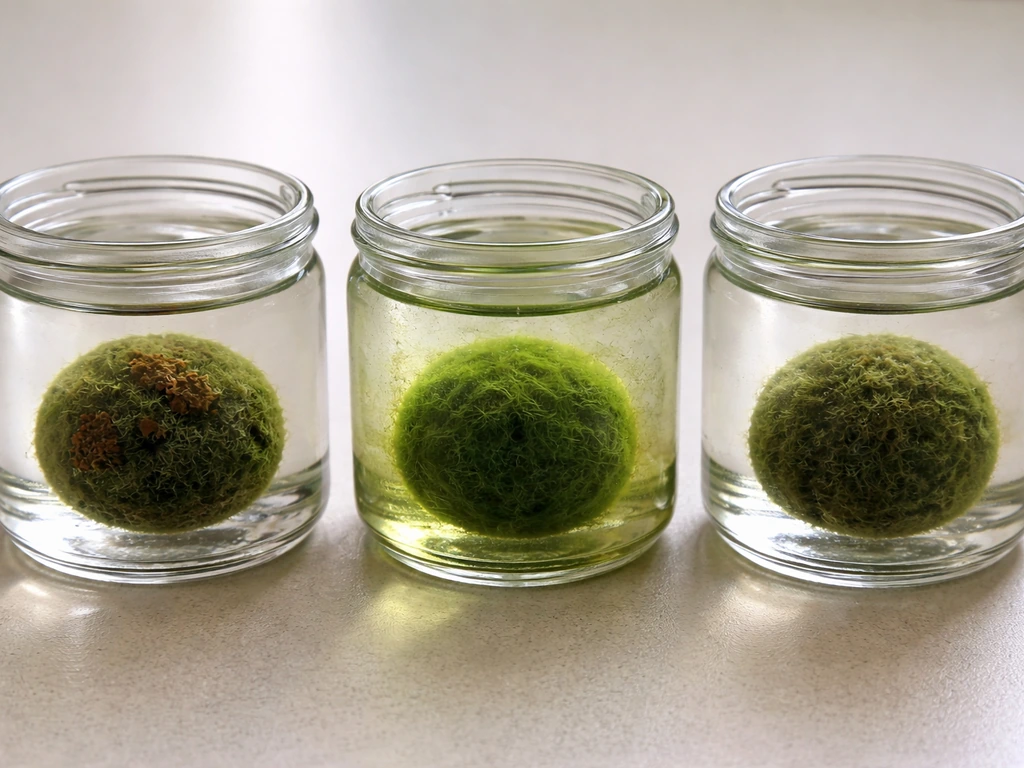
Troubleshooting: brown patches, slime, splitting, and slow growth
| Problem | Most likely cause | Fix |
|---|---|---|
| Brown patches on surface | Too much direct light or high temperature | Move to indirect light, reduce photoperiod, cool the water to below 24°C |
| Slimy texture, murky water, bad smell | Bacterial decay, often from heat or stagnant/dirty water | Do a full water change, rinse ball gently in clean water, move to cooler spot |
| Ball flattening or losing shape | Sitting in one position too long, lack of movement | Rotate and gently reshape by rolling in cupped hands; add gentle water movement |
| Splitting apart | Aggressive squeezing, strong water jets, physical damage | Handle more gently; halves can be reshaped and tied together while they regrow |
| Pale or yellowish color | Insufficient light, or very old water with depleted minerals | Increase light duration to 8–10 hours, do a water change |
| Visible algae growing on the ball or glass | Too much light or nutrients in water | Reduce photoperiod, check for overfeeding, wipe glass and do a water change |
| Virtually no growth over many months | Temperature too high or low, wrong light, or water quality issues | Audit all three parameters: temperature (15–24°C), pH (6–8.5), light schedule |
The slime and smell situation deserves extra attention because it is the most alarming thing that can happen to a marimo container. It almost always means the water temperature has crept too high for too long, or the water simply has not been changed often enough. Do a complete water change, rinse the ball gently with clean cool water using your cupped hands rather than running tap pressure, and move the container somewhere with better air circulation and lower temperature. The smell should clear within a day or two of the water change.
If your ball has split into two pieces, do not panic. You can press the pieces gently back together, reshape them by rolling in your palms, and place them back in clean water. The filaments will slowly re-integrate over weeks. Some growers tie the two halves together loosely with thread to hold the shape while regrowth happens. It is not fast, but it works.
Your weekly and monthly maintenance routine
Consistency is the most underrated part of keeping marimo healthy long term. Here is a practical routine that covers everything without taking more than a few minutes per session.
- Weekly: rotate the container so all sides of the ball face the light evenly. Check the water clarity. If it looks cloudy or has visible sediment, do a partial water change.
- Every 2 to 3 weeks: do a full water change. Prepare fresh dechlorinated water at room temperature, remove the marimo, give it a gentle squeeze in your cupped hands to push out any trapped sediment, rinse it in the fresh water, and place it back.
- Monthly: check the pH and temperature if you have a test kit. Make sure the light schedule is still running correctly. Inspect the ball for early signs of browning or flattening.
- As needed: if the ball has drifted toward one shape over time, roll it gently between your palms for 30 seconds to encourage it back toward a sphere. Do not compress hard.
- Propagation/harvesting: if your marimo grows large enough (over about 5 to 6 cm) and you want to create new balls, you can cut or gently pull the ball in half, reshape each half by rolling, and start two separate containers. This is a slow process but it works.
One thing I learned the hard way: do not skip water changes in summer and assume the marimo will be fine. Heat plus stagnant water is the combination that causes the most damage in home setups. When ambient temperatures rise, shorten the interval between water changes to every 1 to 2 weeks rather than every 2 to 3.
What healthy growth actually looks like, and what timeline to expect
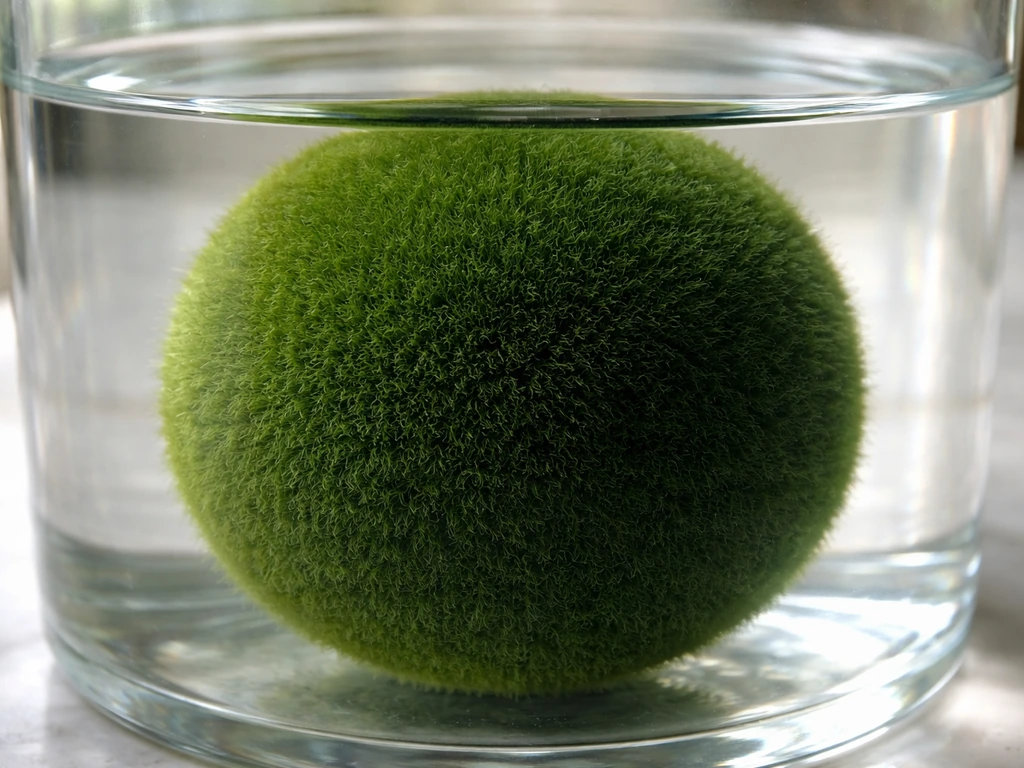
A healthy marimo ball is uniformly dark to medium green, firm but slightly yielding when pressed gently, and has a velvety texture across its entire surface. The water in the container should stay clear between changes, and there should be no odor. You may occasionally see tiny bubbles on the surface of the ball in good light, which is photosynthesis happening. That is exactly what you want to see.
On growth timeline: under good home conditions, marimo can approach the faster end of the natural growth rate, roughly 1 cm in diameter increase per year. A 1.5-inch (about 3.8 cm) ball you buy today might grow to 4.5 to 5 cm in a year with ideal conditions. You are not going to see dramatic weekly changes. What you will see over months is a ball that stays rounder, greener, and gradually denser. If you are comparing this to something like jelly balls that grow in water, which expand dramatically in hours through osmosis rather than biological growth, marimo will feel slow. But that slow biological growth is exactly what makes it satisfying as a long-term aquatic cultivation project.
If you notice that your ball has developed a hollow center or that pressing it reveals a spongy or decomposing interior, that is a sign the ball has grown large enough that the core is no longer receiving sufficient light or circulation. This typically becomes a concern only when diameter exceeds about 10 cm, which takes many years in a home setup. The fix is to split the ball and start two smaller, solid balls that will grow more vigorously.
Marimo vs. other water-growing options: is it the right project for you?
Marimo are genuinely one of the lowest-maintenance aquatic organisms you can keep, but they are not for anyone expecting quick visible results. Here is how they compare to a few other popular water-based growing projects.
| Option | Growth speed | Maintenance level | Visual payoff timeline | Best for |
|---|---|---|---|---|
| Marimo moss balls | ~1 cm diameter/year | Very low | Months to years | Long-term hobbyists, aquarium keepers |
| Water soldiers (Stratiotes aloides) | Moderate seasonal | Low to medium | One growing season | Pond and aquarium plant growers |
| Water beads | Hours (osmotic expansion) | Minimal | Same day | Decorative and short-term projects |
| Aquatic plants (general) | Days to weeks | Low to medium | Weeks | Aquascaping and hydroponics |
If you want something with a faster turnaround while you wait for marimo to grow, growing water soldiers is worth exploring as a companion aquatic plant project. They thrive in similar cool, clean freshwater conditions and give you visible seasonal growth that makes a great visual contrast to your slow-growing marimo. Alternatively, if you are new to water-based growing generally and want to experiment with something that shows results quickly, understanding how to make water beads grow gives you a useful hands-on introduction to water absorption and placement before you commit to a long-term organism.
For anyone who finds the expanding-in-water concept interesting from a different angle, there are also projects like growing water balls and even novelty experiments like growing gummy bears in water that demonstrate osmotic principles in a fun and educational way, even if they have nothing to do with biological cultivation.
The short version: what to do starting today
- Get a clear glass container with at least 1 liter of volume per marimo ball.
- Fill it with dechlorinated water at 15 to 24°C and pH 6 to 8.5.
- Rinse your marimo gently in cupped hands with prepared water, then place it in the container.
- Set the container in bright indirect light and put a timer on your lamp for 8 to 10 hours per day.
- Rotate the container once a week so all sides of the ball get even light.
- Change the water every 2 to 3 weeks (more often in summer).
- Avoid direct sun, high temperatures, aggressive squeezing, and heavy fertilization.
- Be patient: visible growth takes months, not days, and a healthy green velvety ball is your success metric.
FAQ
Can I grow marimo in direct sunlight if I rotate the ball often?
It usually backfires. Direct sun heats the water fast and can trigger competing algae on the glass, plus bleaching on the ball. If your only bright spot is sunny, use a sheer curtain or move the container a few feet back and rely on indirect light with a consistent 8 to 10 hour cycle.
Why is my marimo turning pale or developing brown patches even though the water looks clean?
Most often it is uneven light exposure, low or fluctuating light hours, or the ball resting in a position that blocks part of it from receiving light. Rotate weekly and ensure the ball is fully submerged and not pressed against the bottom. If the brown area forms mostly on one side, adjust lighting direction or move the container so the light reaches from multiple angles.
My marimo feels firm at the surface, but the center seems hollow. What should I do?
A hollow or hollow-feeling center usually means the core is not getting enough light or circulation as the ball gets larger (often becomes noticeable past around 10 cm). The practical fix is to split it into two smaller, solid balls, then run the usual care and light routine to keep the new centers receiving light.
Is it safe to use tap water straight from the faucet without dechlorinating?
Generally, no. Chlorine and chloramine can stress or slow algae growth and make the ball more prone to rot. Let tap water sit about 24 hours or use a dechlorinator, then confirm the container is ready before placing the marimo back in.
Do I need to rinse marimo every time I do a water change?
Not usually. For routine changes, you can swap the water carefully while keeping the ball in the container. Rinsing is helpful only when water quality deteriorates, when odor appears, or after an intervention like correcting a temperature issue. If you do rinse, do it gently in dechlorinated water using cupped hands.
How often should I water change if I live in a hot climate or my apartment gets warm?
Shorten the interval as temperatures rise. In summer, a good rule is every 1 to 2 weeks instead of every 2 to 3. If you notice slow growth plus warm water, doing a change sooner and moving to a cooler spot usually improves things within weeks.
Can I add fertilizer or aquarium salts to speed growth?
Be cautious. High nitrogen and phosphate can burn the ball and cause it to brown, fertilizer can easily overshoot, and salts can accumulate if you never refresh water. If you supplement, use only a very small amount (around quarter strength) and only when your water is very soft or demineralized, then stop if you see browning or slime.
What kind of water movement is best, and what should I avoid?
Aim for gentle rolling or oscillation, not strong current. Swirl briefly 10 to 15 seconds when you handle the container, or use a sponge filter with low output. Avoid jets or high-flow pump settings that compress or flatten the ball.
My marimo smells bad and turns slimy. Is it always rot, and how fast should it recover?
Bad odor plus slime typically indicates overheating and stagnant or degraded water. Do a complete water change, rinse the ball gently with cool dechlorinated water, and move it to a cooler, better-ventilated spot. The smell should clear within 1 to 2 days, and visible improvement generally follows over the next couple of weeks if the ball remains intact.
My marimo got stringy or started to look like loose algae. Is the ball still salvageable?
Often it is a sign of damage from squeezing, poor handling during rinses, or aggressive current that disrupts the internal filament structure. If it is not decomposing, gently reshape by rolling in your palms, place it back into clean dechlorinated water, and reduce stress by using gentle movement and stable light/temperature.
Should I remove dead or loose bits floating around the container?
Yes, you can skim or siphon loose debris during water changes. Debris traps nutrients and can feed competing algae or contribute to surface buildup that reduces light to the ball. Keep the water clear between changes and avoid overfeeding, since excess food increases organic load.
Can I grow multiple marimo balls in the same container?
Yes, but plan space. Using too small a vessel for multiple balls can worsen water quality and make temperature and waste management harder. Also make sure each ball stays in a position that gets diffuse light from all sides, and avoid crowding that blocks circulation around them.
Is it normal to see tiny bubbles on the ball in good light?
Yes, occasional small bubbles are usually a healthy sign of photosynthesis. If bubbles are absent entirely, it can indicate insufficient light or temperature too low, too high, or fluctuating. If you see persistent foam plus cloudiness, that can point to poor water quality or excess organics, so do a water change and reduce inputs.