If you're searching for how to grow water balls, you're most likely trying to grow marimo, the spherical green algae balls (Aegagropila linnaei) kept in aquariums and glass jars. They grow slowly, about 5 mm per year under good conditions, but you can push that growth rate higher with the right water temperature, lighting, gentle circulation, and occasional nutrient dosing. This guide covers exactly how to do that, plus how to diagnose and fix the most common reasons growth stalls.
How to Grow Water Balls Bigger: Step-by-Step Guide

Marcus Holloway
29 Apr 2026
What exactly are 'water balls' in an aquatic setup?
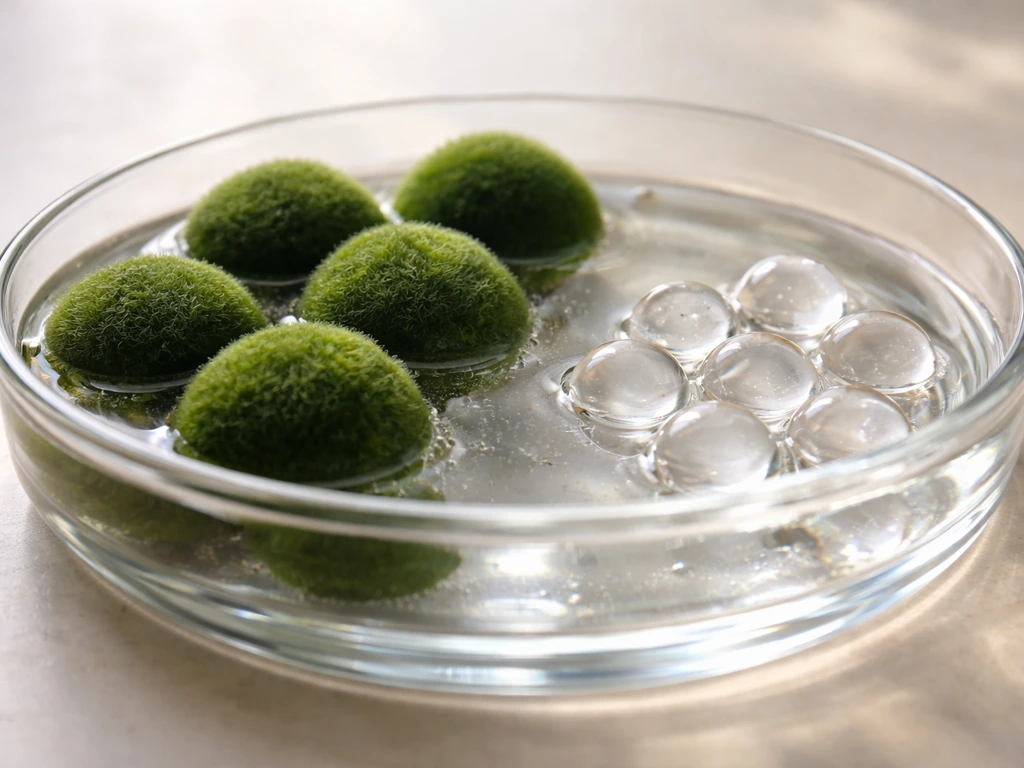
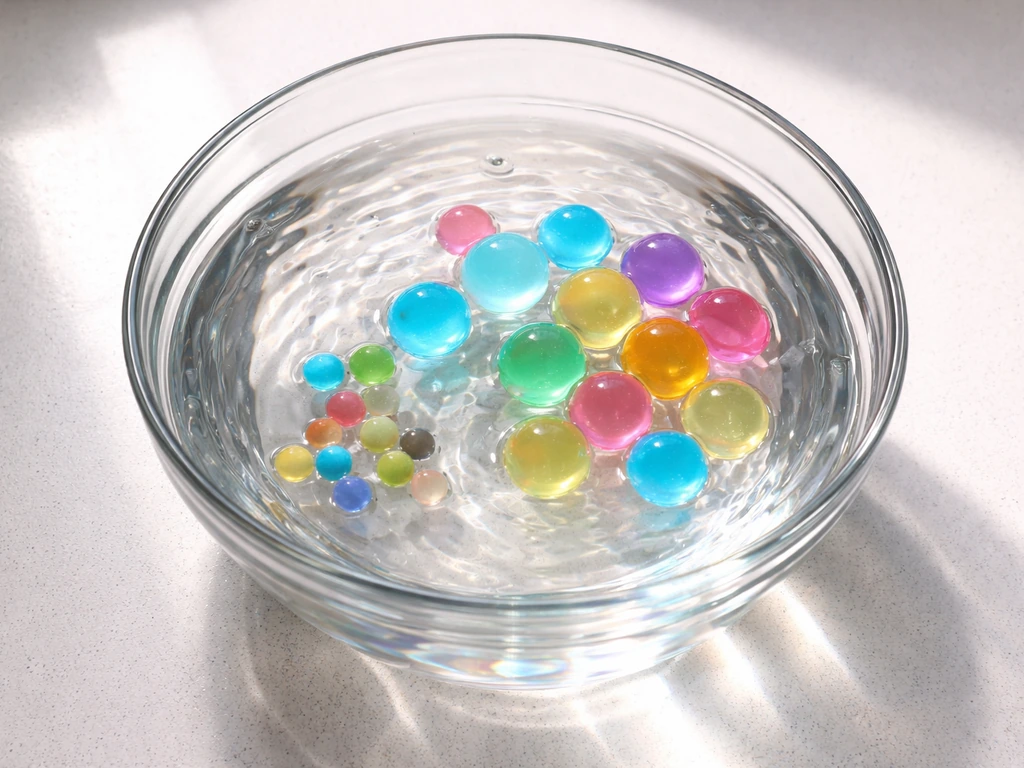
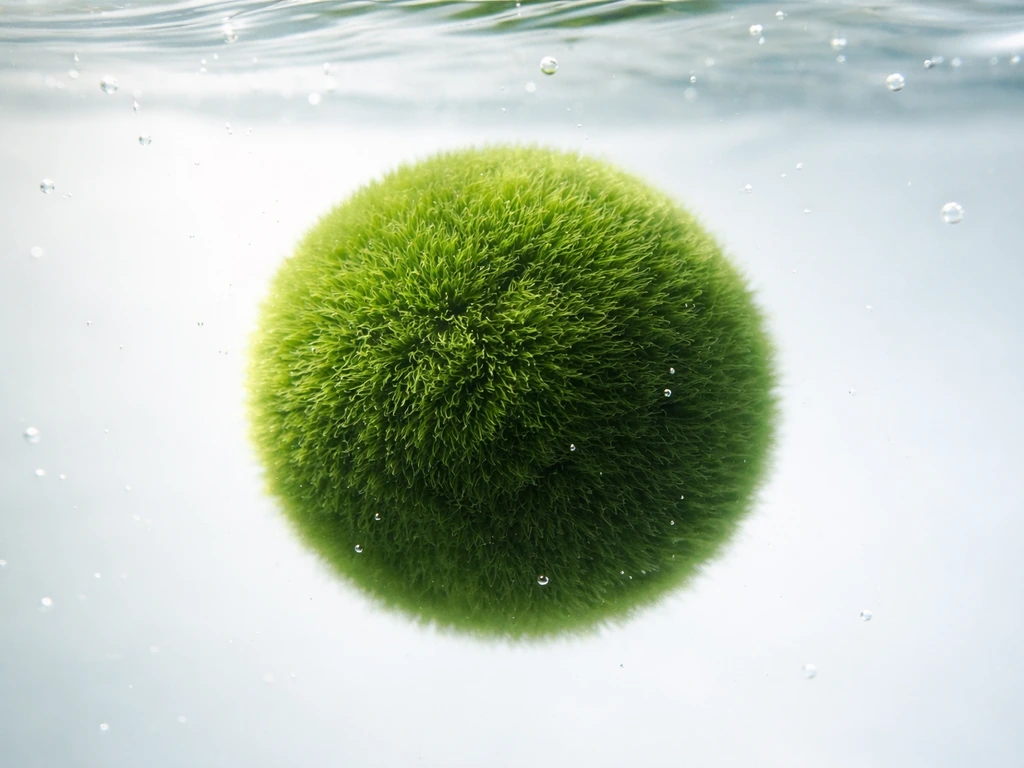
The term 'water balls' gets used online for a few different things, from calcium alginate gel spheres used in food science experiments to ornamental aquarium plants. On a water-based cultivation site like this one, water balls almost always means marimo: velvety, spherical algae balls that grow naturally in cold, clear lakes (most famously Lake Akan in Japan). They're a single species of filamentous green algae that rolls around on lake beds, gradually forming dense, round colonies through wave action.
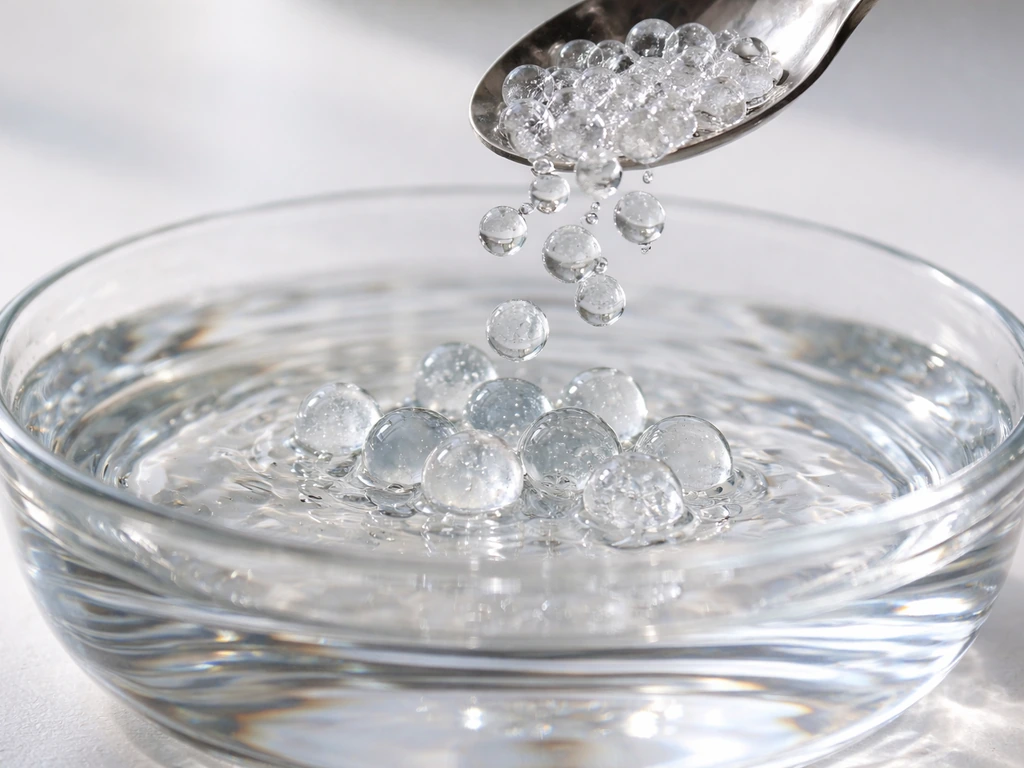
If what you have looks like a compact green sphere with a soft, fuzzy surface and it floats or sinks slowly in your tank, you've got marimo. If you're working with water beads or jelly balls that swell up in water, those are polymer-based products and need a completely different approach.
For jelly balls that grow in water, you'll need to follow the product-specific swelling and soak instructions, since they use a polymer mechanism rather than algae growth water beads or jelly balls.
It's worth knowing your organism before you try to grow it bigger, because a marimo's needs are genuinely different from aquatic plants, and the care that works for one will stress the other. The rest of this guide is written for marimo specifically.
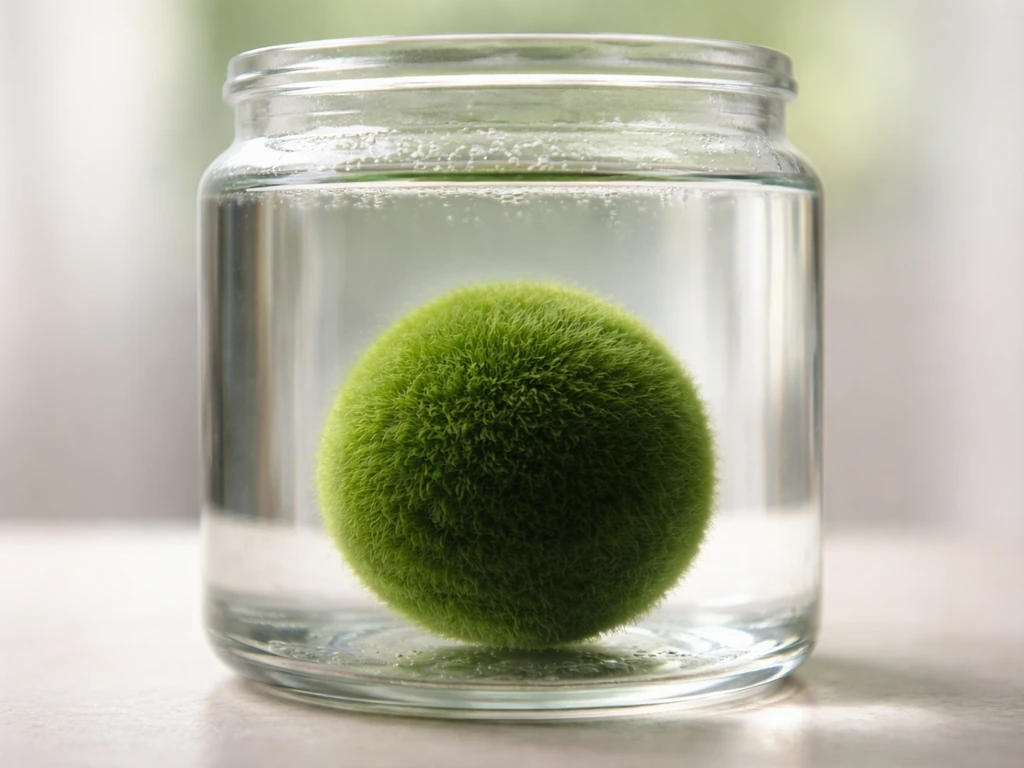
Choose the right system and container
You don't need an elaborate setup to grow marimo well. A simple glass jar, a small tank, or a dedicated aquarium planter all work, as long as the container is clean, clear enough to let light in from multiple angles, and sized appropriately for the number of balls you're keeping. Overcrowding is a real issue since each ball needs room to receive light across its whole surface.
Water type
Use dechlorinated tap water or clean RO water that you've buffered slightly. Marimo naturally live in moderately hard water, so if you're using pure RO water, add a small amount of remineralizer to bring the general hardness up into the moderate range. Carbonate hardness (KH) should sit between 2 and 18 °dKH to keep pH stable between water changes. Avoid distilled water entirely since it provides no buffering and pH can swing badly.
Filtration and aeration
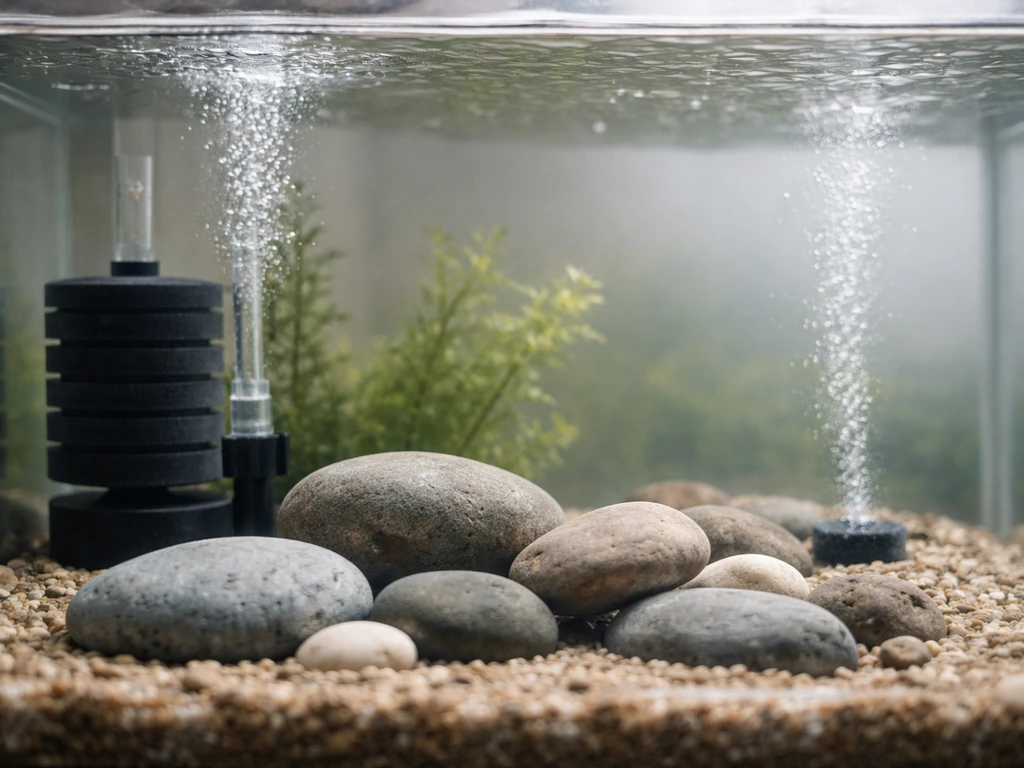
In a small jar setup, no filter is strictly required as long as you do regular water changes. In a larger tank, a gentle sponge filter works well. The key word is gentle. Marimo need a soft tumbling motion, not a strong current that tears the ball apart or pins it against a surface. If you're using a pump or powerhead, dial it down and position the output so water flows across the bottom of the tank rather than blasting directly at the balls. A gentle rolling motion across the substrate is exactly what you want, replicating the shoreline wave action of their natural habitat.
Water quality targets and monitoring checklist
Marimo are fairly forgiving, but when growth stalls, water parameters are almost always the first place to look. Here are the numbers to hit and maintain:
| Parameter | Target Range | Why It Matters |
|---|---|---|
| Temperature | 15–24°C (59–75°F) | Keeps metabolism active without heat stress; stay below 26°C |
| pH | 6.0–8.5 | Broad tolerance, but avoid sharp swings between water changes |
| KH (carbonate hardness) | 2–18 °dKH | Buffers against pH swings; moderate hardness is ideal |
| CO2 | 5–40 mg/L | Supports photosynthesis; naturally present in most tank water |
| Ammonia / Nitrite | 0 ppm | Any detectable level signals a cycling problem that stresses algae |
| Nitrate | Below 20 ppm | Low to moderate nitrate is acceptable; very high levels suppress growth |
| Dissolved Oxygen | As high as possible | DO is consumed inside the ball during respiration; good aeration helps |
Test pH, KH, ammonia, and nitrite at least once a month if you have a stable system, or once a week if you're troubleshooting slow growth. Flowgrow’s aquatic plant database lists tolerance/parameter ranges for Aegagropila linnaei, including temperature 4, 28 °C, carbonate hardness 2, 18 °dKH, and pH about 6, 8.5. A basic liquid test kit covers everything you need. You don't need a fancy meter for marimo, though a simple pH pen makes weekly spot checks faster.
Lighting and water movement for bigger growth
Lighting is probably the most misunderstood part of growing marimo. The common advice to keep them in indirect light is correct, but it gets taken too far. 'Indirect' doesn't mean dim. It means avoiding direct sunlight that heats the water and risks photoinhibition at the surface of the ball. Under controlled aquarium lighting or a north-facing windowsill, marimo actually benefit from consistent, moderate light.
Photoperiod and intensity
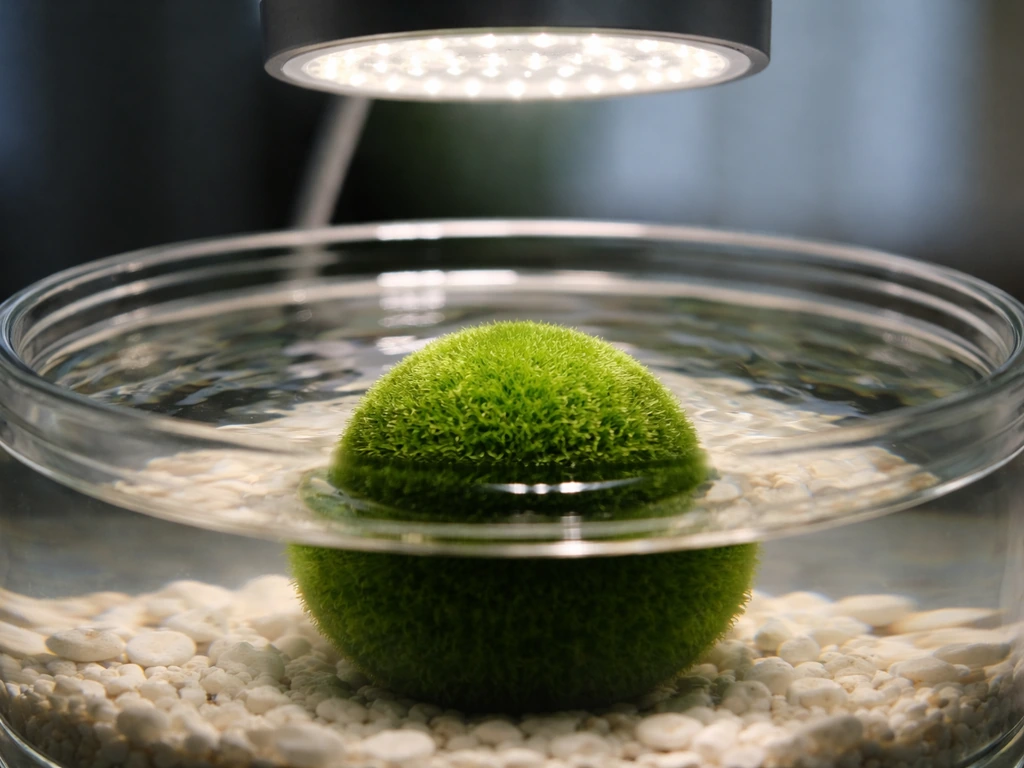
Aim for 6 to 8 hours of light per day as a starting point. If you have a dimmable LED, run it at around 40 to 50 percent intensity rather than full blast. Some keepers run 10 to 12 hours at lower intensity with good results, especially in spring and early autumn when natural light cycles are longer. The thing to avoid is continuous illumination with no dark period. Marimo regulate buoyancy and photosynthesis on a circadian rhythm, so they actually need that off period to function properly.
Rotation matters as much as light
This is where water movement earns its place in the growth plan. Every part of the marimo's surface needs to reach the light source, otherwise the shaded side stays brown and thin while the lit side thickens. Gentle rolling is the natural solution. If you're in a still jar, manually rotate your marimo a quarter turn every couple of days. In a tank with a low-flow pump, position it to create a slow tumbling action. Too much flow, and the ball breaks apart. Too little, and one side gets permanently shadowed. Once I set up a small powerhead aimed at the back wall of my tank to create a slow circular current, growth became noticeably more even within two months.
Feeding and nutrients: what to use and how much
Marimo are not heavy feeders, but they do need trace nutrients and carbon to grow. In a tank with fish or shrimp, the natural waste cycle often provides enough. In a clean jar with no livestock, you'll want to supplement.
What to add
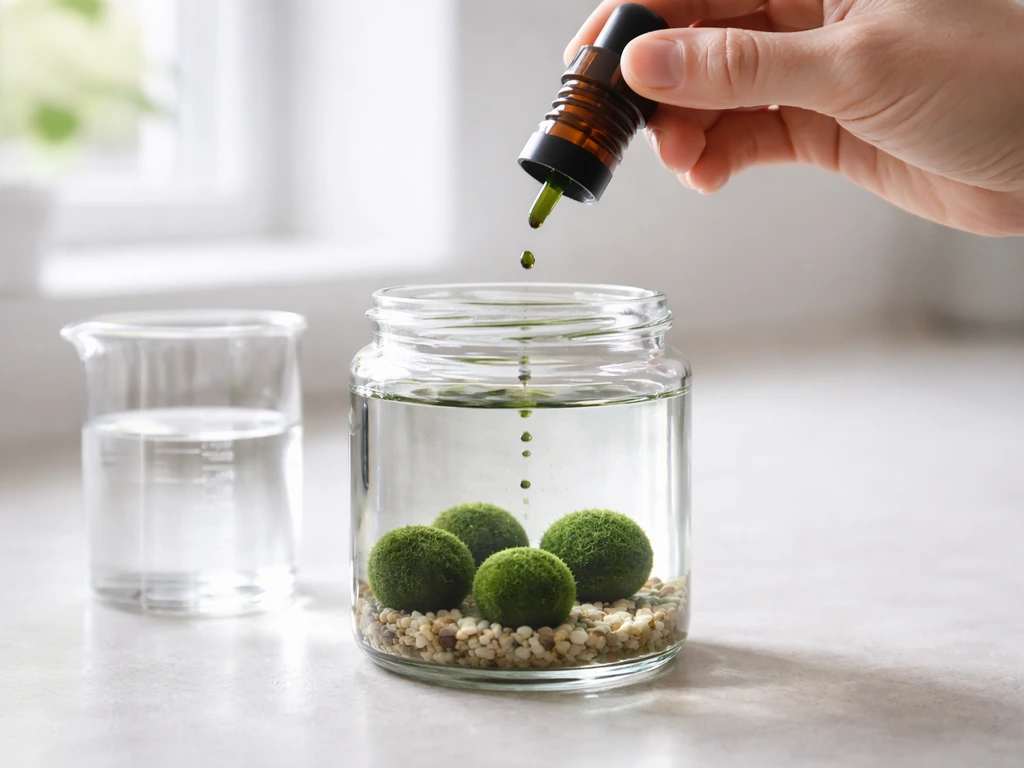
- A dedicated marimo fertilizer (like the concentrated dropper-style products sold specifically for marimo) dosed weekly per label instructions is the simplest approach.
- An all-in-one liquid aquatic fertilizer at a quarter to half the recommended dose works fine if you don't have marimo-specific product. These are formulated for macros and micros together.
- CO2 injection or liquid carbon (like glutaraldehyde-based supplements) can accelerate growth noticeably, especially in a planted tank. Marimo respond well to CO2 in the 5–40 mg/L range.
- Never use fertilizers designed for terrestrial plants or high-nitrogen products intended for fast-growing stem plants. Too much nitrogen stresses marimo and promotes surface algae contamination.
Dosing schedule
For a jar or small tank with no fish, dose liquid fertilizer once per week, immediately after a water change. This ensures you're not overdosing by stacking new nutrients on top of old ones. For a tank with fish, start without any supplemental fertilizer and only add it if you notice growth stalling despite good light and temperature. Fish waste is usually enough. Over-fertilizing a marimo tank promotes hair algae and biofilm on the ball's surface, which competes for light and smothers growth.
Maintenance: cleaning, water changes, spacing, and preventing contamination
Marimo need a consistent maintenance rhythm. Skip it, and the water quality degrades slowly in ways that are hard to detect until growth has already been suppressed for weeks.
- Change 25 to 30 percent of the water every two weeks. In a jar with no filtration, weekly water changes are better. Fresh water resets nutrient levels, removes waste compounds, and keeps biofilm from building up.
- During each water change, gently squeeze the marimo under clean dechlorinated water and rotate it a few times. This dislodges trapped detritus from the core and helps maintain a round shape.
- Check the surface for any brown patches, slimy film, or discoloration. A healthy marimo should feel firm and velvety, not slimy or hollow.
- Keep balls spaced at least a ball-width apart. Marimo touching each other flatten at the contact point and can develop dead spots where light and water circulation can't reach.
- When buying new marimo, quarantine them in a separate clean container for one to two weeks before adding to an established setup. Contamination with invasive species (a real concern flagged by the ornamental aquatic trade) can come in on new stock.
- If algae growth appears on the surface of a ball (usually a brighter green or brown film that doesn't look like the marimo itself), remove the ball and gently scrub it with a soft toothbrush under cool dechlorinated water, then do a partial water change.
Why your water balls aren't growing (and how to fix it)
Marimo grow slowly under ideal conditions. Under poor conditions, they essentially stop. If yours haven't visibly grown in several months or are showing brown patches and a soft texture, work through this checklist: For a complete walkthrough of how to grow marimo balls, start by working through this checklist step by step and then fine-tune your setup.
| Problem | Likely Cause | Fix |
|---|---|---|
| Brown patches or pale color | Too little light, or one side permanently in shadow | Increase photoperiod to 6–8 hours; rotate ball daily |
| Slimy or sticky surface | Biofilm or competing algae contamination | Scrub gently with soft brush, do 50% water change, reduce nutrients |
| Soft, mushy texture | Water too warm or ammonia spike | Cool the water below 24°C; test ammonia and do emergency water change |
| Ball breaking apart | Too much water flow or physical disturbance | Reduce pump output; reposition to create gentle tumbling, not direct blast |
| No growth despite good color | Nutrient starvation or insufficient CO2 | Add weekly liquid fertilizer dose; consider liquid carbon supplement |
| Flat spots or irregular shape | Overcrowding or sitting on a surface without rotation | Space balls apart; add gentle circulation so balls roll freely |
| pH swings causing stress | Low KH / insufficient buffering | Use moderately hard water; add KH buffer to bring carbonate hardness to 4–8 °dKH |
| Growth stalled in summer | Water temperature above 26°C | Move to a cooler location; add a small fan over the surface; use a chiller if needed |
Temperature is the sneakiest one. I once had a jar sitting on a windowsill that I thought was 'indirect light' because it was a north-facing window. In summer, ambient heat pushed the water to 28°C and growth stopped completely for about three months. Moving the jar to a shaded interior shelf fixed it within a few weeks.
A simple growth plan and how to track improvement
Because marimo grow about 5 mm per year under good conditions, you won't see results week to week. What you will see over months is a noticeably fuller, rounder, greener ball, and that's your benchmark. Here's a simple plan you can start today:
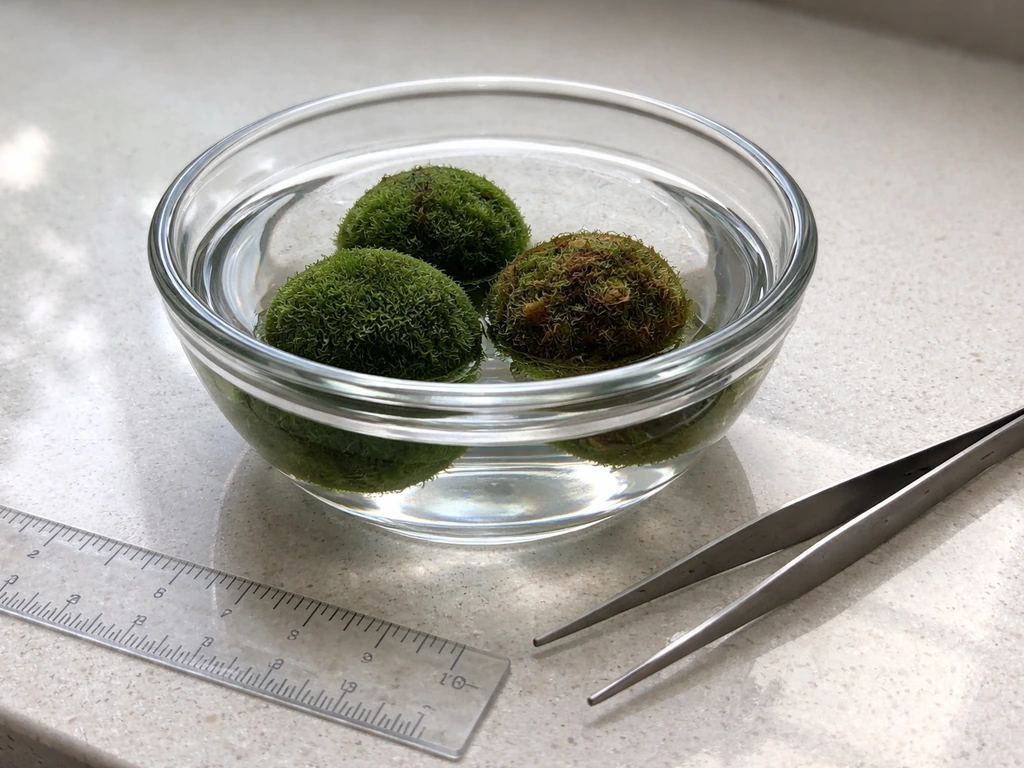
- Day 1: Measure your marimo's diameter with a ruler or calipers and write it down with today's date. Take a photo next to the ruler.
- Day 1: Test your water parameters (temperature, pH, KH, ammonia) and record them. Fix anything outside the target ranges before doing anything else.
- Day 1: Set your light timer to 6–8 hours per day and confirm it's running on schedule.
- Week 1–2: Do your first 25% water change and add a small dose of liquid fertilizer after the change. Gently squeeze and rotate the ball during the change.
- Monthly: Retest water parameters, record results, and check for any surface contamination or shape irregularities. Adjust lighting or nutrient dosing if needed.
- Every 3 months: Re-measure the ball's diameter and compare to your baseline photo. A healthy marimo in a well-maintained setup should show visible size gain over 6 to 12 months.
- Every 6 months: Review your maintenance log and identify any months where growth appeared to slow, then cross-reference with your water parameter notes to find patterns.
The goal isn't dramatic growth every week. It's consistent, stable conditions that add up over time. Marimo that are kept at the right temperature, given enough indirect light with a proper dark period, gently rolled so all sides get even light exposure, and fed occasionally will reliably reach and maintain their maximum size. Dissolved oxygen is commonly expressed in mg/L or percent saturation, which helps explain how oxygen availability affects freshwater aquatic life. The most common mistake is treating marimo like a low-maintenance decoration and forgetting to manage water quality. Treat them like the living organisms they are, and they'll reward you with steady, healthy growth.
If you're working with related organisms or products, the approach differs significantly. Growing marimo is quite different from working with water beads or polymer gel balls, which swell through osmosis rather than biological growth. If you meant gummy bears as in gelatin candy, check a food-safe method because they need very different conditions than aquatic algae cultures water beads or polymer gel balls.
Water beads have their own swelling and care requirements, so the steps for growing them are different from marimo. Water beads are different from marimo, so you typically need separate methods to encourage them to swell and form larger gel-like spheres water beads or polymer gel balls. And if spherical aquatic life in general interests you, marimo share some care principles with other algae cultures, though each has its own parameter targets and growth mechanisms.
FAQ
Can I split or separate marimo that grew into a dense clump to help each ball get bigger?
Yes, but only if you do it gently and infrequently. If you separate a tightly packed cluster, do it during a routine jar or tank cleaning, rinse the balls with the same water temperature you are using, and avoid scrubbing the surface. If you find the balls feel slimy, or you see hair algae first, pause the split and correct light and nutrient balance before trying again.
What does it mean if my water balls turn brown or get thin in patches?
A healthy marimo should have a soft, velvety surface and a uniformly green color. Brown, thin, or patchy areas usually indicate insufficient light to part of the ball, not a need for stronger fertilizer. Fix the light exposure first by improving rotation or flow, then reassess color over several weeks (visible recovery takes time).
If my pH keeps drifting, should I adjust pH directly to grow water balls bigger?
Don’t chase “perfect” pH with frequent tweaks. For stability, aim for a reasonable KH range (moderate KH as described in the article) and make changes through regular water swaps. If pH is swinging a lot, it is often from using unbuffered water or from cleaning actions that remove buffering, rather than from the marimo themselves.
How often should I change the water in a jar, and should I do full or partial changes?
With jar setups, any water change can be done, but keep it consistent. A common approach is smaller, more regular changes (rather than large sudden refills) to prevent shock in temperature and chemistry. Also, always use dechlorinated water at a similar temperature so the ball’s surface is not abruptly stressed.
My water balls develop a film or bubbles on the surface, what should I do?
If you see bubbles or a film forming, reduce nutrient additions and increase light consistency and gentle circulation. Biofilm and surface haze reduce the ability of the whole surface to photosynthesize, and hair algae often becomes the competing problem. In practice, stop supplemental fertilizer temporarily, clean the container gently, then resume only at a lower, scheduled dose.
Can I keep the lights on longer to speed up how to grow water balls bigger?
Yes, but use moderation. Marimo need enough darkness to run their circadian rhythm, so a short “night” period matters even if your lighting is artificial. If you want to extend daylight hours, do it by adding slightly more time at the beginning and end of the photoperiod, not by running lights continuously.
How do I know whether slow growth is from lack of nutrients versus too much fertilizer?
Overfeeding is usually the bigger risk than slight underfeeding. If you have no fish or shrimp, stick to the weekly post-water-change dosing approach. If growth stalls despite good light and temperature, increase the light or circulation first, then consider a cautious nutrient adjustment, because too much can trigger hair algae and smothering.
Should I remove marimo that are stuck to a surface, and will that stunt growth?
If your marimo are attached to something (glass, décor, substrate), don’t yank them free aggressively. Let them release gradually during the next routine cleaning, or gently roll them by hand in clean water to re-center them. Once separated, restore even rotation or low-flow tumbling so one side does not stay shaded while it reorients.
How can I tell if temperature is the reason my water balls are not growing?
Temperature swings are a frequent cause of apparent “no growth” even when light and water are otherwise fine. If you suspect heat from a windowsill or a lamp, measure the water temperature at the hottest time of day for a few days. Keeping it in a stable, cooler range is more important than small, occasional adjustments.
What is a practical way to measure progress if marimo only grow a few millimeters per year?
The best benchmark is change over months, but you can track it more objectively by measuring diameter at the same point in your light cycle (for example, the same day each month). Record color, surface fuzziness, and any brown patches too, because texture and evenness often improve before you notice a big size jump.