Yes, you can grow aloe vera in water starting from a rootless cutting, but there's a catch you need to hear upfront: a bare aloe leaf almost never develops into a fully rooted, long-term plant on its own. What actually works is starting with a pup or a cutting that includes a small stem section, then using water to coax roots out of it. If all you have is a leaf, you can still try, and I'll walk you through the best possible setup for that too. But you deserve a straight answer before you spend three weeks watching a leaf rot in a glass of water.
How to Grow Aloe Vera in Water Without Roots: Step-by-Step

Marcus Holloway
8 Apr 2026
Can aloe really grow without roots in water?
Technically, aloe vera can survive for a while without roots, and under the right water conditions, it can grow new ones. The plant's succulent tissue stores enough water and energy to stay alive while it attempts to callus over and initiate root growth. So the short answer is yes, it's feasible. The longer answer is that success depends almost entirely on what kind of cutting you start with and how you set things up.
Aloe vera is not naturally a water plant. It evolved in dry, fast-draining environments. That matters because its gel-packed leaf tissue is essentially a rot magnet when kept consistently wet. The plant doesn't need water the way a true aquatic or hydroponic species does, which is part of why growing aloe hydroponically requires more care and attention to moisture management than most other hydroponic crops. In a water-rooting setup, you're working against the plant's instincts a little, so precision matters.
What actually happens when you put an aloe leaf in water
I've done this myself, and here's the honest version of what happens: most of the time, a cut aloe leaf placed directly in water will rot at the base before anything useful develops. The cut end sits in moisture, the gel-filled tissue breaks down, and within one to two weeks you've got a soft, mushy, brown mess. Roots? Almost none. This is the most common failure people experience, and it's not because water rooting is impossible. It's because they skipped the callusing step.
When conditions are right, here's what's supposed to happen: the cut end forms a dry, sealed callus layer over about three to seven days out of water. Once that callus is in place, the cutting can tolerate moisture at the base without immediately rotting. After you introduce it to water, root initiation can begin, typically showing the first nubs around two to four weeks in. A pup with stem tissue roots much faster and more reliably than a plain leaf, often showing visible roots in ten to fourteen days.
Leaf vs. plant piece: pick the right starting material
This choice makes or breaks your whole effort. Not all aloe "cuttings" are equal, and the difference between a leaf and a stem offset is huge.
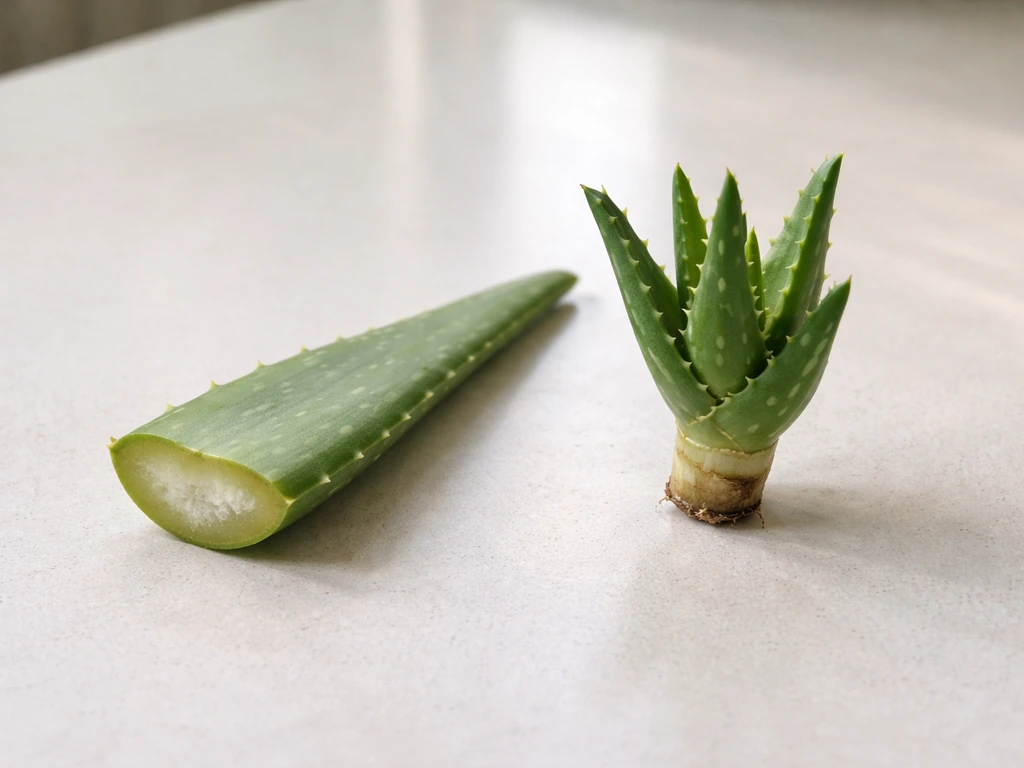
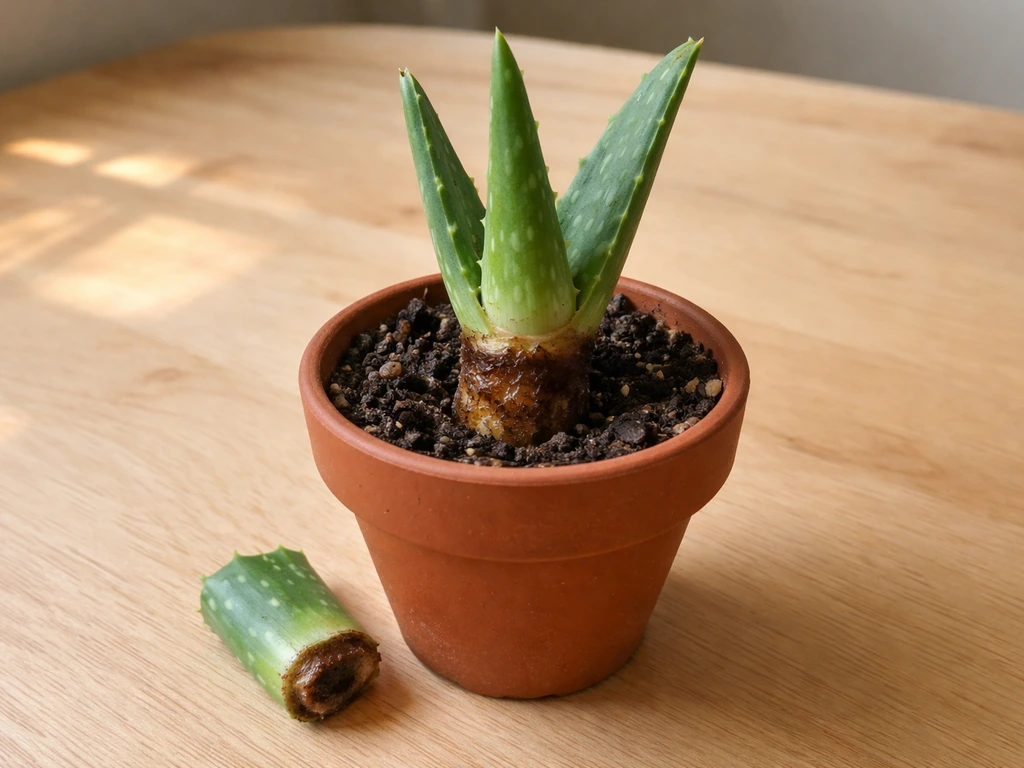
- Pups with a stem stub: These are the small offshoots growing at the base of a mature plant. They already have rudimentary root nodes on the stem, which gives them a massive head start in water. This is your best option by far.
- Division with attached roots: If you're repotting a plant and a section breaks off with even a few roots still attached, that's nearly a guaranteed success in water.
- Stem-based cuttings: A cutting that includes some stem tissue (not just leaf) gives the plant tissue that can actually generate roots. Leaves alone lack this meristematic (root-generating) tissue.
- Single leaf only: This is the hardest scenario. Aloe leaves lack the stem tissue that produces roots, so you're relying on a very slim chance that a callus node forms at the cut base. It sometimes happens, but failure rates are high.
When choosing a leaf if that's all you have, pick a mature, firm, plump one from the outer ring of the plant. Avoid anything that looks thin, wrinkled, or already slightly soft, those are signs of stressed tissue that will rot before anything useful develops. Cut the leaf as close to the base as you can to capture any stem tissue that might be present.
Setting up your water rooting system
Container choice
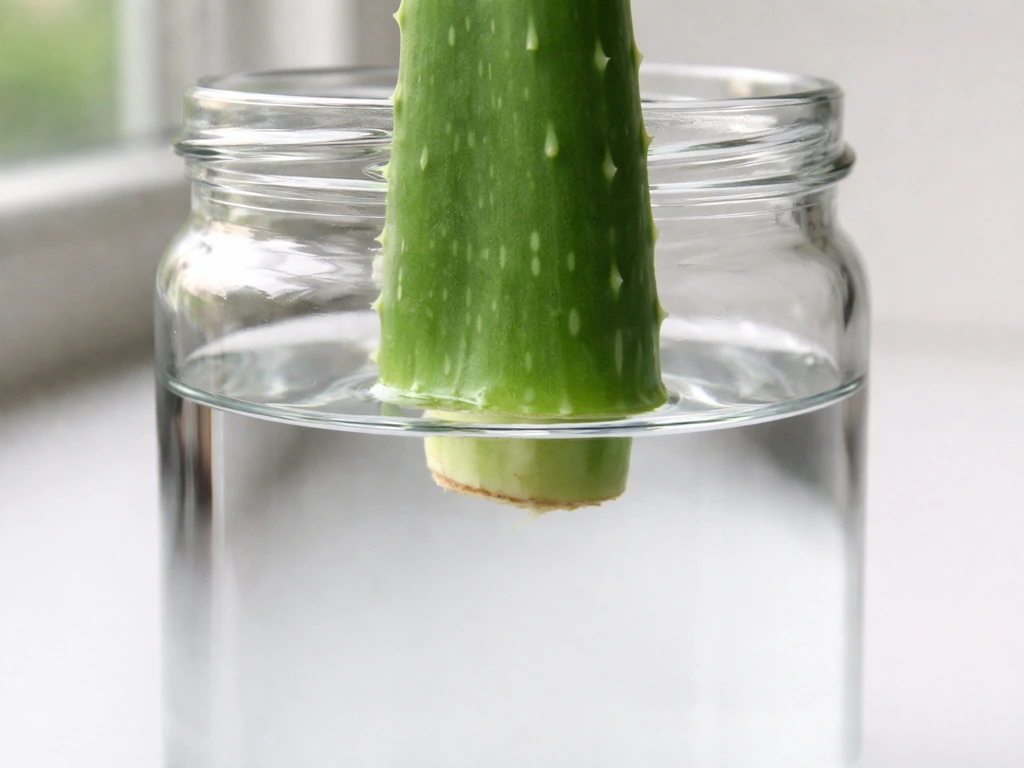
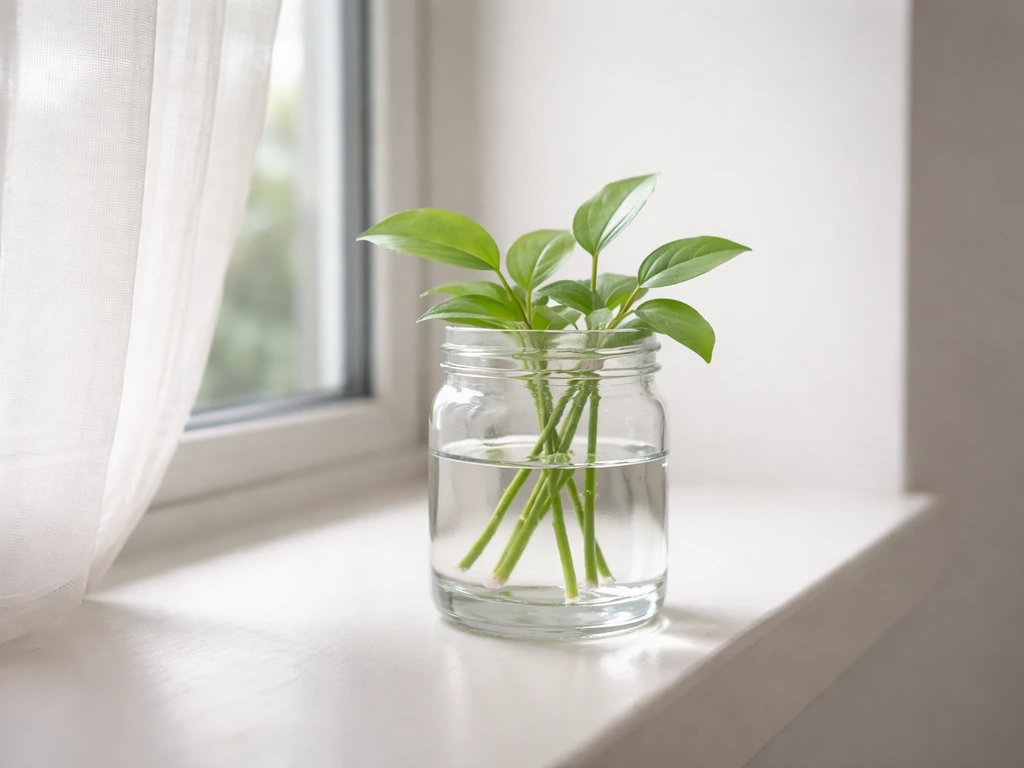
Use a narrow-mouthed glass or jar that can support the cutting upright without it tipping over. You want the base of the cutting to hover just above or just barely touching the waterline, not submerged. A shot glass works well for small pups. For larger leaves, a mason jar with a piece of aluminum foil or plastic wrap stretched across the top (with a hole poked through for the cutting) lets you suspend the base above the water while keeping it stable. Dark or opaque containers are better than clear glass because they block light from reaching the water, which dramatically reduces algae growth.
Water type and quality
Tap water works, but let it sit out for 24 hours first to off-gas chlorine. Chlorine won't kill the cutting, but it can slow root initiation. If you're already running a hydroponic setup, filtered or reverse osmosis water at a pH between 5.5 and 6.5 is ideal. Aloe does fine with slightly acidic water in this range. Change the water every three to four days, especially early on, to prevent bacterial and fungal buildup in the container. Do not add nutrients to the water at the rooting stage. Plain water is all you need until you see established roots.
Light and temperature
Keep the setup in bright indirect light, not direct sun. Direct sun on a water container heats the water and spikes algae growth. Ambient temperatures between 65°F and 80°F (18°C to 27°C) are ideal. Anything below 60°F slows rooting significantly. If your space runs cool, a seedling heat mat set to low under the container can speed things up by five to seven days.
Step-by-step: how to root a rootless aloe cutting in water
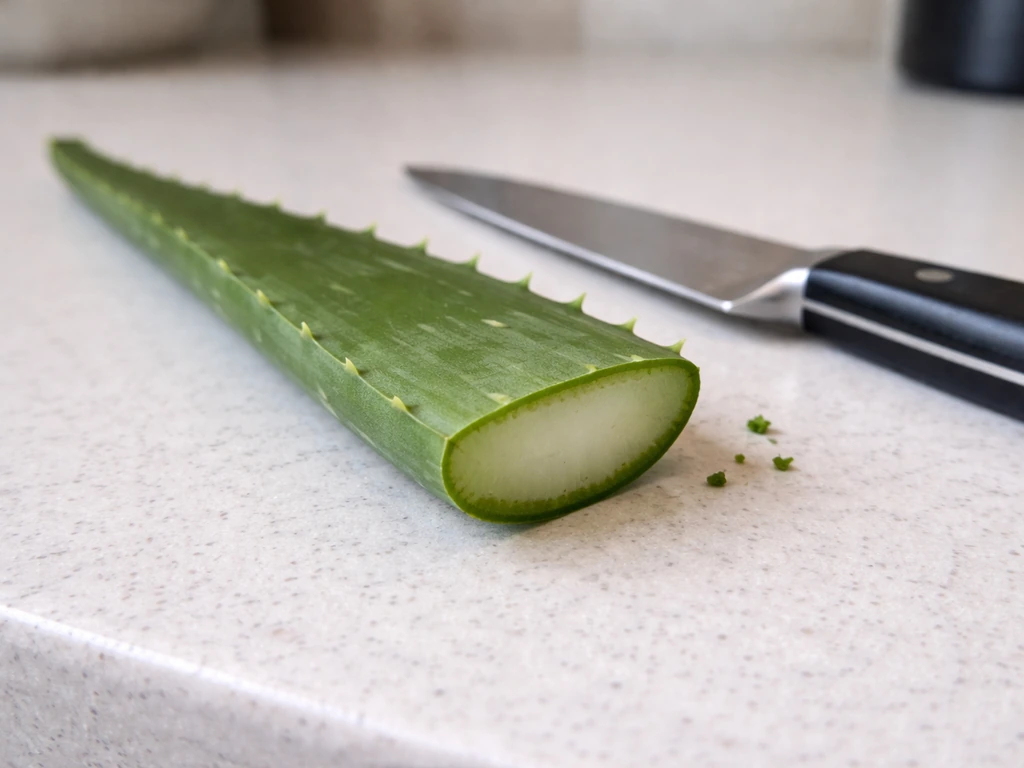
- Cut cleanly. Use a clean, sharp knife or scissors. A jagged cut increases the surface area exposed to pathogens. If taking a pup, twist and pull it away from the mother plant, then trim any damaged tissue from the base.
- Let it callus. This is non-negotiable. Set the cutting cut-side up (or sideways) in a dry, shaded spot with good airflow for three to seven days. You're waiting for the cut end to dry out and form a thin, papery seal. Skipping this step is the single most common cause of rot.
- Inspect the callus. The cut end should look dry, slightly shrunken, and sealed. If it still looks moist or has any green gel seeping out, give it another day or two.
- Prepare your container. Fill a clean jar or glass with room-temperature water. If using tap water, pre-treat it by letting it sit out overnight.
- Position the cutting. Suspend the cutting so only the very tip of the callused base is at or just above the waterline. The goal is high humidity at the base, not full submersion. Use foil, a mesh net cup, or a rubber stopper with a hole to hold it in place.
- Place in indirect light at room temperature. Avoid cold windowsills or spots with temperature swings.
- Change the water every 3 to 4 days. When you change it, rinse the container too. If you see any sliminess on the cutting base, gently wipe it off with a clean damp cloth.
- Watch for root nubs. With a good pup or stem cutting, you should see small white root nubs appearing within 10 to 21 days. A bare leaf may take longer, up to 4 to 6 weeks, and may not produce roots at all.
- Once roots reach 1 to 2 inches, you can either transition to a hydroponic medium or pot into well-draining soil.
After roots form: staying in water vs. moving on
Once roots are established, you have two realistic paths. You can keep the aloe growing semi-hydroponically in water long-term, or you can transition it to a solid growing medium. Both work, but each has trade-offs.
| Approach | Best For | Care Requirement | Long-Term Viability |
|---|---|---|---|
| Keep in water (semi-hydro) | Hobbyists who enjoy aquatic systems, display pieces | Water changes every 3-4 days, dilute liquid nutrients after roots establish | Moderate, works well with good oxygenation and nutrient management |
| Transition to hydroponic medium (LECA, perlite) | Growers wanting more reliable growth with less rot risk | Flood-and-drain or passive wicking system | High, aloe does well in aerated, fast-draining media |
| Pot into soil | Beginner gardeners, anyone who wants low maintenance | Water sparingly, only when top inch of soil is dry | High, most natural environment for long-term growth |
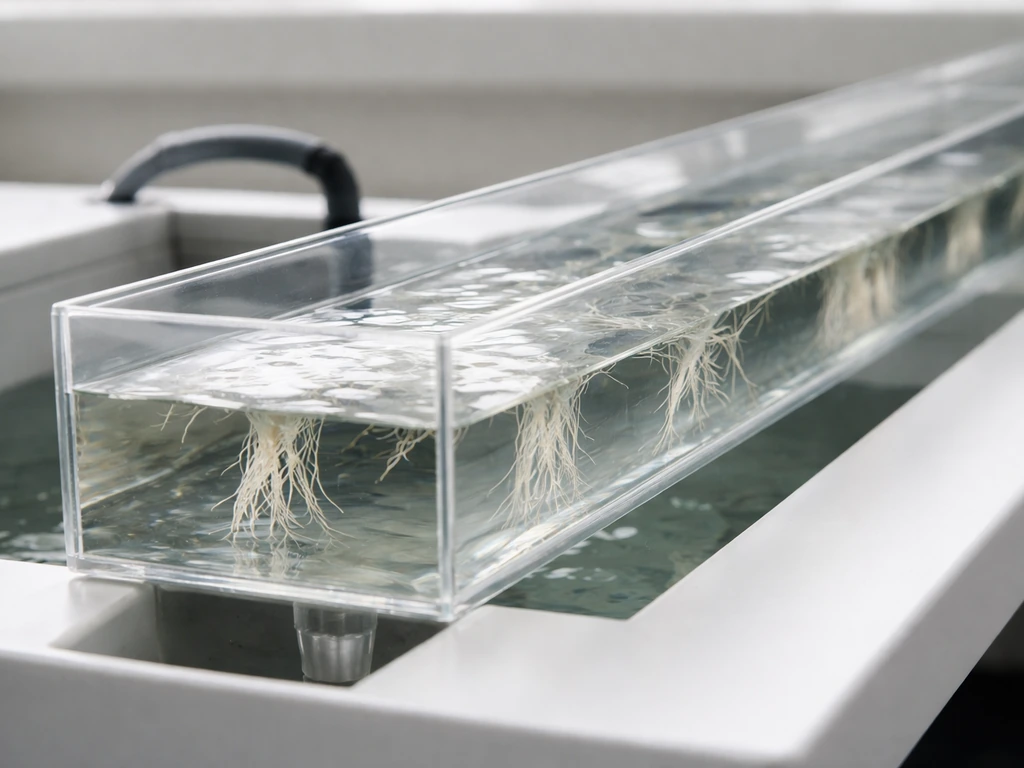
If you decide to keep it in water long-term, you'll need to introduce a dilute nutrient solution once the roots are at least an inch long. Use a balanced hydroponic nutrient formula at about one-quarter the recommended strength. Aloe is not a heavy feeder, and overfeeding causes tip burn and root damage. Keep the water oxygenated by changing it frequently, or use a small aquarium air stone to bubble air through the container. This approach is similar in principle to how you'd manage other semi-aquatic herb setups, and the oxygenation strategies used in systems like growing watercress hydroponically translate directly to water-rooted succulents.
If you're transitioning to soil, do it gradually. Start by potting the rooted cutting into a 50/50 mix of perlite and cactus soil, and water it lightly for the first week while the roots adjust. Water-grown roots are structurally different from soil roots and need time to adapt without drying out completely. UMN Extension also notes that roots grown in water can be weaker than roots grown in solid rooting media, which matters when transitioning from water-rooting to potting Water-grown roots are structurally different from soil roots.
Troubleshooting: rot, no roots, mold, and algae
The base is rotting
This is the most common problem. If the base of the cutting turns brown and mushy, you have two options depending on how bad it is. If the rot is only at the very tip, trim it off with a clean knife, let the new cut re-callus for two to three days, and try again. If the rot has spread more than half an inch up the leaf, the cutting is likely a lost cause. Rot causes: not callusing before water contact, water level too high (submerging the base), water not changed frequently enough, or temperatures too cool.
No roots after three or more weeks
If you're using a bare leaf and nothing is happening after three to four weeks, the cutting likely lacks the meristematic tissue needed to generate roots. This is the fundamental limitation of leaf-only propagation. You can try applying a tiny amount of rooting hormone (gel or powder) to the callused base before placing it in water, which sometimes tips the balance. But if you're past week five with no sign of nubs, it's time to start with a better piece of material, ideally a pup.
Mold on the cutting
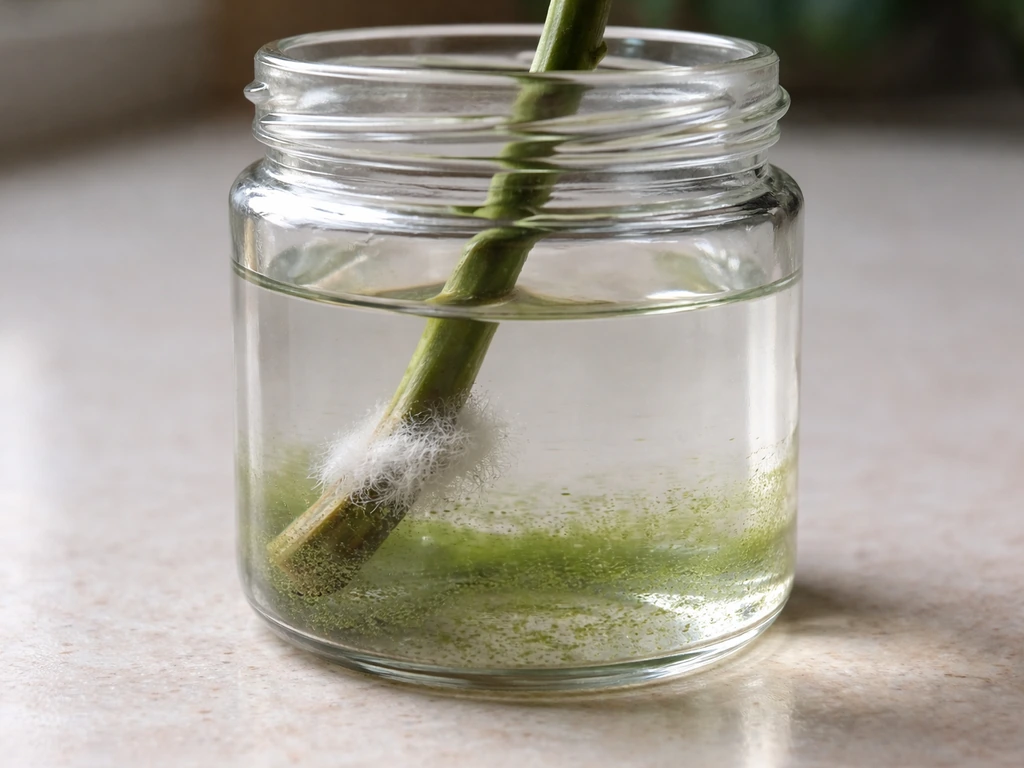
White fuzzy mold on the base of the cutting usually means the water isn't being changed frequently enough or the container isn't clean. Remove the cutting, rinse it gently, wipe the affected area with a very dilute hydrogen peroxide solution (one part hydrogen peroxide to ten parts water), let it air dry for a few hours, clean the container thoroughly, and restart with fresh water. Increase your water change frequency to every two days until the mold stops returning.
Green algae in the water
Algae in the container is not immediately harmful to the cutting, but it competes for oxygen and can coat roots in a way that restricts growth. The fix is simple: switch to an opaque container, or wrap your clear jar in black tape or paper to block light from the water. Algae management is a familiar challenge in any water-based growing system, and the same light-blocking principles used in hydroponic fenugreek setups apply here too. Keep the container covered and change water regularly.
Stalled growth after rooting
If roots formed but new leaf growth has stalled, the plant probably needs nutrients. Plain water can sustain a cutting through rooting, but it won't fuel new growth. Start with a very dilute hydroponic nutrient solution, one-quarter strength, and increase slowly. Also check light, aloe needs bright indirect light for at least six hours a day to grow actively.
If you're relying on a grow light, aim for 14 to 16 hours of light per day at low to moderate intensity. Some growers in this situation find it helpful to look at how light and nutrient schedules are managed for other low-maintenance water crops, the same logic behind growing wasabi hydroponically around slow-growth troubleshooting applies: patience plus the right inputs is usually the answer.
The realistic timeline and what success looks like
Here's what to actually expect, broken out by starting material:
| Starting Material | Callus Time | Root Nubs Appear | Transplant Ready | Success Rate |
|---|---|---|---|---|
| Pup with stem | 3-5 days | 10-14 days | 3-4 weeks | High (70-90%) |
| Stem cutting with leaf | 5-7 days | 14-21 days | 4-6 weeks | Moderate (50-70%) |
| Bare leaf only | 5-7 days | 3-6 weeks (if at all) | 6-10 weeks | Low (20-40%) |
Success with a bare leaf is genuinely possible, but it requires patience and a bit of luck regarding whether the cut end has any meristematic tissue present. I've had bare leaves root cleanly in four weeks and others from the same plant do absolutely nothing. If you have access to a pup, use it. If a bare leaf is all you have, follow every step here carefully, especially the callusing stage, and give it a fair shot before writing it off.
Is water the best medium for starting aloe, or just a convenient one?
Water rooting is convenient because it's visible and requires no special equipment. But it's not necessarily the most reliable medium for aloe. A 50/50 mix of perlite and coarse sand, kept barely moist, tends to produce faster, healthier roots with less rot risk. That said, water rooting works well enough for most people and has the advantage of letting you monitor root development directly, which matters when you're troubleshooting or experimenting.
If you're already running a hydroponic system, you might be wondering how aloe fits into a broader water-based cultivation setup. It's not the most natural fit for high-moisture systems, but it absolutely can be maintained semi-hydroponically once established. For anyone exploring the wider world of water-based cultivation, understanding how fundamentally different plants handle hydroponic conditions is part of the learning curve. Resources on how hydro growing works at a system level can help you make smarter decisions about where aloe fits in your setup versus plants that are more naturally suited to wet roots.
The bottom line: start with the best cutting you can get, don't skip callusing, keep the base barely touching water rather than submerged, change the water every few days, and be patient. The process works. It just requires a bit more care than most plants because aloe was never designed to sit in water.
FAQ
Can I just float an aloe leaf on top of the water instead of suspending it above the waterline?
It usually fails faster. Aloe’s rot starts at the cut base that stays consistently wet, so you want the base hovering just above or barely touching the waterline, not submerged. Floating also makes the base oscillate in and out of water, which can prevent stable callus formation.
How long should I wait before deciding my aloe leaf will never root in water?
If you see no sign of callus healing (a dry, sealed cut surface) by about 7 days, it’s a warning sign. After callusing, check for root nubs around weeks 2 to 4, and if you reach week 5 with no nubs at all, the chances drop sharply, especially for leaf-only starts.
What is the most common mistake that causes leaf-only cuttings to rot in water?
Skipping the callusing step or keeping the base too wet (submerged or soaked). The cut needs 3 to 7 days of drying out so a sealed layer forms before you expose it to moisture at the base.
Do I need rooting hormone for aloe leaves in water, or is it optional?
Optional, but it’s mainly a “try to improve odds” tool when you have leaf-only material and nothing else. Use only a tiny amount on the callused base before water contact, and do not add it to the water itself, since dissolved products can increase rot risk.
Should I change the water less often once I see the cutting starting to grow?
Change frequency can stay high. Even after callus forms, stale water builds bacteria and oxygen demand increases as roots begin to form. A practical approach is to keep changing every 3 to 4 days, and every 2 days if you see any cloudiness or odor.
Is it better to use tap water, and what if I cannot off-gas it for 24 hours?
Tap is fine for most people, but the article notes dechlorinating helps root initiation speed. If you cannot wait, you can use filtered or reverse osmosis water, or at minimum allow some time for water to sit so chlorine dissipates partially rather than going straight from the faucet.
Can I use nutrients while the aloe is still trying to root?
Usually no. During rooting, nutrients are more likely to stress or rot the cut because the plant cannot uptake them yet. Wait until roots are established, then start at about one-quarter strength if you want semi-hydroponic growth.
My setup has a lot of algae, but the cutting looks fine. Should I still fix it immediately?
Yes, even if it looks fine. Algae can coat the developing roots and compete for oxygen. Switch to an opaque container or block light to the water, then resume normal water changes to keep oxygen and cleanliness high.
What temperature range is safe, and can I use a heat mat without overheating the water?
Aim for 65°F to 80°F (18°C to 27°C). A low heat mat can help if your space runs cool, but watch for warm water that encourages algae. If the water feels noticeably warm to the touch, back off on heat or increase ambient airflow.
If mold appears, do I need to throw the aloe away?
Not necessarily. If you see white fuzzy mold at the base, remove and rinse the cutting, wipe with a very dilute hydrogen peroxide solution (one part peroxide to ten parts water), air dry for a few hours, and restart with cleaned container and fresh water. If mold returns repeatedly, increase water change frequency and double-check that the base is not submerged.
When my aloe finally roots, how do I transition it to soil without losing it?
Move gradually. Start in a 50/50 mix of perlite and cactus soil, water lightly for the first week, and avoid letting the mix stay wet for long periods. Water-grown roots adapt differently from soil roots, so sudden full drydowns can cause damage.