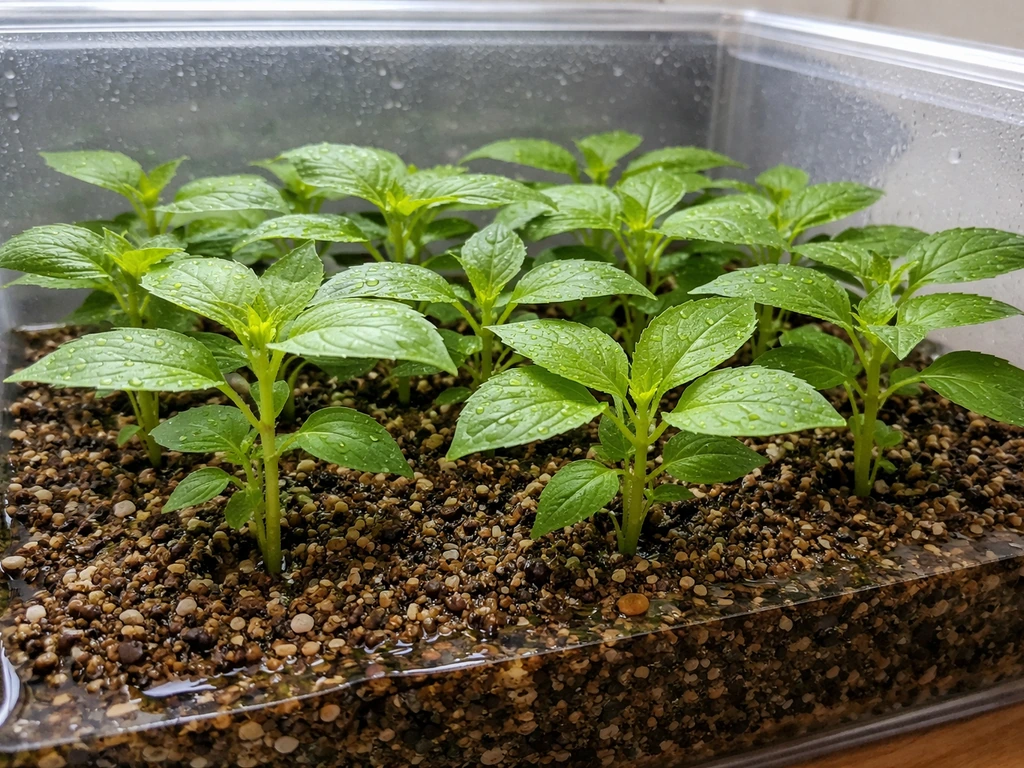
Growing aquarium plants emersed means keeping their roots submerged in water or wet substrate while their leaves grow up into open air above the waterline. This guide explains how to grow tropical aquarium plants emersed first, then transition them into your display for healthier, faster results. It's how most commercial aquatic plant farms grow their stock, and it's one of the fastest, healthiest ways to grow out plants before putting them in a display tank. You set up a shallow container with a few inches of water, let the roots sit in the wet zone, and let the leaves grow in humid air above. The result is robust, pest-free, often faster-growing plants that are ready to transition into your aquarium whenever you choose.
How to Grow Emersed Aquarium Plants: Step by Step Guide

Marcus Holloway
20 May 2026
What emersed actually means and how the setup works
Emersed growth means the plant's root system and stem base are in water or saturated substrate, but the leaves are exposed to air rather than submerged. This is the opposite of the submerged (fully underwater) form you see in a finished aquascape. Many aquatic plants can live comfortably in both states, but they grow differently in each. Emersed leaves tend to be thicker, sometimes greener, and more rigid because they don't need to be optimized for underwater gas exchange. Submerged leaves are often thinner, sometimes more colorful, and shaped to pull CO2 dissolved in water.
This matters because nearly every plant you buy at a store was grown emersed on a farm. When you drop it into your aquarium, those stiff aerial leaves often can't function efficiently underwater, so they melt or brown while the plant slowly grows new submerged-adapted leaves. Running your own emersed setup gives you control over that whole cycle. You grow the plant out in conditions it thrives in, then intentionally transition it on your schedule.
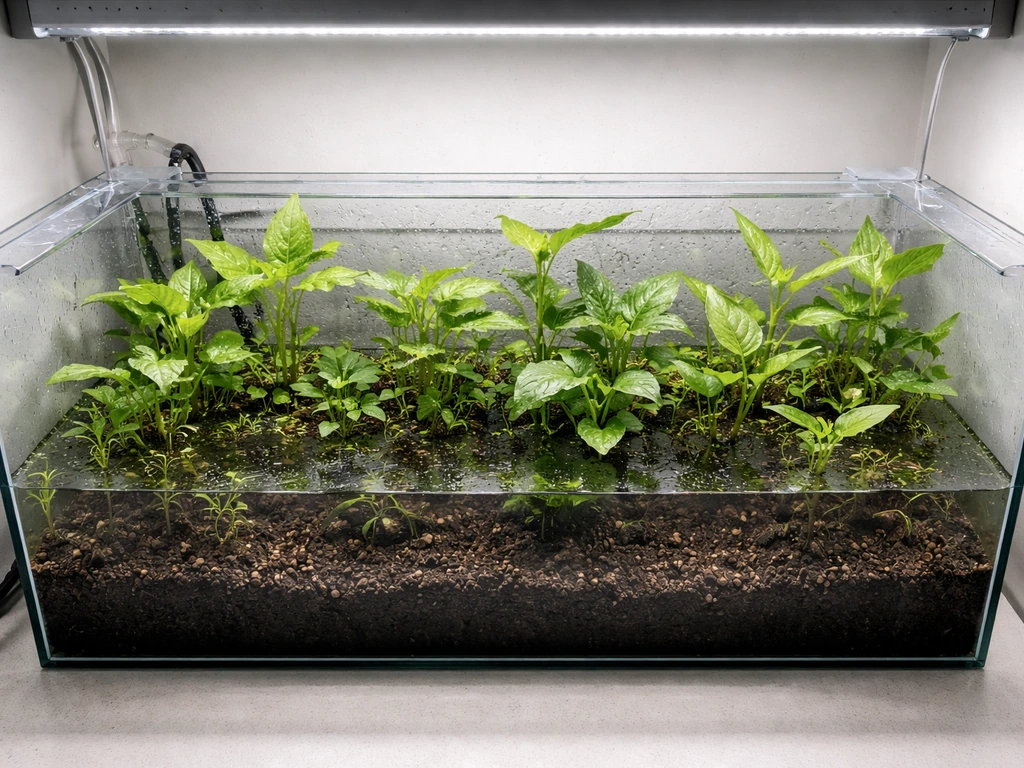
The basic setup looks like this: a shallow aquarium or tote, about 2 to 4 inches of substrate or a bare bottom with planted pots, water filled only to the base of the plants or just covering the roots, a lid or plastic wrap to hold humidity, and a grow light above. That's it. The complexity lives in the details, which I'll walk through below.
Choosing plants that actually do well emersed
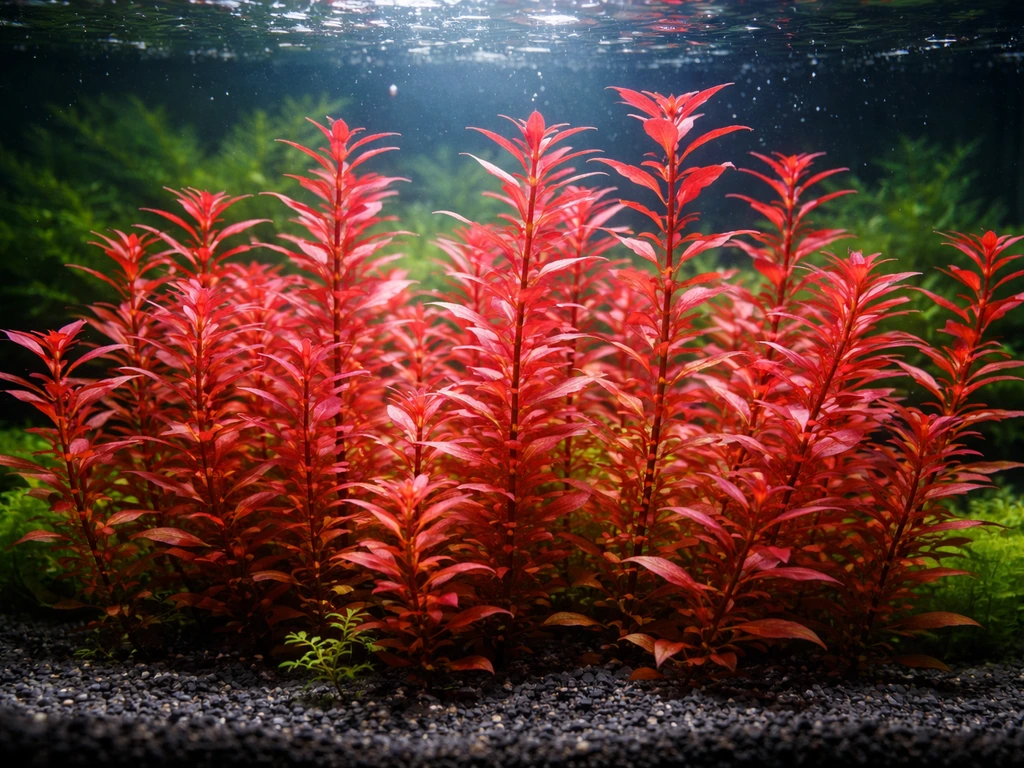
Not every aquatic plant is a good candidate for emersed growing. Red plants may need a bit more light and iron to keep their color as they grow in emersed conditions red aquarium plants. The best choices are true aquatic or semi-aquatic species that naturally grow at the water's edge or in seasonally flooded environments. These plants already have genetic adaptations to bounce between wet and dry air conditions. Fully aquatic plants that have no terrestrial form at all, like hornwort or most water sprite, won't do as well out of the water.
Here are the categories that consistently perform well emersed, along with honest notes on each:
- Cryptocorynes (crypts): Among the best emersed growers you can choose. They grow vigorously in humid air, produce lots of daughter plants, and their emersed leaves are often large and lush. Just know that when you eventually submerge them, those leaves will very likely melt off completely as the plant shifts to its submerged form. The roots survive and push out new underwater leaves. This is normal.
- Anubias: Extremely easy emersed. Grows faster out of water than in it, produces thick healthy leaves, and transitions to submerged fairly gracefully with less melting than crypts. A great starter plant for emersed setups.
- Bucephalandra: Grows emersed with firm, green leaves. When you submerge it, those leaves typically melt and the plant re-grows in a softer, often more colorful submerged form. The transformation is dramatic but the plant handles it well once roots are established.
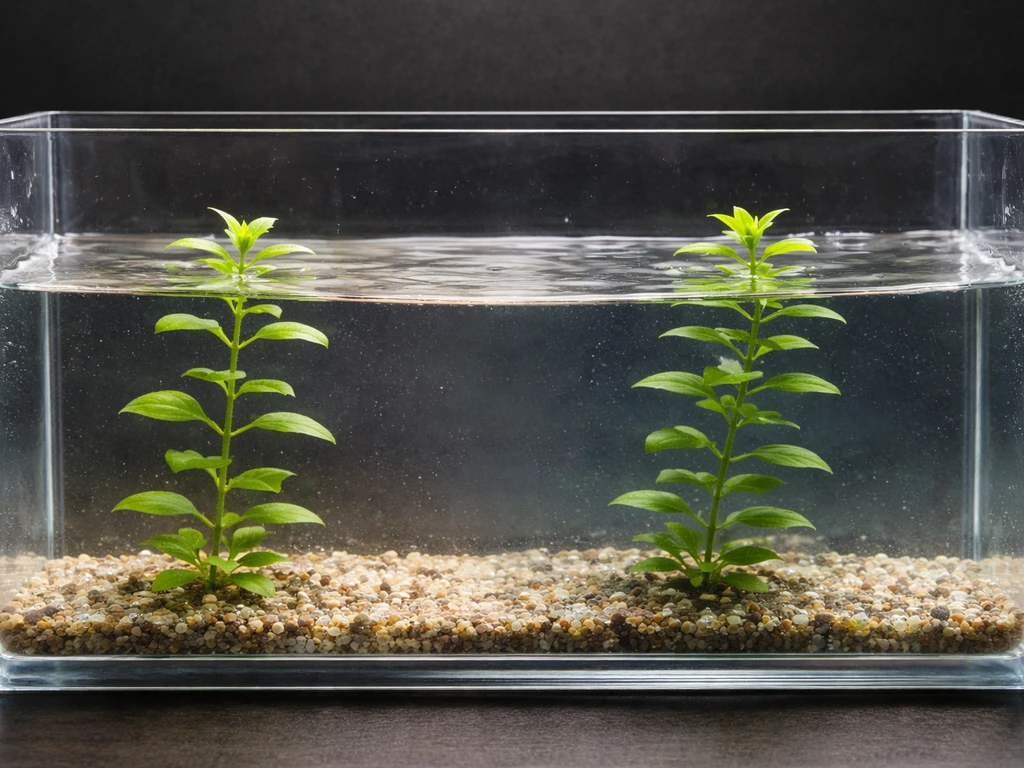
- Stem plants (hygrophila, bacopa, ludwigia, rotala): Most stem plants grow aggressively emersed. Hygrophila species in particular shoot up fast and flower readily. Ludwigia and rotala also work well, though their emersed leaf shape and color will look different from their submerged form.
- Java fern and bolbitis: These rhizome plants can be grown emersed if the rhizome is kept moist, though they tend to prefer submerged conditions. Possible but not ideal.
- Marsilea and other foreground plants: Marsilea (four-leaf clover) grows readily emersed and produces its familiar four-leaf form. Good option for building stock of foreground plants.
- Aquatic mosses: Java moss and similar mosses can be grown emersed in very high humidity, but they dry out fast and need consistent misting or near-saturated air. Intermediate difficulty.
If you're also interested in growing plants that never leave the water, the approach is different from what's covered here. If you want “easy to grow aquarium plants for beginners,” note that plants that stay fully submerged require different conditions than the emersed approach described here growing plants that never leave the water. If you are instead trying to grow freshwater aquarium plants fully submerged long term, you will want to switch your focus to the submerged method’s CO2, flow, and water-parameter requirements how to grow freshwater aquarium plants. Growing fully submerged freshwater aquarium plants has its own set of requirements around CO2, flow, and water parameters.
Equipment and materials you actually need
Container or tank
Any watertight container works. A standard 10-gallon aquarium is a popular choice because it's cheap, has a lid, and fits standard grow lights. Plastic storage totes work just as well and are cheaper. You can also use individual shallow Tupperware containers for single species. The key is having something you can keep humid by covering the top. I've had great results with a basic 10-gallon with a glass lid and a small gap for airflow.
Substrate
You have a few options. Aquatic soil like Fluval Stratum or ADA Aquasoil works extremely well because it holds moisture, provides nutrients, and is already designed for aquatic plant roots. You can still grow aquarium plants without soil by using inert media or bare-bottom setups with root tabs and careful water levels. Plain sand or gravel works too if you plan to fertilize with root tabs or liquid ferts. Some growers skip substrate entirely and just sit plants in small pots of soil inside the container, with water level below the pot rims. About 2 to 3 inches of substrate depth is enough for most species.
Lighting
This is the most important piece of equipment after the container. Plants in an emersed setup are growing in air, so they respond well to more light intensity than a typical aquarium. LED grow lights or full-spectrum aquarium LED fixtures both work. You want something in the 5000K to 6500K color temperature range. A PAR reading of 50 to 150 micromoles at plant canopy height is a reasonable target. Cheap full-spectrum LED shop lights from a hardware store are a surprisingly good and affordable option. Set your photoperiod to 10 to 14 hours per day on a timer.
Humidity and airflow tools
A lid or plastic wrap over the top of your container is the simplest humidity solution. You want relative humidity inside the enclosure to stay above 70%, ideally 80 to 90%. A small hygrometer inside the enclosure is worth the few dollars it costs. Leave a small gap in the lid (about half an inch) for passive air exchange so CO2 doesn't get completely depleted and so you don't get stagnant conditions that encourage rot and mold. If you're running a larger setup, a small USB fan on a timer aimed across the canopy for a few hours a day keeps airflow healthy without drying things out.
Water and nutrients

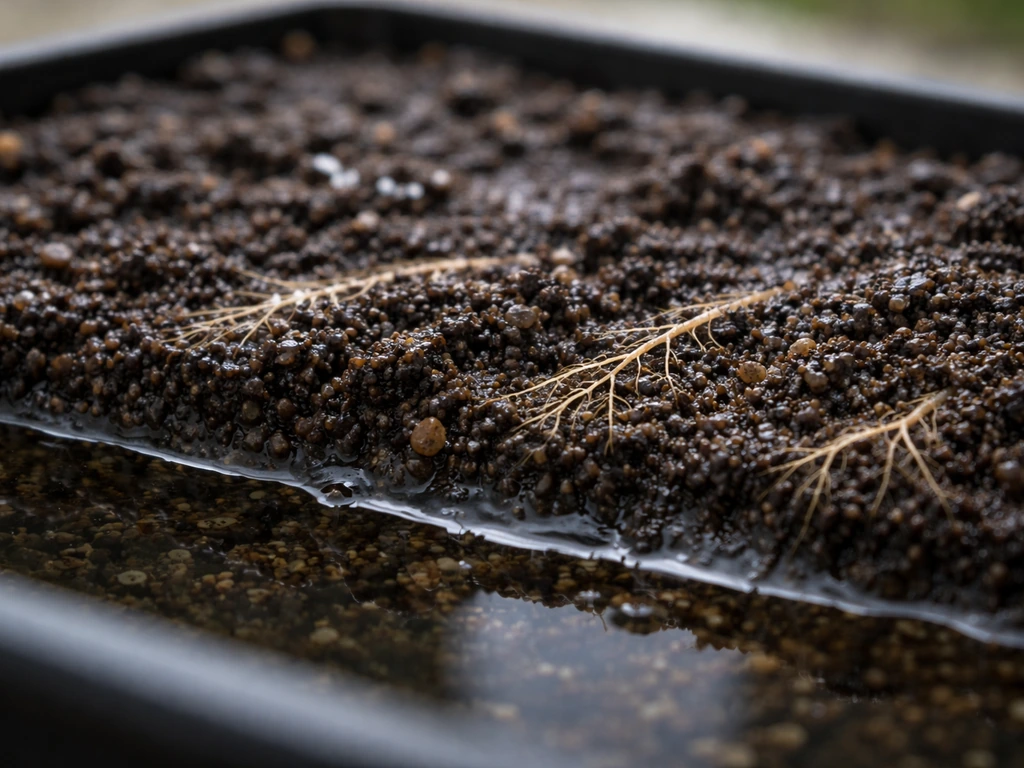
Use dechlorinated tap water or RO water. Water level should sit at or just below the base of the plant's stem or rhizome. For plants in substrate, the water table should reach up through the substrate but not pond on the surface. Root tabs pressed into the substrate every few inches work well for heavy-feeding plants like crypts and stem plants. Liquid fertilizers diluted to half-strength and added to the water during weekly top-offs also work, though there's less surface area for liquid uptake in an emersed setup compared to submerged.
Step-by-step: setting up your emersed grow container
- Clean your container thoroughly and rinse with dechlorinated water. No soap residue.
- Add 2 to 3 inches of your chosen substrate, or place potted plants inside the empty container.
- Insert root tabs into the substrate every 4 to 6 inches if using a nutrient-poor substrate like sand or plain gravel.
- Fill with dechlorinated water until the water level just reaches the bottom of the substrate surface, or just below the plant's crown. The roots should be wet; the leaves should be in air. For most setups this means 1 to 3 inches of standing water below the substrate surface.
- Plant your aquatic plants at the same depth you'd plant them in an aquarium. Crypts and anubias go in with rhizomes exposed; stem plants can be pushed an inch or two into substrate.
- Cover the container with a glass lid or plastic wrap, leaving a small gap of about half an inch on one side.
- Mount your grow light 4 to 12 inches above the canopy depending on the fixture's intensity. Set a timer for a 12-hour photoperiod to start.
- Place a hygrometer inside and check it after 24 hours. Adjust the gap in the lid to hit 80 to 90% relative humidity.
- Check water level every few days, topping off with dechlorinated water as needed. The substrate should stay moist but never have standing water pooling on the surface.
One thing I've learned the hard way: don't jam plants in too tightly at the start. Crowded emersed setups are where mold and rot problems begin. Give each plant enough space for airflow between leaves.
Lighting, temperature, and water chemistry targets
| Parameter | Target Range | Notes |
|---|---|---|
| Photoperiod | 10 to 14 hours/day | Start at 12 hours; increase if growth is slow |
| Light intensity (PAR at canopy) | 50 to 150 µmol/m²/s | Lower end for shade species like anubias; higher for stem plants |
| Temperature (air inside enclosure) | 70°F to 82°F (21°C to 28°C) | Tropical species prefer the upper half of this range |
| Water temperature | 68°F to 80°F (20°C to 27°C) | Match to the species' preference; a small heater in the water works |
| Relative humidity | 75% to 90% | Below 70% risks leaf desiccation; above 95% risks mold |
| Water pH | 6.0 to 7.5 | Most aquatic plants tolerate this range emersed; crypts prefer slightly acidic |
| Water hardness (GH) | 4 to 12 dGH | Soft to moderately hard; very soft water may need added minerals |
| Ammonia / nitrite in water | 0 ppm | Stagnant low-water systems can accumulate waste if organics are present; change water weekly |
Temperature is often overlooked in emersed setups. Grow lights heat the air inside an enclosed container quickly. On warm days I've seen the inside of a lidded 10-gallon climb above 85°F (29°C) under a bright LED, which stresses plants and accelerates bacterial rot. Crack the lid more or add a small fan if temperatures run high.
Feeding and CO₂: how to push faster, healthier growth
Nutrients
Emersed plants have access to atmospheric CO2 and can photosynthesize efficiently without CO2 injection, which is one of the great advantages of this method. That means nutrient delivery is often the limiting factor for growth rate. A nutrient-rich aquatic soil as your base substrate handles most of the feeding for the first several months. After that, root tabs every 3 to 4 months keep heavy feeders like crypts and stem plants well-supplied. For liquid feeding, a diluted all-in-one aquatic plant fertilizer (half the recommended dose) added to your top-off water once a week works well. Look for products that provide nitrogen, phosphorus, potassium, and micronutrients including iron.
CO₂ enrichment
You don't need CO2 injection for a basic emersed setup because plants pull CO2 directly from the air inside the enclosure, where ambient CO2 is around 400 ppm. However, if you want to push growth speed significantly, especially for stem plants, you can enrich the enclosure with CO2. The simplest method is a DIY yeast CO2 generator piped into the enclosure, or a small pressurized CO2 system with a diffuser sitting inside the container. Aim for 800 to 1500 ppm CO2 inside the enclosure, and make sure you have enough airflow to prevent the CO2 from flushing oxygen out entirely. In my experience, the growth difference with CO2 enrichment in an emersed setup is real but modest compared to the dramatic effect CO2 injection has in a submerged aquarium. For most growers, it's optional.
A simple feeding schedule
- Week 1 to 12: Rely on aquatic soil and root tabs. No liquid fertilizer needed if using nutrient-rich substrate.
- Week 12 onward: Add half-dose all-in-one liquid fertilizer once per week during water top-offs.
- Every 3 to 4 months: Replace or add root tabs near heavy feeders.
- If using inert substrate (sand/gravel) from day one: Begin half-dose liquid fertilizer at week 2 and use root tabs from the start.
Care timeline and how to transition plants back to submerged
What to expect week by week
| Timeframe | What's Happening | What to Do |
|---|---|---|
| Week 1 to 2 | Plants settling in; minimal new growth; some older leaves may yellow | Maintain humidity, don't adjust anything yet, keep light and water level consistent |
| Week 2 to 4 | New emersed leaves start emerging; roots establishing in substrate | Monitor humidity and temperature; top off water every 2 to 3 days |
| Month 1 to 3 | Active emersed growth; crypts may produce runners; stem plants growing 1 to 3 inches per week | Trim stem plants to prevent overcrowding; add liquid ferts if not using rich substrate |
| Month 3 to 6 | Dense, healthy emersed canopy; substrate nutrient levels may start declining | Add root tabs; divide crypts if overcrowded; harvest cuttings |
| When ready to submerge | Plants have healthy root system and established emersed growth | Begin gradual water level raise OR transfer to aquarium directly |
Two ways to transition plants from emersed to submerged
The first method is the gradual water raise. Over two to three weeks, slowly raise the water level in your emersed container by about half an inch every few days until the plants are fully submerged. This gives the plant time to adjust its gas exchange strategy from pulling CO2 from air to extracting dissolved CO2 from water. It reduces but doesn't eliminate leaf melt.
The second method is direct transfer to your aquarium, which is what most hobbyists do. Pull the plant from the emersed container, plant it in your aquarium, and let it adjust. The emersed leaves will very likely melt and die off over one to four weeks because those leaves are adapted for aerial gas exchange and can't efficiently function underwater. The plant pulls energy from its roots and remaining tissue to grow new submerged-adapted leaves. For crypts, expect almost complete defoliation. For anubias, much less melting. For bucephalandra, expect the leaves to go and new softer, more colorful leaves to grow in their place.
To minimize melt stress during direct transfer, make sure your aquarium is stable: zero ammonia, zero nitrite, consistent temperature, and ideally CO2 injection if you have it. An unstable aquarium makes the transition significantly harder. Don't uproot the plant repeatedly to check on it. Give it three to six weeks undisturbed.
Troubleshooting: melting, stalling, rot, and algae
Leaves melting or turning yellow during emersed growth
A small amount of leaf loss when plants first go into an emersed setup is normal. If you're seeing sustained yellowing or melting of new growth after the first two weeks, the most common causes are low humidity (check that your enclosure is holding above 75%), roots sitting in stagnant anaerobic water (drain and refresh the water, check that you're not overwatering the substrate), or nutrient deficiency (especially nitrogen showing as overall pale/yellow leaves, or iron deficiency showing as yellowing between leaf veins). Fix by adding root tabs or a diluted liquid fertilizer.
Growth stalling and plants not pushing new leaves
If your plants look alive but aren't growing after three to four weeks, check light first. Low light is the number one cause of stalled emersed growth. Raise the light or switch to a brighter fixture. Second, check temperature. Plants below 68°F (20°C) slow way down. A small submersible heater in the water section of your container can warm things up. Third, check if your substrate is exhausted of nutrients and add root tabs or liquid feeding.
Crown or stem rot
Rot at the base of the stem or crown is almost always caused by one of two things: the crown is buried too deep in substrate (the crown of crypts and anubias should always be at or above the substrate surface), or there's standing water on the substrate surface creating a constantly wet, low-oxygen zone around the stem. Fix: lower your water level slightly so the substrate surface is moist but not ponded. Remove any decaying plant matter immediately because rot spreads. If the crown is fully black and mushy, the plant is gone, but the roots may still push out new growth if you clean the area.
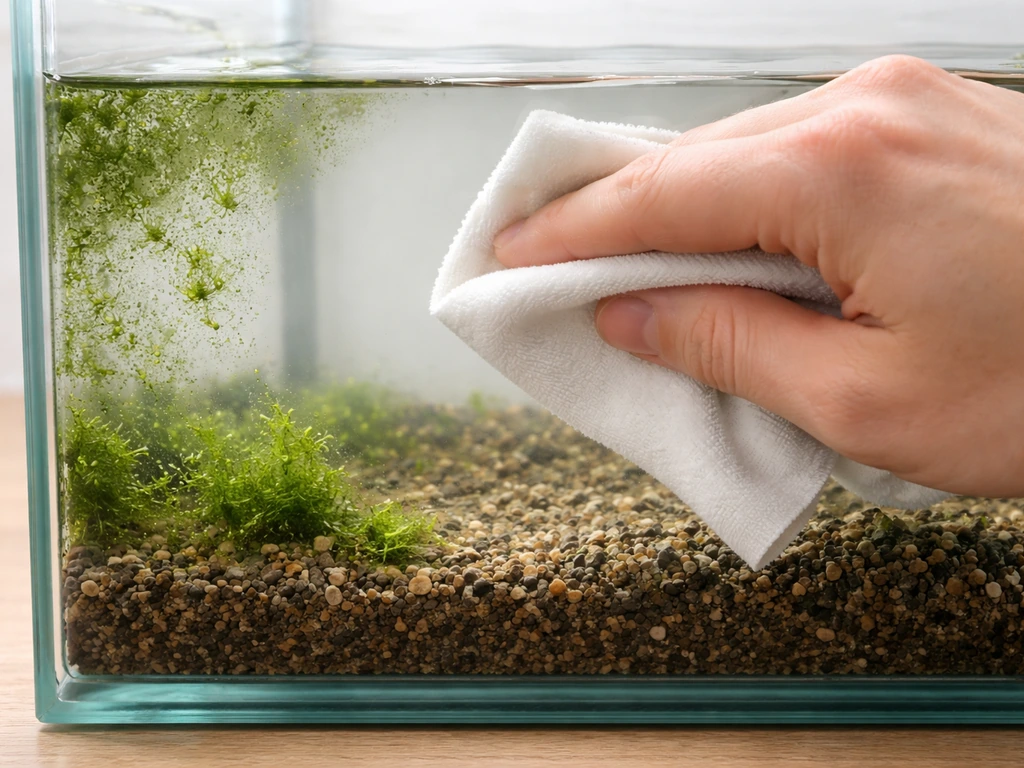
Algae in the emersed container
Green algae growing on the substrate surface or container walls is common and mostly harmless. It means you have light and nutrients, which is what you want. Wipe the glass if it bothers you. If you're getting heavy algae on plant leaves themselves, reduce your photoperiod by an hour or two, or lower light intensity slightly. Hair algae in the water section of the container can be removed manually. Introducing snails (ramshorn or mystery snails) into the water zone is a legitimate and effective algae control method in emersed setups.
Mold on leaves or substrate surface
White fuzzy mold on leaves or substrate is a sign of too much humidity combined with too little airflow. Increase the gap in your lid and add a small fan on a timer to run a few hours per day. Remove affected leaves. A very light spray of diluted hydrogen peroxide (3% solution, diluted 1:10 with water) on the affected substrate surface can knock back mold without harming plants.
Post-submersion melting in the aquarium
If you've transferred plants to your aquarium and they're melting heavily, resist the urge to pull them out. As long as the roots and rhizome (for anubias and crypts) look healthy and firm, the plant is almost certainly alive and rebuilding. The melting is the emersed leaves dying off because they can't efficiently handle gas exchange underwater. The plant is simultaneously adapting to extracting CO2 from dissolved water rather than air. New submerged-adapted leaves will emerge, usually within two to four weeks. If the aquarium has ammonia or nitrite, fix that first because that is the one condition that actually kills plants during transition rather than just causing temporary melt. Buce Plant explains that plant melt during the emersed-to-submerged transition is commonly worse when the destination aquarium is unstable, such as from ammonia-related stress How to Prevent Aquarium Plant Melt.
FAQ
Can I grow emersed plants in a regular aquarium without fully setting up a separate container?
Yes, but you need a true wet zone for roots and humid, leaf-exposed air. Use a mesh platform, sponge, or planted pots so the roots stay wet while the leaves sit above the waterline, then add a lid to maintain humidity. Most people underestimate the humidity loss in an open tank, so monitor with a small hygrometer.
What water temperature range works best for emersed plant growth?
Aim roughly in the mid-70s °F (low to mid-20s °C). The article notes growth slows below 68°F (20°C), but the other common failure is overheating in sealed containers, especially on sunny days. If your enclosure regularly spikes above the high 80s °F (around 30°C), add a fan, reduce light intensity, or temporarily crack the lid more.
How do I tell whether my plants need more nutrients or just more light when growth stalls?
First check light, because low light is the top cause of stalled emersed growth. If leaves are pale overall or look uniformly washed out, that often points to nitrogen or general nutrient limitation. If yellowing appears between veins or you see new growth with stronger discoloration patterns, that more often suggests iron deficiency. If in doubt, test after you adjust light for at least one to two weeks, then add root tabs or half-dose liquid feeding.
Can I use tap water that is chlorinated, or do I must use RO water?
You can use tap water as long as it is dechlorinated. For emersed setups, small residual chlorine can stress tender new leaves and slow adaptation. RO water is fine too, but remember it removes minerals, so you may need to ensure your fertilizer includes the needed nutrients.
How often should I top up or refresh the water in the emersed container?
Top off as it evaporates, so the water table stays at the base of the stem or rhizome. If you use plain inert media or you notice persistent sour smell, cloudiness, or anaerobic conditions, do a partial water refresh rather than only topping off. Stagnant, oxygen-poor water around the roots is a frequent contributor to rot.
Do I need to fertilize right away, or can I wait until the plants settle in?
If you use nutrient-rich aquatic soil, you can often start with minimal supplemental feeding and rely on the substrate for initial growth. If you use inert media, bare-bottom, or no soil, start feeding earlier with root tabs or diluted liquid fertilizer. A good rule is to observe new growth after the first 7 to 14 days, then adjust based on color and growth rate rather than following a fixed schedule.
How close should plants be to the grow light, and can overheating be caused by light distance?
Keep canopy distance consistent and avoid hot spots. If the enclosure air temperature climbs quickly under the light, either increase distance slightly, lower light intensity, shorten the photoperiod, or improve ventilation. The key is that temperature problems are often from combined light output and a sealed lid, not just light alone.
What should I do if I see mold or rot even though my humidity seems high but controlled?
Mold is usually humidity plus insufficient airflow, but rot is often linked to water level and crown burial. Check that the crown is not buried (crypts and anubias) and that water is not ponding over substrate. Then increase airflow using a small fan on a timer and remove any decaying tissue promptly so it does not spread.
Is it normal for leaves to melt after I put emersed plants into the aquarium?
Yes, leaf melt is expected after direct transfer, because emersed leaves were adapted for air gas exchange. However, if new leaves continue to fail after a couple of weeks or you see severe blackening at the base, look for aquarium stability issues first, especially ammonia and nitrite, since those can kill plants rather than just causing temporary melt.
How long should I wait before deciding a plant is failing after transfer to my aquarium?
Give it three to six weeks undisturbed, because the plant is rebuilding submerged-adapted leaves. If roots and rhizome remain firm, the plant is usually alive. If there is no new growth after about four weeks and the melt has stopped progressing, reassess light and nutrient delivery in the aquarium rather than repeatedly pulling the plant out to check.
Can I keep the enclosure CO2 levels high with a DIY yeast setup without harming plants?
You can, but control matters. The article suggests aiming around 800 to 1500 ppm, while ensuring there is enough airflow so oxygen does not drop excessively. If you notice unusually slow growth, heavy stress, or persistent condensation patterns, reduce CO2 output or shorten CO2 run time, and rely on humidity and airflow first.
Should I grow multiple species in the same emersed container or keep them separate?
You can mix species, but avoid overcrowding because dense canopies create localized low-oxygen zones and increase mold risk. If you are growing plants with very different light needs (for example, delicate reds versus robust rosette plants), separate enclosures can make adjustments easier and reduce the chance that one group becomes the cause of the other group's stress.