Riccia fluitans (also called crystalwort) is one of those aquatic plants that looks deceptively easy until it starts melting on you. The good news: it actually is easy once you understand a handful of non-negotiable conditions. Get the light, CO2, and flow right, anchor it properly, and this liverwort will grow fast enough that your main job becomes trimming it back.
How to Grow Riccia Fluitans: Setup, Care, and Fixes

Marcus Holloway
12 Apr 2026
What Riccia fluitans needs to thrive
Start here before you touch your tank. Riccia is forgiving on water chemistry but surprisingly picky about light and CO2. Get those two wrong and nothing else you do will matter.
Water parameters
The plant tolerates a pH range of 5.0 to 8.0 and temperatures from around 15 to 30 °C, which covers pretty much every freshwater aquarium setup you're likely to run. Water hardness is similarly flexible, from very soft to quite hard. This flexibility is part of why Riccia is so popular: you're not chasing a narrow window. That said, stability matters more than hitting a precise target number. Unstable parameters are one of the most consistent causes of melt and rot, so pick a range and hold it, rather than bouncing around chasing perfect.
Light
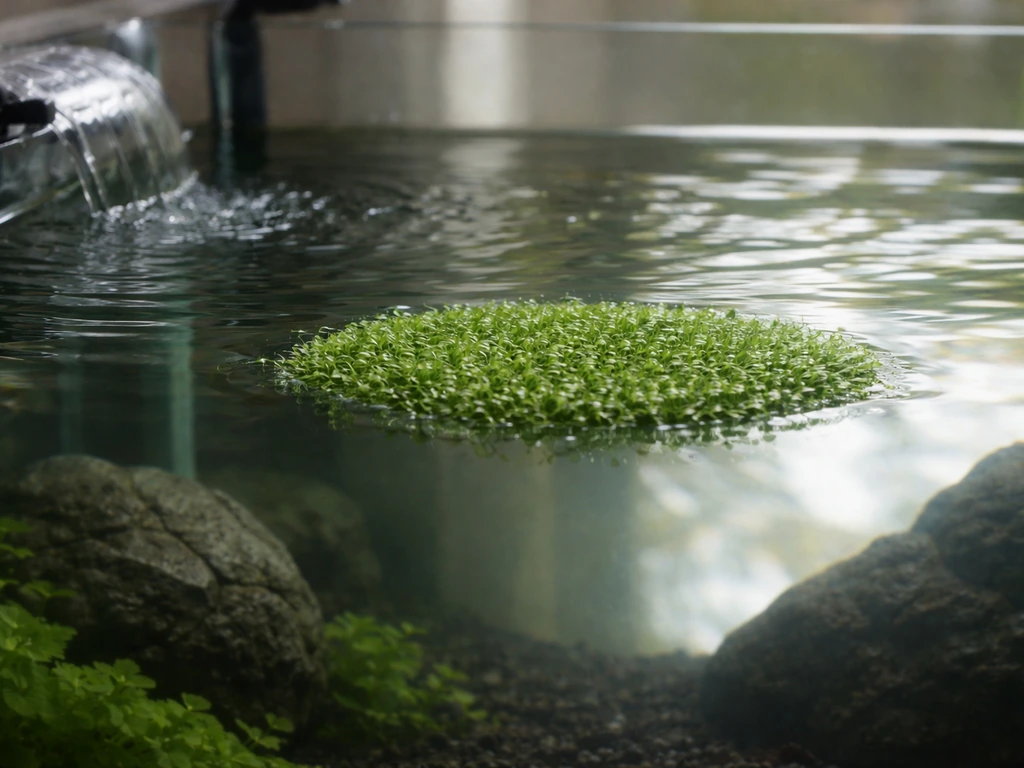
Riccia fluitans has a medium light demand, but that's a starting point, not a ceiling. The plant responds well to higher intensity, and for submerged growth you really need at least 8 hours of full-spectrum lighting per day. I run mine on a timer set to 9 hours and the difference compared to 6 hours was noticeable within two weeks. Full-spectrum LED aquarium lighting is the practical choice here. Floating Riccia sits right at the surface and can handle high intensity without much trouble, but submerged mats sitting further from the light will need a stronger fixture or closer positioning.
Water flow
Riccia comes from quiet, slow-moving water, and it wants the same in your tank. Strong flow breaks apart mats, sends fragments everywhere, and makes a mess. Keep circulation low and gentle. If your filter output is creating significant surface agitation near where your Riccia sits, reposition the outlet or use a spray bar pointed at the glass. A small amount of flow is fine and actually helps deliver CO2 and nutrients to the plant, but the key word is small.
Setting up your tank for Riccia
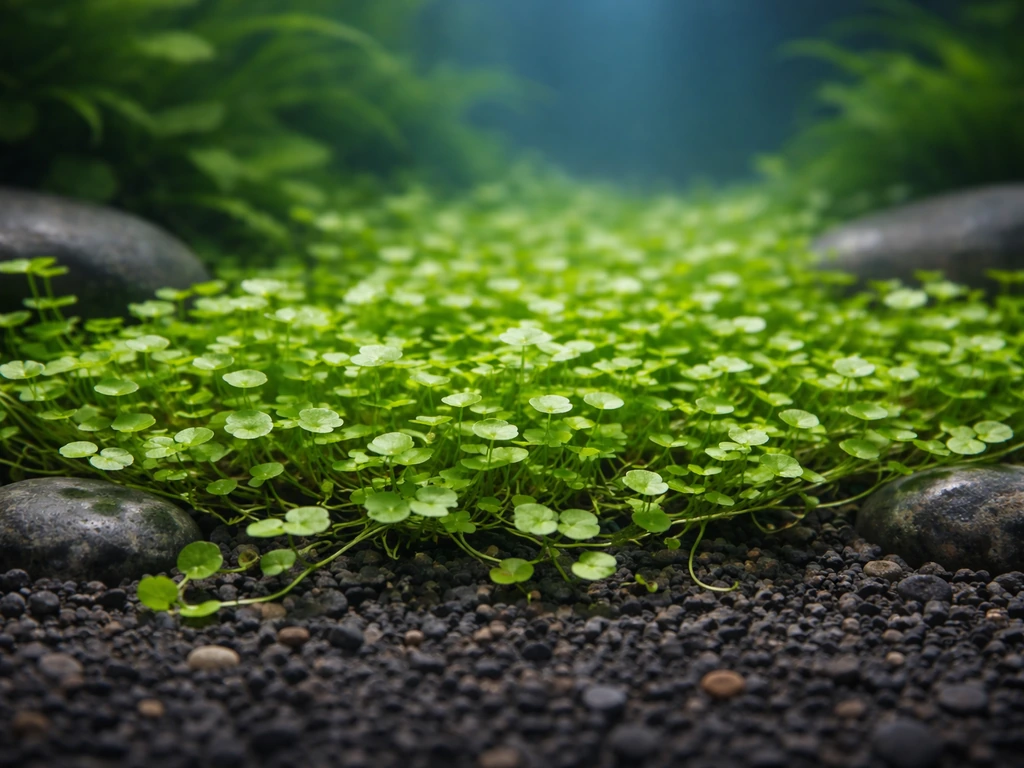
One of the best things about Riccia fluitans is its flexibility in how you grow it. You can run it as a floating mat in a standard aquarium, anchor it as a foreground carpet, attach it to hardscape, or even grow it emersed in a paludarium or aquatic hydroponic tray. The plant grows well in or out of water, which opens up some creative options beyond a traditional fish tank.
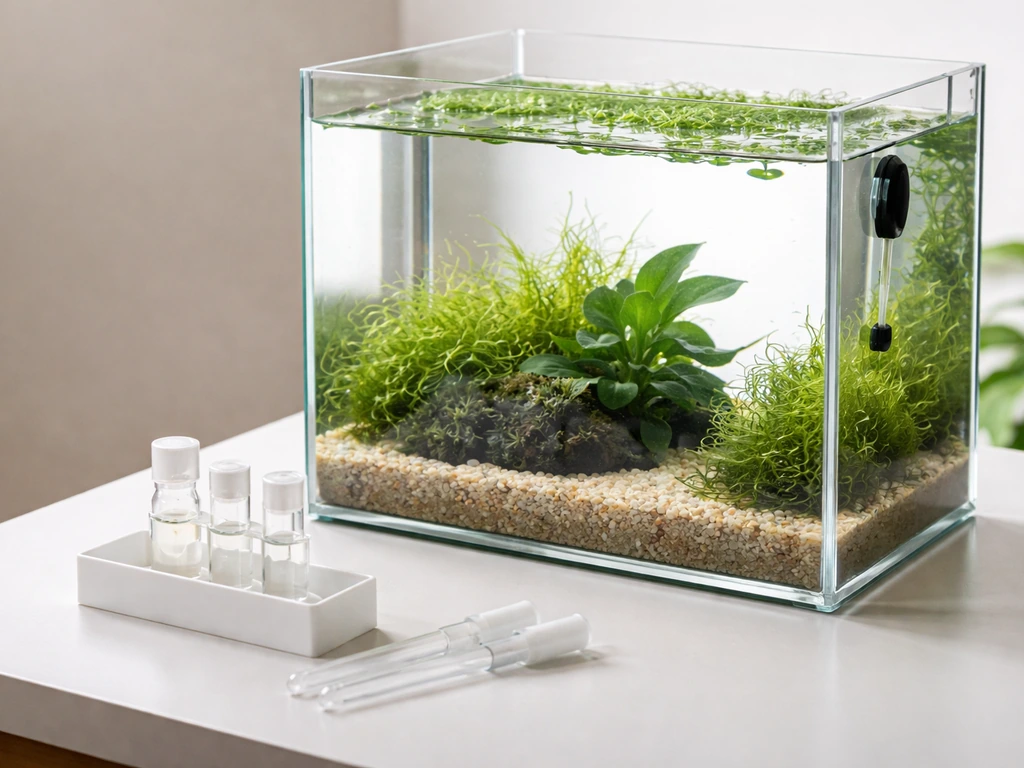
Standard aquarium setup
For submerged aquarium growth, the priorities are a quality full-spectrum LED fixture, a CO2 system (more on that below), and a filter that provides gentle turnover without blasting the plant. Tank size doesn't matter much as Riccia can work in anything from a 10-gallon nano to a large display tank, but smaller tanks do heat up faster, so keep an eye on temperature if you're running strong lighting close to the surface.
Hydroponic and emersed setups
If you're running an aquatic plant system outside of a traditional aquarium, Riccia can thrive in shallow trays with slow water movement, high humidity, and good overhead lighting. In emersed form it tends to grow more compactly and green. Studies of Riccia fluitans report reversible, blank" rel="noopener noreferrer">environment-driven changes in thallus features such as air pore formation and rhizoid development when conditions shift between emersed and submerged growth. This is also a useful way to establish a mat before introducing it to a display tank. Think of it as a propagation nursery. The care logic is similar to how growers approach other aquatic species: if you've ever read up on how to grow rotala in both submerged and emersed states, the general setup philosophy carries over well.
How to start and propagate Riccia fluitans
Riccia propagates by fragmentation. There's no rooting involved, no seeds, no rhizomes. In the aquatic form, Riccia fluitans typically has no functional roots, though it can develop rhizoids mainly for weak anchoring when conditions change, such as being stranded on mud it can develop rhizoids that are mainly for weak anchoring when conditions change. You break off a piece and it grows into a new mat. This makes it incredibly easy to spread, but it also means keeping it contained takes some deliberate effort.
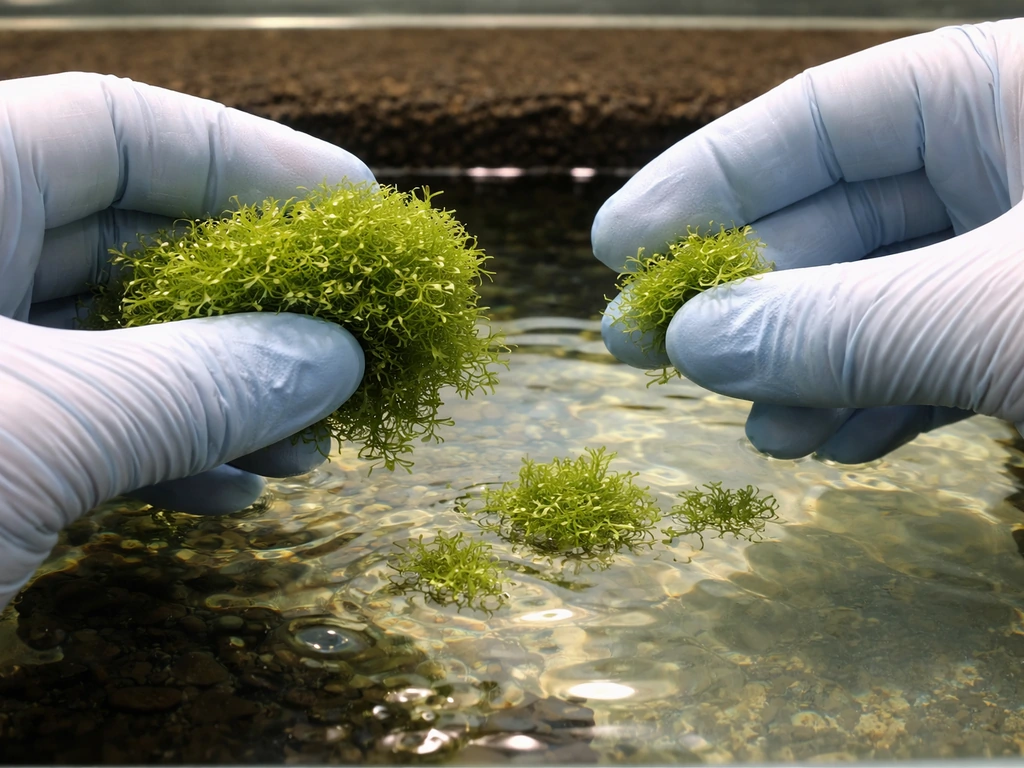
Starting from a purchased portion
When you receive Riccia, it usually comes as a loose clump. Rinse it gently in dechlorinated water, then decide how you want to use it: floating freely, attached to a stone, or sandwiched in a mesh mat. Even a small starting portion will grow quickly under good conditions, so don't stress about quantity on day one.
Anchoring methods (this part matters a lot)
Riccia does not naturally attach to surfaces the way true mosses do. Left to float freely it does fine, but if you want it on the substrate or attached to hardscape, you need to physically secure it. The most reliable method is sandwiching a thin layer of Riccia between two pieces of plastic mesh or a plastic grid. Over a few weeks the plant grows through the mesh, locking itself in place and forming a dense mat. You can then place that mat wherever you want it in the tank.
For attaching Riccia to rocks or hardscape, the flat stone method works well: press a thin layer of Riccia against a flat rock and stretch plastic mesh tightly around the whole thing, securing the edges. This keeps the layer thin enough for light to penetrate and gives the plant a framework to grow through. Over time the mesh becomes less visible as the plant fills in. This approach is sometimes called the Riccia stone method and it's one of the cleaner-looking ways to use the plant in an aquascape.
What to expect from growth rate
Under good conditions with CO2 and adequate light, Riccia grows fast. You'll see visible expansion within a week or two. The mat thickens upward before it spreads laterally, so if your attached mat starts to look puffy and layered, that's normal and it means trimming time is coming up.
Step-by-step care routine
- Run your full-spectrum LED lighting for 8 to 9 hours per day on a timer. Consistency here prevents algae swings and keeps the plant's growth rhythm stable.
- Maintain CO2 between 6 and 14 mg/L for submerged growth. This is non-negotiable if you want healthy, dense mats rather than a slow pale decline. A drop checker is the simplest way to monitor this range without precision testing every day.
- Dose liquid fertilizer regularly. Riccia is a nutrient-hungry plant and needs nitrate, phosphate, iron, and potassium supplied consistently. Think of nitrate, potassium, and magnesium as nutrients to keep at steady levels at all times, while iron and phosphate can be dosed on a less rigid schedule. A good all-in-one planted aquarium fertilizer covers most of this without overcomplicating things.
- Perform weekly water changes of around 30%. This keeps nitrates from spiking, removes organic waste, and stabilizes your parameters. Consistency here prevents the parameter swings that cause melt.
- Check temperature weekly. Keep it between 20 and 28 °C for best results. If your tank runs warm in summer, monitor more closely since temps above 30 °C will stress the plant.
- Trim or harvest every 2 to 4 weeks depending on growth rate. See the trimming section below for how to do this without destroying the mat.
A note on CO2 for beginners
Riccia fluitans preferentially uses dissolved CO2 for photosynthesis rather than other forms of inorganic carbon. This is why low-CO2 setups so often lead to pale, withering plants, even when the light looks adequate. If you're new to CO2 injection, a basic pressurized system with a needle valve and diffuser is the most reliable starting point. DIY yeast setups can work for smaller tanks but the output is inconsistent. For a plant as responsive to CO2 as Riccia, consistent delivery makes a real difference. Compared to some stem plants like rotala rotundifolia, which can manage in lower-tech setups, Riccia really does push you toward CO2 injection for best results.
Common problems and how to fix them
Most Riccia failures come down to a short list of causes. Here's how to diagnose what's actually going wrong.
| Problem | Most likely cause | Fix |
|---|---|---|
| Melting or rotting | Insufficient CO2, poor lighting, or unstable parameters | Add or increase CO2 to 6–14 mg/L, upgrade lighting, stabilize temperature and water chemistry |
| Pale or yellowing growth | Low CO2 or nutrient deficiency (especially iron or nitrogen) | Increase CO2, dose nitrate and iron, check fertilizer schedule |
| Brown or dying sections | Overheating, algae smothering the mat, or too-thick layering blocking light | Trim thick areas, check temperature, reduce photoperiod slightly if algae is heavy |
| Patchy or uneven coverage | Uneven light distribution or flow pulling the mat apart | Reposition lighting, reduce flow near the mat, secure mat edges with mesh |
| Fragments floating everywhere | Strong flow, inadequate anchoring, or over-trimming | Lower flow, re-secure mesh, trim less aggressively |
| Slow or stalled growth | Insufficient light duration, low CO2, or nutrient limitation | Extend photoperiod to 8–9 hours, verify CO2 levels, increase fertilizer dose |
The melt issue trips up a lot of people, myself included when I first tried keeping Riccia submerged. I had a decent light but no CO2 injection, and within three weeks the mat had gone pale and stringy. Once I added a simple pressurized CO2 setup and brought levels up to around 10 mg/L, the regrowth was visible within a week. The lesson: light alone is not enough for submerged Riccia.
Algae smothering is the other sneaky one. When Riccia mats get thick and layered, the lower portion doesn't get light, dies, and creates a nutrient-rich dead zone that encourages algae. Keep mats trimmed thin and light will reach the base. This is also why the mesh sandwich method is useful: it forces the plant to grow outward rather than piling up into a thick clump.
Harvesting, trimming, and managing spread
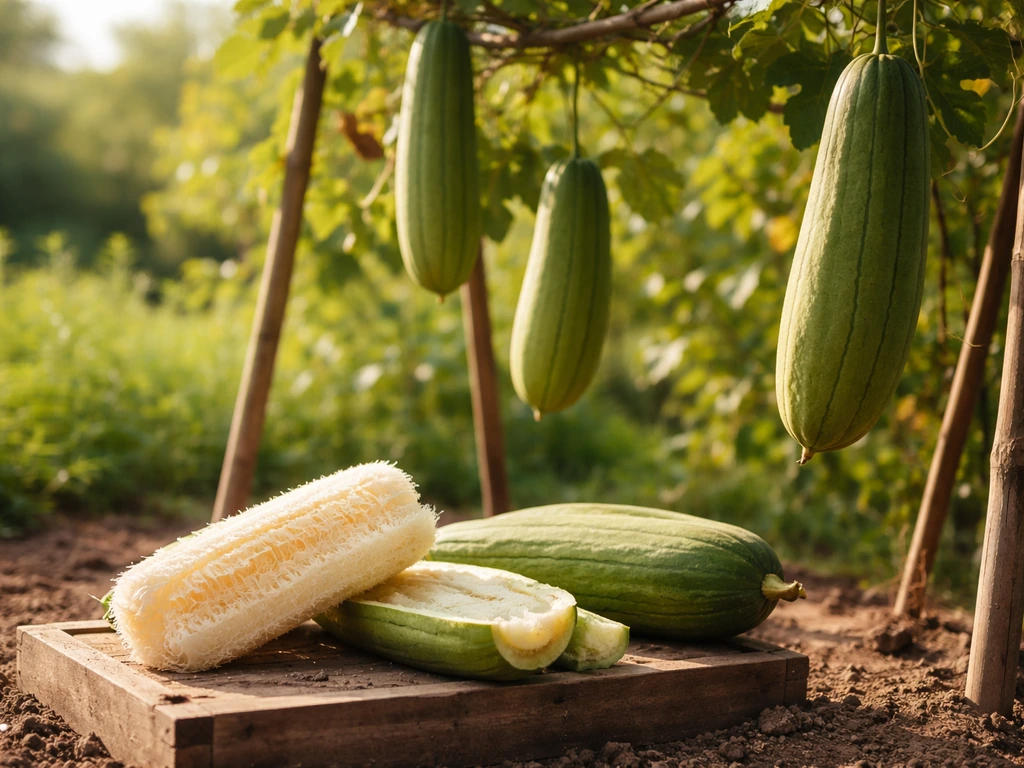
Riccia doesn't have the same kind of harvest cycle you'd find with something like growing luffa sponge or similar crops, but managing its spread is a real maintenance task. Left unchecked it will overgrow, thicken, shade itself out, and start shedding fragments that drift into every corner of your tank.
Trim attached mats with scissors by cutting across the surface, removing the top layer while leaving the bottom layer intact and growing. Aim to trim before the mat exceeds about 2 to 3 cm in thickness. For floating portions, simply scoop out excess with your hand or a fine net. The removed portions can be transferred to another tank, used to start a new mat on a stone, or composted.
If you're running Riccia as a carpet and it starts creeping toward mid-tank plants, trim the edges with scissors along your desired boundary. It won't re-anchor itself in new areas unless you physically place and secure it there, which actually makes it more manageable than some stem plants. Just be consistent about trimming every few weeks and it stays tidy.
Propagation is as simple as taking a trimmed portion and pressing it onto a new stone or into a new mesh sandwich. There's no special treatment needed. The fragment just needs light, CO2, and nutrients to establish in its new location within one to two weeks.
Placement, compatible species, and tank mates
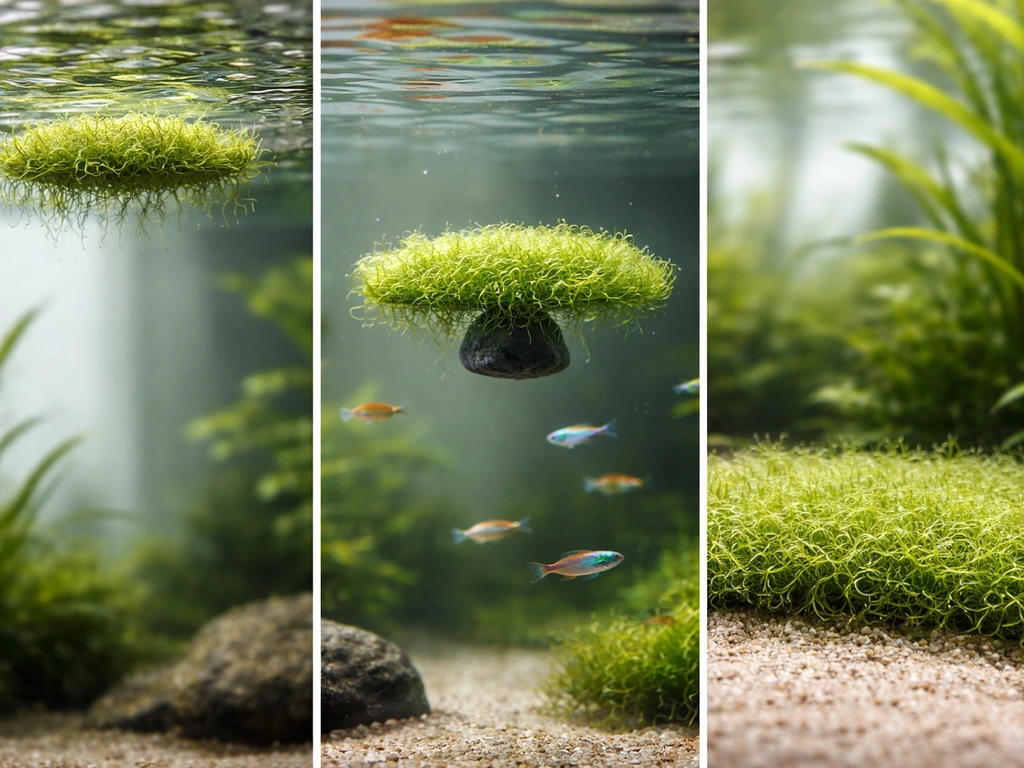
Where to place Riccia in the tank
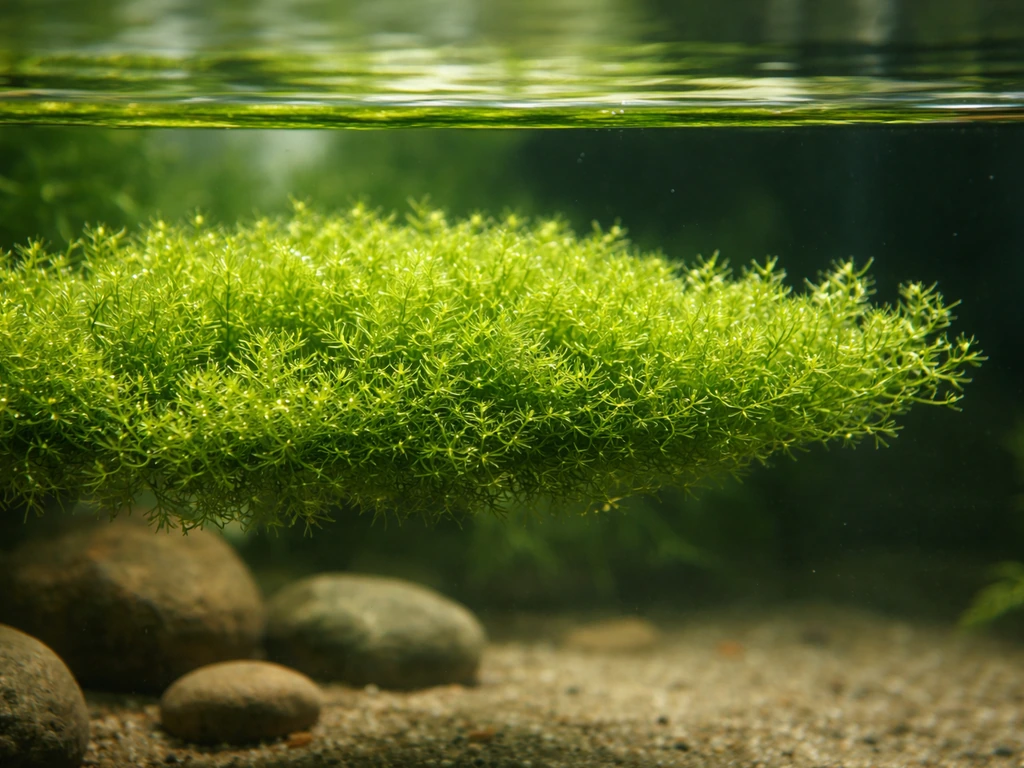
Riccia works in the foreground as a carpet mat, mid-tank on rocks or wood, and at the surface as a floating plant. Each placement has trade-offs. Floating Riccia gets the most light and grows fastest, but it shades everything below it, so be mindful of other plants underneath. Foreground carpet placement looks stunning but requires consistent trimming and good light penetration down to the substrate. Mid-tank on hardscape is often the most manageable option: you get visual impact without the shading or constant trimming demands of a full carpet.
Compatible aquarium plants
Riccia pairs well with plants that prefer similar low-flow, nutrient-rich, CO2-supplemented conditions. Stem plants that enjoy moderate to high light are natural neighbors. Ludwigia is a particularly compatible choice: it's similarly undemanding on water parameters while appreciating the same CO2-supplemented, well-fertilized setup you're already running for Riccia. Background stem plants in general work well since their taller growth doesn't compete with or shade the Riccia mat.
Fish, shrimp, and invertebrate compatibility
Riccia is a favorite refuge for shrimp, small fish fry, and invertebrates. Its dense, branching structure provides excellent hiding cover, which is why it's popular in breeding setups. Shrimp in particular love grazing on the biofilm that develops in and around Riccia mats. Avoid housing it with large digging cichlids or goldfish, which will shred and uproot it. Fast-moving, large fish can also disrupt the mat with their movement even if they don't eat the plant directly, so keep that low-flow preference in mind when stocking the tank.
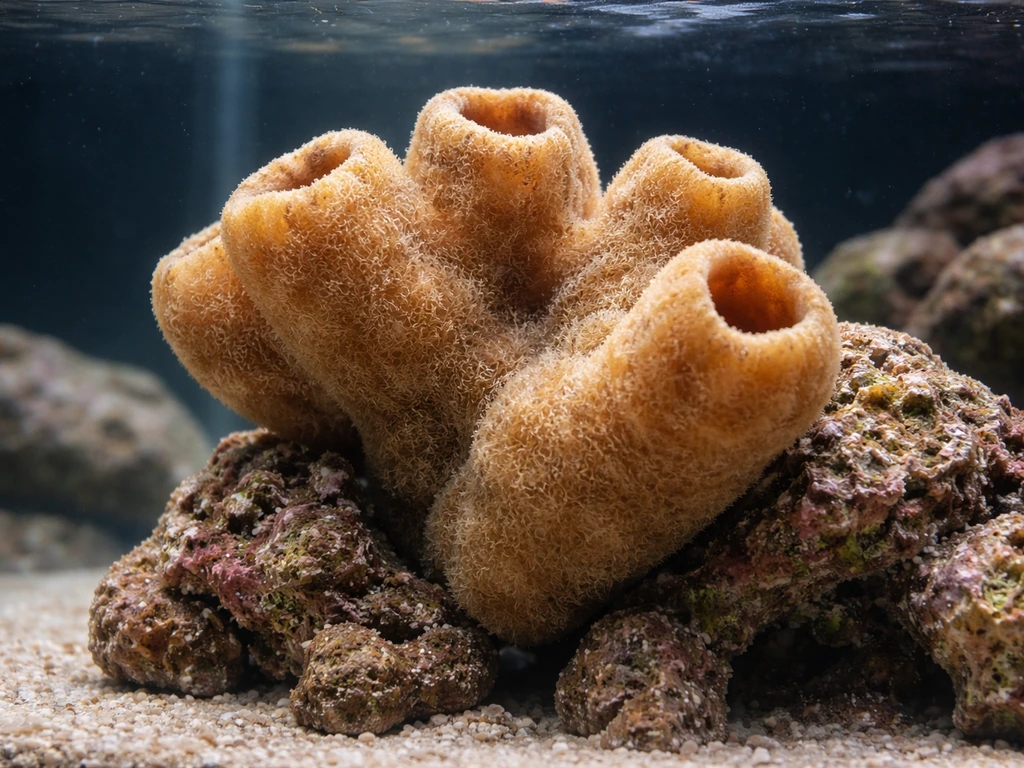
Snails are generally compatible and can actually help by grazing algae off the mat surface. If you're also exploring other invertebrate-friendly aquatic setups, it's worth knowing that growing aquatic sponges alongside Riccia is feasible in similar slow-flow conditions, though the two serve very different roles in an aquascape.
A quick placement comparison
| Placement style | Light access | Trimming frequency | Best for | Main challenge |
|---|---|---|---|---|
| Floating mat | Highest | Every 1–2 weeks | Fast propagation, fry cover | Shades plants below |
| Foreground carpet (mesh mat) | Medium (depends on fixture) | Every 2–3 weeks | Aquascape aesthetics | Labor-intensive, needs strong light |
| Attached to rocks/hardscape | Medium-high | Every 3–4 weeks | Balanced looks and maintenance | Securing the mesh cleanly |
| Mid-tank on wood or stone | Medium | Every 3–4 weeks | Natural aquascape style | Can detach if flow is too strong |
Riccia fluitans rewards consistent care more than perfect conditions. Lock in your light schedule, get CO2 into the right range, keep flow gentle, and anchor the plant securely. Once those four things are in place, your main challenge shifts from keeping it alive to keeping up with how fast it grows. That's a good problem to have. If you enjoy the low-tech side of aquatic cultivation and are curious about other non-traditional growing methods, it's interesting to look at setups like loofah growing systems for comparison, since both share that same principle of providing stable conditions and letting the organism do the rest.
FAQ
My Riccia turns pale and stringy, is it always a total failure?
If it melts in the first 1 to 3 weeks but still shows a green edge or small new strands, treat it as partial die-off and keep improving conditions rather than restarting. Trim off any fully white or brown portions, then check that your light is not overpowering an under-supplied CO2 setup. In low CO2, Riccia often looks pale and stringy before it completely collapses.
How do I know if my water flow is too strong for Riccia?
Use stable, gentle circulation that does not create a continuous “wash” over the mat. If you see fragments piling up in corners or the mat visibly loosens, your flow is too strong. A practical test is to aim your filter outlet so the Riccia area has only mild surface movement, or add a spray bar that spreads flow along the glass rather than directly over the plant.
Can I grow Riccia fluitans without a CO2 injection system?
Yes, you can grow it in a tank without pressurized CO2, but expect slower growth and a higher risk of pale, thinning mats under strong light. If you do run DIY CO2, prioritize consistency over volume (especially overnight). For better results, reduce light intensity or photoperiod slightly until you know your CO2 output stays steady.
Does Riccia need to be planted deep in the substrate?
Riccia does not truly “root,” so planting depth matters less than light access and secure anchoring. If you want it as a carpet, place the mat close to the light source and keep it trimmed so the base stays illuminated. For hardscape attachments, avoid trapping it under a thick layer of gravel or shading it with taller stones.
What is the best way to trim Riccia if it becomes too thick or layered?
Do it in stages. When attached mats get layered, removing the top layer and leaving the bottom intact usually produces regrowth faster than ripping everything out. Aim to keep thickness around the 2 to 3 cm mark mentioned in the care guidance, and trim more frequently rather than waiting until it is extremely overgrown.
Why am I getting algae smothering inside the Riccia mat?
If algae starts forming inside or under the mat, the most common fix is to reduce mat thickness and improve light penetration at the base. Skimming or gently lifting sections can help you spot a buried dead zone. Also avoid letting fertilization become imbalanced, since nutrient-rich dead areas can feed algae even if the rest of the tank looks fine.
Riccia melted after I changed lighting or did a water change, what should I adjust?
It often comes from too much light paired with insufficient carbon delivery, or from parameter swings after adding the plant. Even if pH and temperature are acceptable, unstable conditions can cause melt. Match your lighting schedule to your CO2 availability, and avoid big water changes right after introducing Riccia unless you also maintain temperature and carbon-friendly conditions.
How do I stop Riccia fragments from taking over other parts of my tank?
When trimming floating Riccia, do not just let it drift and re-land randomly if you want control. Scoop and re-portion it intentionally, then re-secure pieces on stones or between mesh if you plan to form carpets. Also be careful not to stir up too many fragments during cleaning, as they can seed unwanted areas.
What fish and invertebrates are most likely to disrupt Riccia fluitans?
Keep Riccia away from strong mechanical abrasion. Avoid housing it with fish that dig, shred plants, or disturb the bottom, and watch for fast swimmers that buffet the mat. If you see the mat loosening or rotating around rock work, adjust stocking or add protective placement on calmer, less turbulent sections of the tank.
Is emersed-to-submerged transition hard on Riccia, and how should I do it?
If your emersed tray plants look more compact and green, that is normal and you are mainly seeing a form change rather than a problem. When transitioning back to submerged growth, start with moderate light and ensure carbon availability if you are running high-intensity aquascape lights. A slow acclimation reduces shock and melt.