Yes, you can grow sea sponges at home, and it is more achievable than most people think. The catch is that sponges are sensitive marine invertebrates, not plants, so the rules are different. They live or die based on water chemistry, flow, and how carefully you handle them during setup. Get those things right and sponges are surprisingly low-maintenance. Get them wrong and you will watch tissue turn white and slough off within days. This guide walks you through every step so you start on the right foot.
How to Grow Sponges at Home: Step-by-Step Setup and Care

Marcus Holloway
9 Apr 2026
What "growing sea sponges" actually means and what to expect
Sea sponges (phylum Porifera) are filter feeders, not plants. They do not photosynthesize in most species, they do not eat pellet food, and they do not grow the way a vine or a crop does. What they do is pull water through their porous bodies, capture microorganisms and tiny organic particles in the 0.1 to 50 micrometer range, and slowly build tissue over time. Growth is measured in months, not weeks. A healthy explant (a piece cut from a larger sponge) might grow 10 to 30 percent in volume over three to six months under good conditions. That is the realistic window.
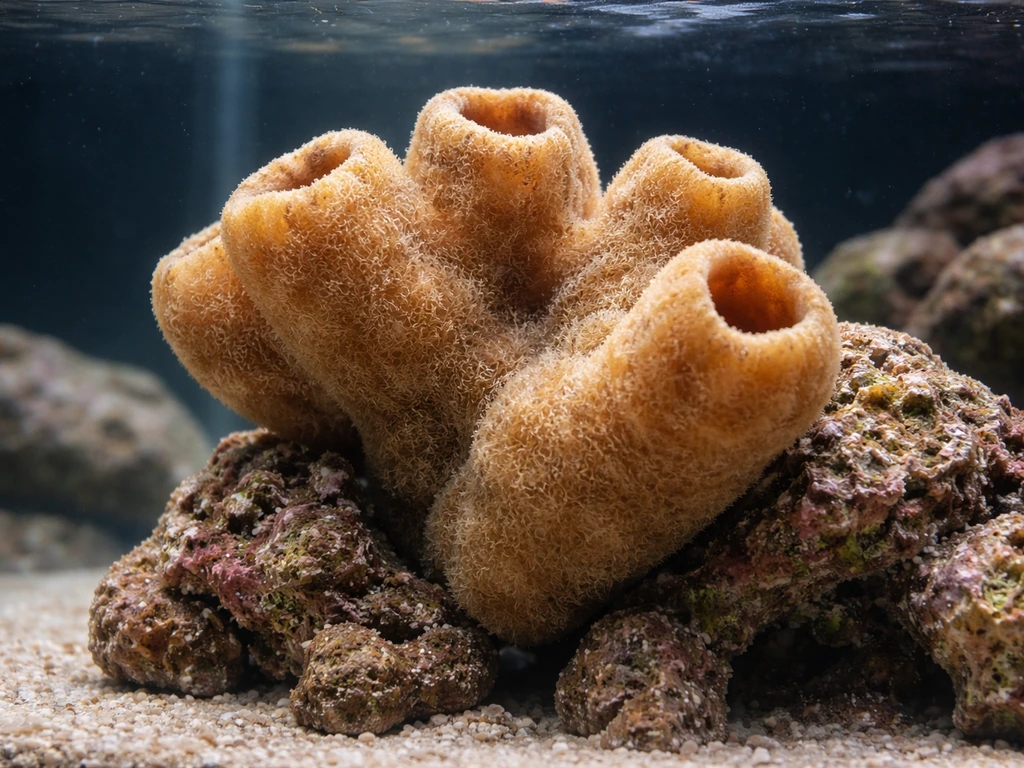
The species you choose matters a lot. Beginners in marine aquarium hobby systems commonly work with Haliclona species (like the Blue Sponge), Aplysina archeri (the stove pipe sponge), or Halichondria panicea (the crumb-of-bread sponge). Each has slightly different temperature preferences. Halichondria panicea, for example, is a cold-water species comfortable at 8 to 15°C, making it a candidate for cool-room setups. Haliclona and Aplysina species lean toward the tropical reef range of 72 to 78°F (22 to 25.5°C). Picking a species matched to what you can realistically maintain at home is the single biggest factor in long-term success.
One thing worth being honest about: sponges are not a beginner-friendly crop in the way that, say, ludwigia is easy to grow in a planted tank. They demand a stable, established marine system and consistent attention to water parameters. If this is your first marine tank, get that system running and cycled for at least six to eight weeks before you add a sponge.
Choosing your system: tank setup vs at-home alternatives
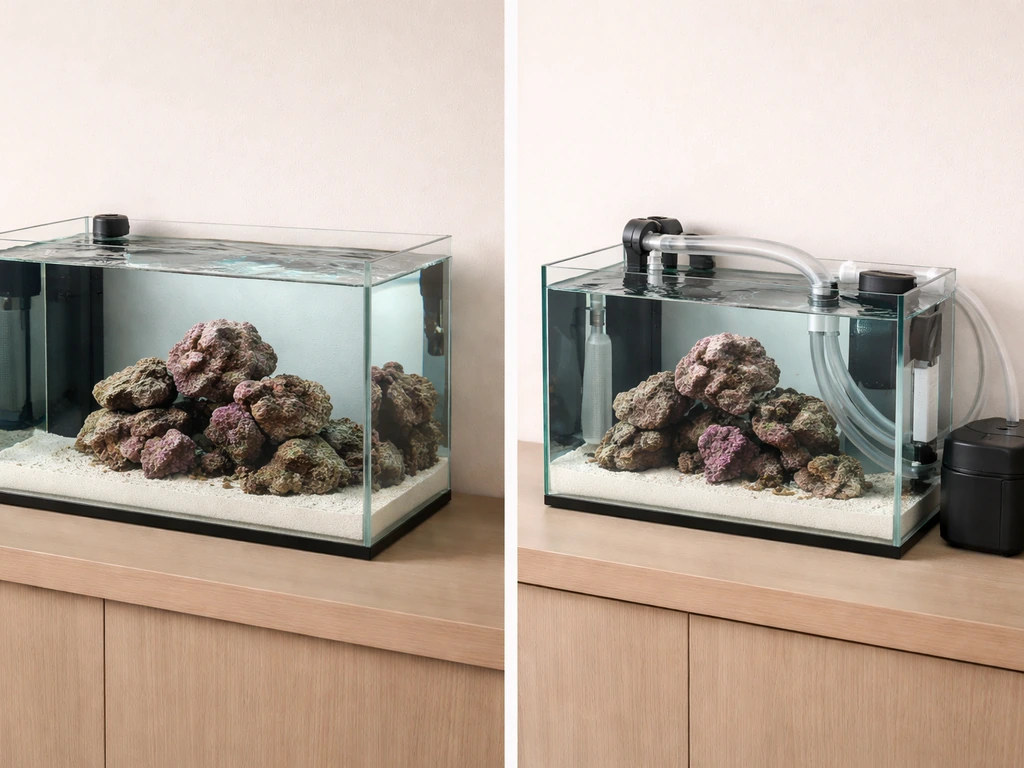
For most home growers, a dedicated marine aquarium is the most practical and controllable option. Scientific cultivation work has used glass aquariums in the 150 to 200-liter range connected to biofilters and filled with natural or synthetic seawater, and that is a good model to follow. You do not need to go that large, but bigger volumes buffer against sudden parameter swings, which is exactly what sponges cannot handle. A 75 to 125-liter (20 to 33-gallon) tank is a reasonable starting point.
Flow-through systems, where water is continuously replaced with fresh filtered seawater, are the gold standard in mariculture research. At home, you simulate this with a quality protein skimmer, a sump or canister filter with biological media, and a return pump that turns the tank volume over at least 10 times per hour. Live rock is an excellent addition because it seeds beneficial bacteria and helps process nitrogen. The core principle is: the water that touches your sponge needs to resemble clean, oxygenated ocean water at all times.
If you want an outdoor alternative and live near the coast, some growers use flow-through buckets or containers plumbed to a nearby water source, but this introduces contamination and temperature instability risks that make it harder to troubleshoot. For a beginner, the indoor recirculating tank wins on control and reliability.
Sourcing sponges and getting them into your tank safely
Where to get a viable starter
Buy from a reputable marine aquarium supplier or mariculture retailer who sells tank-raised or carefully collected specimens. Avoid wild-caught pieces that have been sitting in shipping water for extended periods. Healthy sponge material should be firm, brightly colored for its species, and show no patches of white, gray, or sloughing tissue. Some retailers sell sponge pieces still attached to a small rock fragment, which is ideal because the substrate gives the explant stability during the critical first weeks.
The number one handling rule: no air exposure
Never let a sponge touch air. Not even briefly. Air trapped inside the sponge's canals causes tissue death that spreads outward over the following days, and by the time you notice the problem it is often too late to save the piece. When unpacking, keep the sponge submerged in its shipping water throughout the entire transfer process. Use a container, not your hands lifted above the waterline.
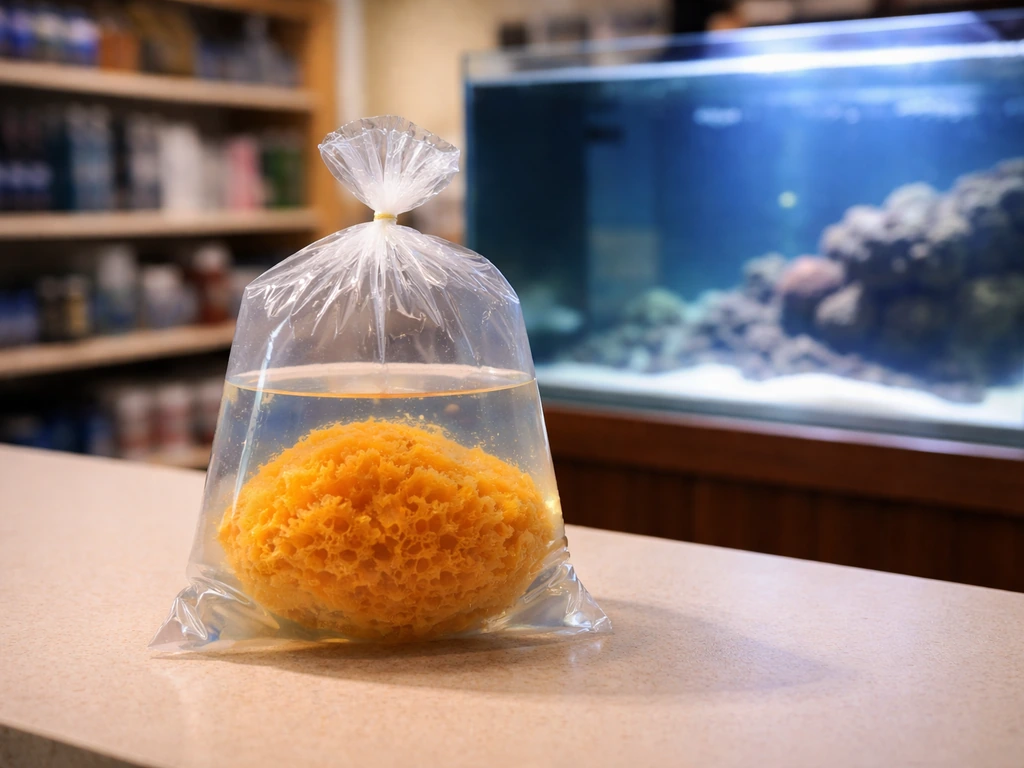
Acclimation: the drip method
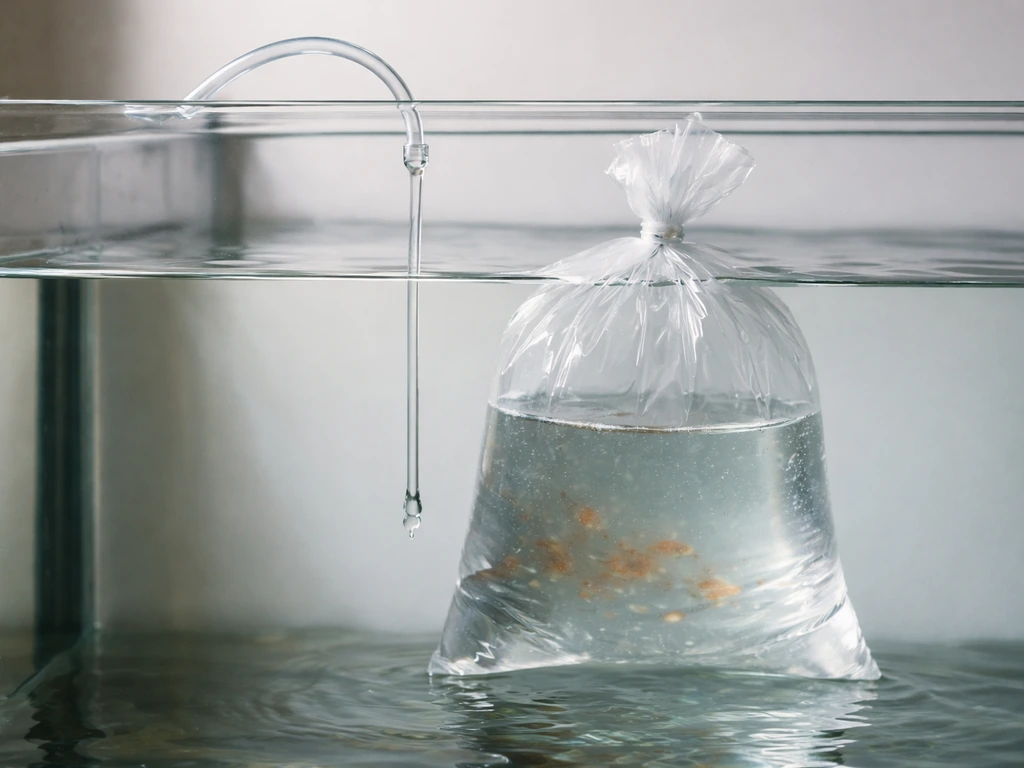
Drip acclimation is the safest approach for sensitive marine invertebrates, and sponges qualify. Float the sealed shipping bag in your tank for 15 minutes to equalize temperature, then transfer the sponge and its water into a clean bucket. Run a drip line from your tank at roughly 2 to 3 drips per second until the bucket volume has doubled. This typically takes 30 to 60 minutes. Do not let this run longer than 60 minutes, because ammonia builds up in the acclimation water and longer exposure causes stress rather than preventing it. Once the water has doubled, gently move the sponge to its position in the tank without lifting it above the waterline.
Attaching and positioning
If your sponge arrived on a rock fragment, simply wedge it into the aquascape in a stable spot with moderate to strong flow. If you are working with a loose explant, use aquarium-safe underwater epoxy or a rubble rock positioned to cradle the piece. Some mariculture systems use mesh or rope structures to hold explants, which helps expose more sponge surface area to the water column and reduces sediment collecting on the tissue. Regardless of method, position the sponge where flow will pass over and through it, not in a stagnant corner.
Water conditions your sponge needs to survive
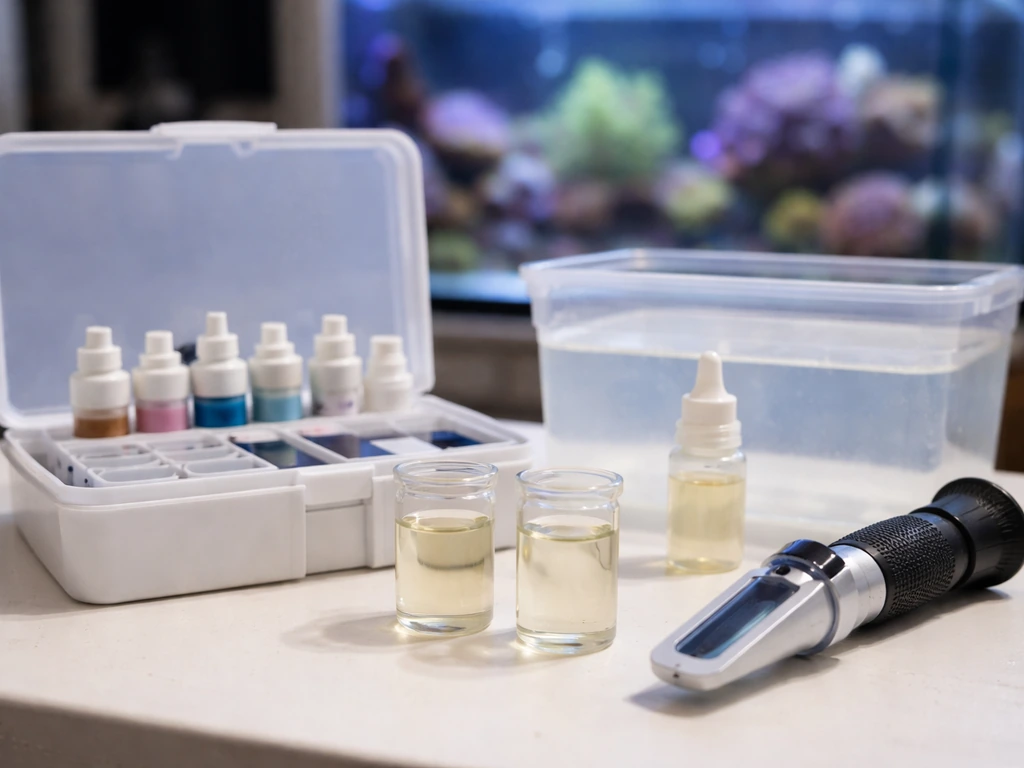
This is where most home attempts fail. Sponge cells are in direct contact with the surrounding water and cannot tolerate the chemical swings that hardy reef fish will shrug off. Here are the targets to hit and hold.
| Parameter | Target Range | Why It Matters |
|---|---|---|
| Salinity | 1.023 to 1.025 SG | Hypersaline water dehydrates sponge cells; hyposalinity disrupts their internal environment |
| Temperature (tropical species) | 72 to 78°F (22 to 25.5°C) | Stable temperature prevents thermal stress and tissue recession |
| Temperature (cold-water species) | 46 to 59°F / 8 to 15°C | Halichondria panicea and similar cold-water species need cooler conditions |
| pH | 8.1 to 8.4 | Matches natural reef/ocean water chemistry; linked to sponge oxygen balance and respiration |
| Alkalinity (dKH) | 8 to 12 dKH | Buffers pH stability over time |
| Ammonia | 0 ppm | Any detectable ammonia signals an unstable biofilter and stresses sponge tissue |
| Nitrite | 0 ppm | Same as ammonia; zero tolerance for sponge health |
| Nitrate | < 5 ppm ideally | Low nitrate reflects clean, well-filtered water |
Do not change these parameters abruptly. The biofilter in your tank converts ammonia to nitrite and then to nitrate through bacterial action, and disrupting that cycle (for example by replacing filter media or doing a large water change with mismatched parameters) is a fast path to sponge die-off. During the first month especially, test daily for ammonia, nitrite, nitrate, pH, and salinity. Once stable, you can drop to three times per week.
Flow, light, and nutrients: the daily basics
Water flow
Flow is arguably the most important physical factor for sponge health. Without it, sponges cannot filter feed and their waste accumulates around their tissue. Aim for strong, indirect flow that moves across the sponge surface without blasting it directly. In a tank context, a wavemaker or circulation pump positioned so the current bounces off the glass before reaching the sponge works well. The target is consistent water movement without tissue being physically disturbed or bent repeatedly.
Lighting
Most sponges you will work with as a hobbyist are not photosynthetic. They have no zooxanthellae and do not use light for energy the way corals do. This means lighting is secondary to flow and water quality. That said, species like Haliclona do benefit from moderate to high light when it supports a healthy microbial community in the tank. Keep photoperiods at 10 to 12 hours per day. Avoid intense direct lighting on non-photosynthetic species, as excess light can drive algae growth on sponge tissue, which competes with and eventually smothers it.
Nutrients and feeding
You do not feed sponges the way you feed fish. They filter the water column for microorganisms, dissolved organic matter, and fine particulates naturally. In the sponge literature, Porifera have been reported to retain microorganisms and particles in roughly the 0.1 to 50 μm size range, with high retention efficiencies filter the water column for microorganisms, dissolved organic matter, and fine particulates naturally. A mature, biologically active tank with live rock and a healthy microbial load will supply most of what a sponge needs. Some hobbyists dose phytoplankton or dissolved organic supplements specifically formulated for filter feeders, and this can support growth in very clean tanks where microbial food sources are limited. Keep doses conservative: overfeeding tanks with particulate supplements spikes ammonia and nitrate, which works against you.
A realistic care and maintenance schedule
- Daily (first 4 to 6 weeks): Test ammonia, nitrite, nitrate, pH, and salinity. Visually inspect sponge tissue for any white patches or sloughing.
- Daily ongoing: Check flow equipment is running and flow direction is correct.
- Every 3 days: Top off evaporated water with fresh RODI water only (not saltwater) to maintain stable salinity.
- Weekly: 10 to 15 percent water change using pre-mixed saltwater matched to your tank's temperature and salinity. Do not change more than 20 percent at once.
- Weekly: Skim collection cup on protein skimmer cleaned; output inspected.
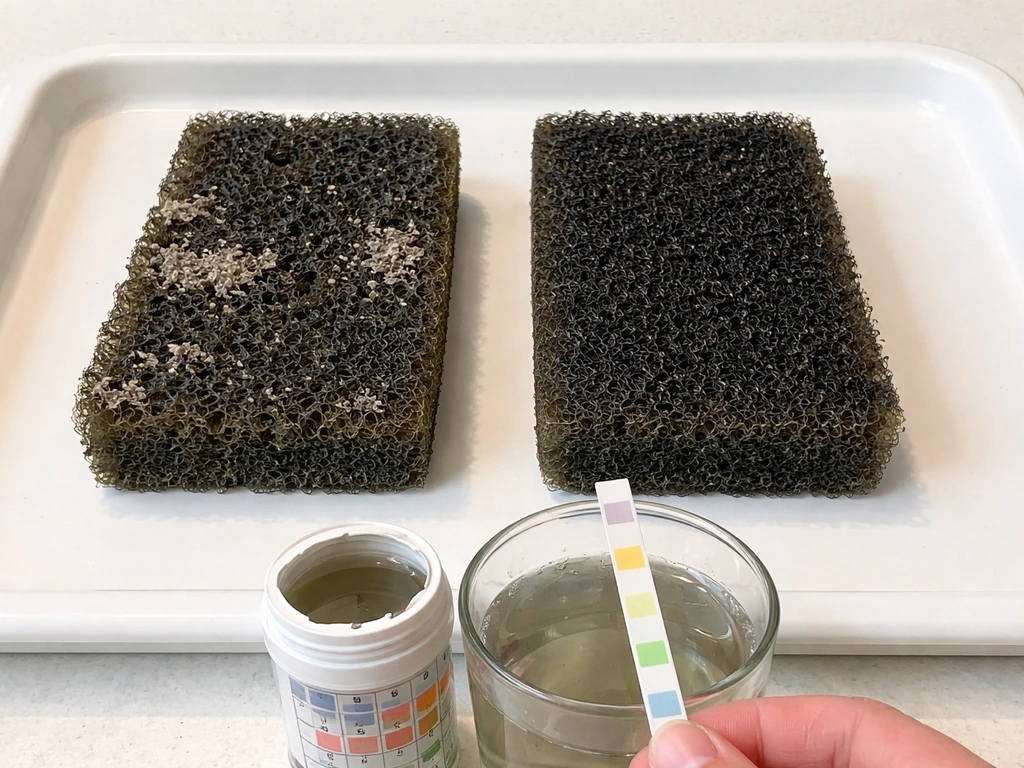
- Monthly: Rinse mechanical filter media in old tank water (never tap water) to remove debris without killing beneficial bacteria.
- Monthly: Full parameter check including alkalinity and temperature calibration.
- Every 3 months: Assess sponge growth, check attachment points, and consider propagation if the colony has grown by 25 percent or more.
One thing I learned the hard way: do not rearrange your tank after a sponge is established. Physical disturbance stresses sponge tissue and can shift the microbial community living inside the sponge, which affects survivorship in ways that are not immediately visible but show up as die-off two to three weeks later. Leave it alone once it settles.
Troubleshooting common problems and how to fix them fast
White patches or tissue recession
This is the most common failure mode and almost always traces back to a water quality problem or air exposure during handling. Test immediately: if ammonia or nitrite reads above zero, do a 20 percent water change and check your biofilter. If water tests are clean, inspect for a dead animal nearby decomposing and polluting a localized area. Remove any white tissue with clean scissors to prevent the necrosis from spreading, then improve flow over the affected area.
Sponge detaching from substrate
Detachment happens when the attachment point was not stable to begin with or when flow is blasting the sponge directly rather than passing over it. Reposition gently using aquarium epoxy, making sure to keep the sponge submerged throughout. Redirect your circulation pump so flow is indirect.
Cloudy water
Cloudy water in a sponge tank usually signals a bacterial bloom caused by biofilter instability, often after a large water change, a media change, or an ammonia spike from a dying animal. It stresses the sponge fast. Do not add any new livestock. Check parameters, do a modest water change, and wait. The bloom typically clears in 24 to 48 hours if the biofilter is otherwise intact. If it persists beyond 72 hours, investigate for a decaying source of organic material.
Algae growing on the sponge
Filamentous algae colonizing sponge tissue is a sign of too much light hitting that spot or elevated nutrients in the water. Reduce photoperiod to 8 to 10 hours temporarily, improve nutrient export (more frequent skimmer cleaning, water changes), and consider adding a small clean-up crew like snails that will graze nearby surfaces without disturbing the sponge.
No visible growth after two to three months
Slow or no growth usually means the sponge is surviving but not thriving. Review flow strength (increase it), check if microbial food availability is low (dose a quality phytoplankton or dissolved organics supplement), and verify temperature is stable and within species range. Sponges grow slowly at the best of times; if the tissue looks healthy and intact after three months, you are doing something right even if the change in size is subtle.
Propagation and scaling up
Once your sponge is established and showing healthy tissue after three to six months, you can propagate it by cutting explants. Use a clean, sharp blade and cut a piece at least 2 to 3 centimeters in diameter. Work quickly and keep both pieces submerged throughout. Attach the new explant to a prepared substrate immediately and place it in a well-conditioned system. Expect a settling period of two to three weeks where growth pauses while the new piece stabilizes.
If you want to scale further or explore other aquatic cultivation projects on the side, it is worth noting that growing sponges sits at the more demanding end of the aquatic cultivation spectrum. For contrast, something like growing riccia fluitans in a freshwater planted system is far more forgiving for beginners who want a parallel project while their marine system matures.
If you want to branch into non-marine sponge growing projects, the term "sponge" covers an entirely different organism in the garden context. How to grow luffa sponge is a popular search for gardeners interested in natural bath sponges, which are actually a cucurbit vine grown in warm soil, not a marine invertebrate. Worth knowing you are not dealing with the same thing at all.
A few extra tips before you dive in
Get your tank fully cycled before ordering any sponge. Six to eight weeks minimum, confirmed by zero ammonia and nitrite readings across multiple test days. Source the freshest, healthiest specimen you can find and do not compromise on handling. The first 72 hours after introduction are the highest-risk window. If the sponge looks good at the one-week mark, the odds shift strongly in your favor.
For those who enjoy freshwater planted tanks alongside marine projects, understanding what makes marine cultivation different can sharpen your instincts across systems. Even a fairly straightforward stem plant like growing rotala teaches you the discipline of stable water parameters and consistent maintenance, habits that transfer directly to a marine sponge setup.
Sea sponge cultivation is one of the more unusual and rewarding niches in home aquatics. It is slower and more technical than most freshwater plant work, but the payoff is a genuinely unique living system that very few hobbyists pull off successfully. With the right water chemistry, solid flow, and careful handling, you have everything you need to make it work.
If you find yourself drawn to aquatic plants that thrive in similarly well-maintained tank conditions, it is worth exploring how species like rotala rotundifolia perform in different setups, since balanced water chemistry principles overlap between planted freshwater tanks and marine invertebrate systems more than most people expect. And if you are still weighing whether the added effort of a marine system is worth it versus sticking with freshwater, checking out whether loofahs are easy to grow as a comparison project might help you calibrate how much complexity you want to take on right now.
FAQ
My tank is “cycled,” but numbers fluctuate. Can I still add a sponge?
If your tank is cycled but values still swing, wait to add the sponge until tests are stable for several days (zero ammonia and nitrite on multiple days, not just once). Also avoid cleaning or replacing filter media right before or after you introduce the explant, since even small changes can destabilize bacterial activity and trigger die-off.
What if I need to add the sponge before the tank is fully stable, like during a maintenance week?
Yes, but it is higher risk. If you must add the sponge during a setback, do it only after ammonia and nitrite read zero and your salinity is already matching your target range. Otherwise the first stress period overlaps with the tank’s chemical instability, which is a common cause of sudden whitening.
How do I respond if the water goes cloudy after I add the sponge?
In most home setups, cure periods for new rock or new sand are the main reason cloudy water returns. Turn off any plan to “season” media in the tank once you have a sponge, and keep skimmer and filtration running normally. If cloudiness appears after introduction, treat it as a parameter or decay problem first, not a lighting or feeding adjustment.
Can I feed sponges like I feed corals or fish, with common reef foods?
Do not dose “coral food” or random tank additives. The safer move is to either keep the tank alone and mature or use only products specifically meant for filter feeders, in very small amounts and with continued ammonia and nitrate monitoring. Overfeeding often shows up later as nutrient spikes that fuel algae on the sponge tissue.
My sponge looks white in one area, how can I tell if it is air damage versus a water-quality problem?
Look for symptoms on the sponge surface, not on the rest of the tank. Dead or irritated tissue often starts as pale patches or localized whitening and then spreads; a nearby dead animal can also seed localized necrosis. Remove any decaying material promptly and increase indirect flow to prevent trapped waste from collecting at the attachment site.
How careful do I need to be about air exposure when moving or epoxying a sponge?
Keep it off the sponge’s tissue, and think in terms of exposure time. Even short air contact can start tissue death that becomes obvious days later. When you reposition, have the sponge already positioned underwater and use epoxy with the sponge held submerged, then place it immediately.
Can marine sponges be kept in freshwater or gradually acclimated to freshwater?
No, and that usually fails quickly. Many sponges collapse in freshwater because their internal cells and canals are adapted to seawater chemistry and salinity. If you see “freshwater sponge” advice online, it is often a different organism or a misleading garden context, not a marine aquarium sponge.
How do I know whether slow growth is normal or something is wrong?
Sponge growth is slow, but you should still see signs of health like firm tissue, consistent color, and no ongoing whitening. If the sponge looks intact after three months, subtle change is normal. If it is declining during the same period, treat it as a husbandry issue (flow, flow direction, or parameter stability) rather than “just slow growth.”
What’s the right amount of flow, and how can I tell if it is too much?
Aim for water movement that washes across the sponge rather than hits it directly. Strong direct blasting can detach or bend tissue, especially on newly attached pieces. If you see tissue fraying or the sponge pulling away, redirect the return or wavemaker so the sponge is in the path of indirect, turbulent flow instead of a straight jet.
How important is lighting if my species is non-photosynthetic?
Many sponges rely more on the tank’s microbial and particulate availability than on light itself. Still, if you notice algae growing on or over sponge tissue, reduce photoperiod temporarily and address nutrient export. For non-photosynthetic species, avoid adding intense lighting that increases nuisance algae.
How often should I test water parameters after the first month?
The easiest indicator is your routine tests and maintenance practices. In a stable, established tank, you can usually test less often after the first month (for example, a few times per week). But if you perform a large water change, add equipment, or notice any decline, test immediately again since sponges reveal problems quickly.
What are the biggest mistakes people make when cutting sponges to propagate them?
Propagating can work, but handle cuts like they are high-risk events. Use a clean blade, make the explant large enough to stay stable, and keep both the original and the new piece submerged at all times. Expect a pause in growth, and do not disturb the new attachment for the first couple of weeks.
If my sponge is declining, do I treat it like a parameter issue or a tissue issue first?
Yes, if the cause is correctable. If you detect ammonia or nitrite above zero, do a modest water change and confirm your biofilter is functioning before making further changes. If chemistry is clean but necrosis is present, remove affected white tissue with sterile scissors and improve indirect flow to reduce waste buildup.
Can I move a sponge to a different tank, and how should I acclimate it?
You cannot reliably “share” a sponge between systems without controlled salinity and chemistry matching, and shipping water should not be assumed to protect it. Best practice is to move it submerged in its shipping water, then drip-acclimate to the new tank. Plan for the first 72 hours as the highest-risk period, even if the new tank seems similar on paper.